Okay, so picture this: I'm at a super important meeting. Like, serious-business-suit-and-power-point level important. But my mind? Totally checked out. I'm doodling on my notepad, and before I know it, I've unconsciously started folding a piece of paper. Next thing I know… whoosh a frankly pathetic excuse for a paper airplane nose-dives into the water cooler. Mortifying. But hey, it got me thinking: why are some paper airplanes legendary, soaring through the skies, while others… well, let's just say they have a shorter flight path than my patience in that meeting? That’s where my obsession with easy paper airplane tutorials began. You know, for… research purposes. Totally research.
The Quest for the Perfect Paper Plane: Simple is Key
Let's be honest. We've all been there. Trying to build a paper airplane that actually, you know, flies. And not just flies, but glides majestically, like a miniature aerial ballet dancer. But more often than not, you end up with a crumpled mess that looks more like a wounded origami swan than a high-performance flying machine. So, what's the secret? Simplicity. Seriously.
Forget those ridiculously complicated designs you see online that require a PhD in paper-folding. We're aiming for easy, achievable, and most importantly, flyable. Because, let's face it, nobody has time for airplane-related existential crises.
Why Simple Works
Simple designs are inherently more forgiving. They're less susceptible to minor imperfections in your folding, which, let’s be real, are pretty much inevitable. Plus, they tend to be more stable in the air. Think of it like this: a simple paper airplane is like a trusty old bike. It might not be the fastest, but it'll get you where you need to go. A complex one is like a Formula 1 car – amazing when it works, but a disaster waiting to happen if one tiny thing goes wrong. (And let's be honest, our folding skills are probably closer to "rusty tricycle" than Formula 1.)
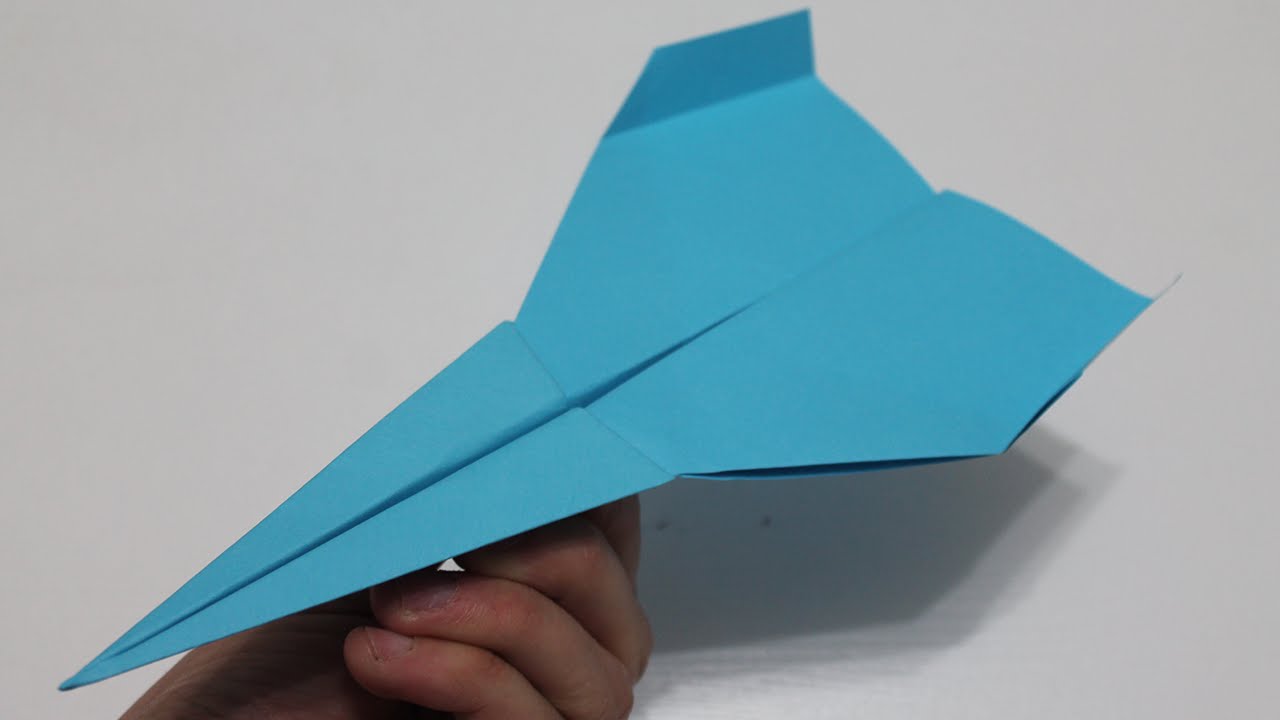
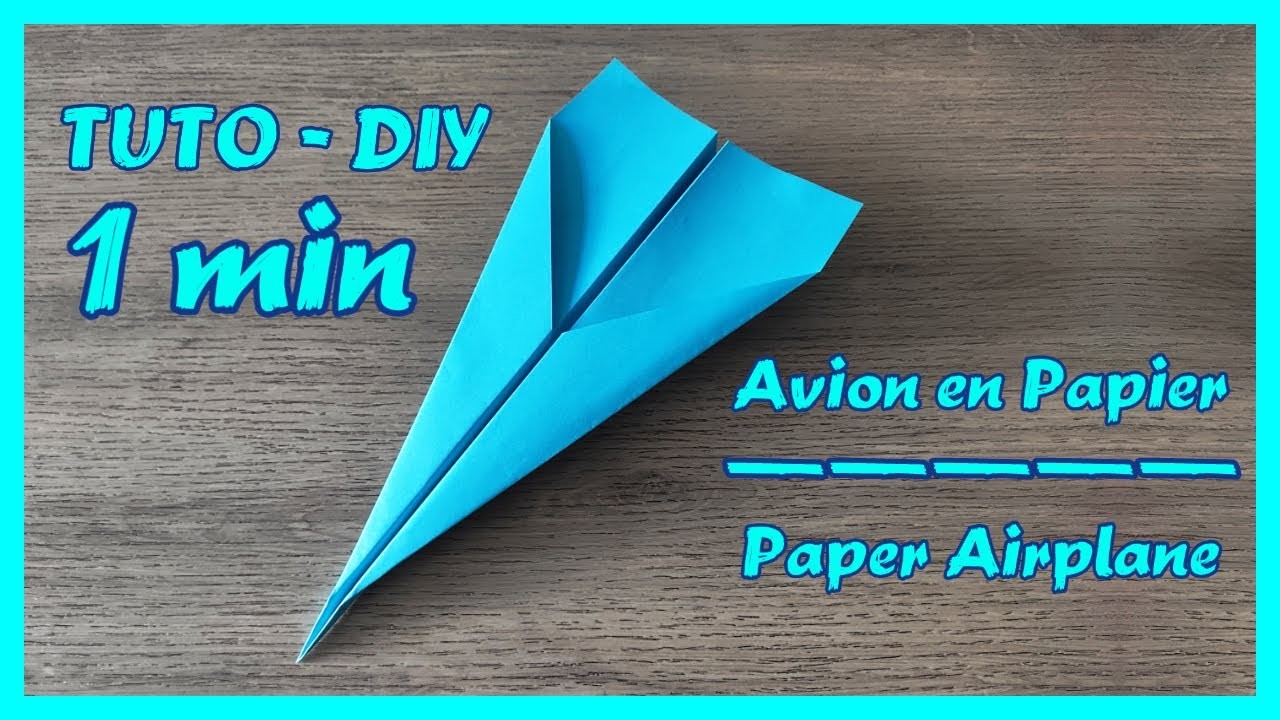
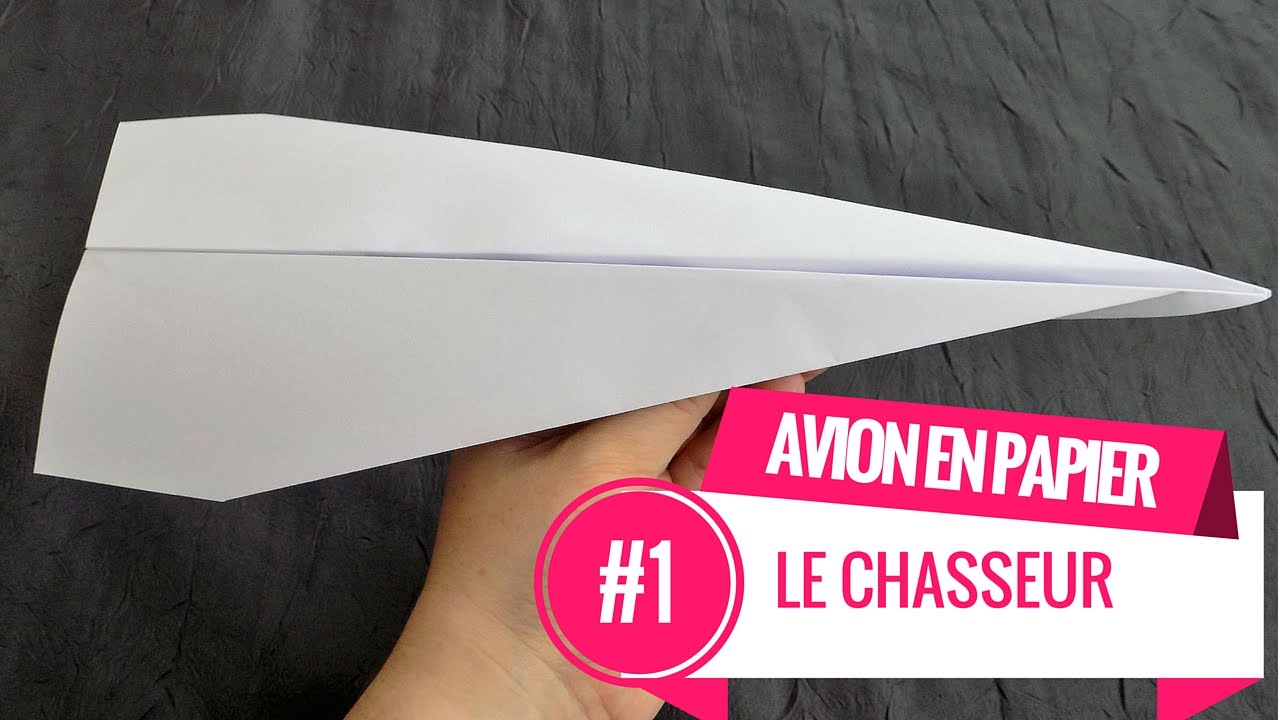
The Classic Dart: A Time-Honored Tradition
If you're going to learn to make paper airplanes, you gotta start with the classic dart. It's the OG, the blueprint, the foundation upon which all other paper airplane designs are built. (Okay, maybe that's a slight exaggeration, but you get the idea.)
Here’s the deal with the dart: it's aerodynamic, easy to fold, and surprisingly effective. Plus, it's a great starting point for experimenting with different folds and modifications. Think of it as your blank canvas for paper airplane artistry. (Or, you know, just a way to annoy your coworkers with airborne projectiles. I’m not judging.)

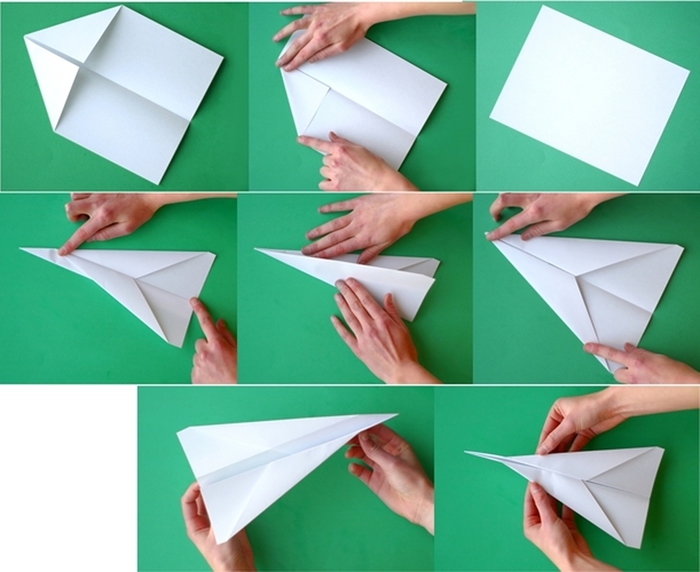
Step-by-Step Dart Creation
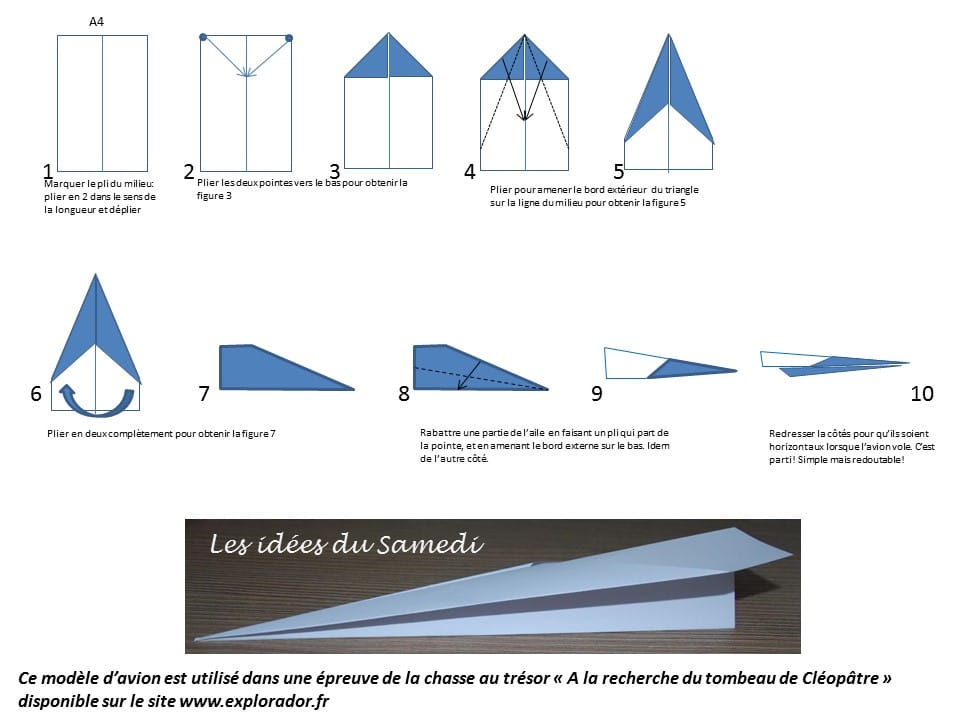
Alright, grab a piece of A4 paper (or whatever you have lying around). Here's how we conquer the dart:
- Fold in half lengthwise: Make a sharp crease. This is your centerline.
- Unfold: You should now have a clear line down the middle.
- Fold the top corners to the centerline: Make sure the edges align perfectly. Accuracy is key! (ish)
- Fold the top edges to the centerline again: You're essentially creating two narrower triangles on top.
- Fold the plane in half along the original centerline: Folding the wings outward is crucial!
- Fold down the wings: This is where you decide how much wing surface you want. A good rule of thumb is about an inch or two from the bottom edge of the fuselage (the body of the plane).
And...voila! You have a dart. Now, go forth and conquer the skies! Or at least your living room.
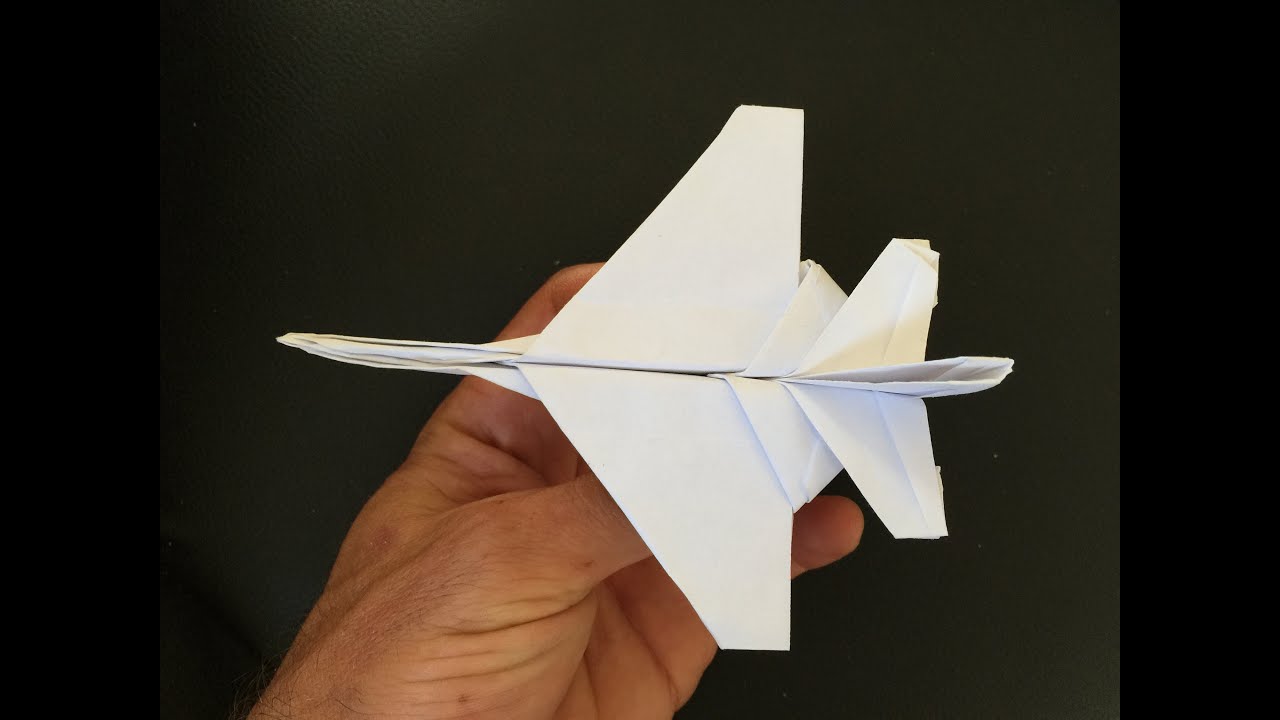
The Glider: For Soaring Majesty (and Slightly Less Impressive Distances)
Next up, the glider. While the dart is all about speed and piercing the air, the glider is more about… well, gliding. It's designed for longer flights and a more graceful descent. Think of it as the paper airplane equivalent of a majestic eagle, soaring effortlessly through the heavens. (Okay, maybe that's a bit much. But it's definitely more graceful than the dart.)

The glider is only slightly more complicated than the dart, but the difference in performance is noticeable. It's a great option when you want to impress your friends (or just yourself) with your paper airplane prowess.
Glider Construction: A Gentle Evolution
The glider builds upon the basic dart, adding a few key modifications for increased lift and stability. Here’s how it goes:
- Start with the dart: Follow the steps above to create a basic dart.
- Fold the wings up slightly: This is called a dihedral, and it helps with stability. Think of it like a tiny upward angle on each wing. Just a small bend outwards is enough.
- Add flaps (optional, but highly recommended): Cut small slits on the trailing edge of each wing (the back edge). Then, fold these flaps up or down slightly. Upward flaps provide lift, downward flaps provide stability. Experiment to see what works best for your plane! This is where the real science happens.
The flaps are what make the glider really shine. They allow you to fine-tune the airplane's flight characteristics and achieve maximum gliding distance. Trust me, it's worth the extra effort.

Troubleshooting Your Paper Airplane: A Few Common Issues
So, you've built your paper airplane, but it's not flying quite like you envisioned. Don't despair! Here are a few common problems and how to fix them:
- Nose-diving: This usually means the airplane is too nose-heavy. Try shifting the center of gravity back by adding small pieces of tape to the tail. Or, increase the size of the wing flaps.
- Stalling: This happens when the airplane loses lift and simply plummets to the ground. Try increasing the size of the wings or reducing the angle of the wings.
- Spinning: This is usually caused by asymmetrical wings. Make sure the wings are folded evenly and that the flaps are adjusted equally.
- Flying in circles: This is also caused by asymmetrical wings. Adjust the flaps or add a small piece of tape to one wing to correct the balance.
The key is to experiment and make small adjustments until you find what works best. Don't be afraid to try different things! After all, it's just paper.
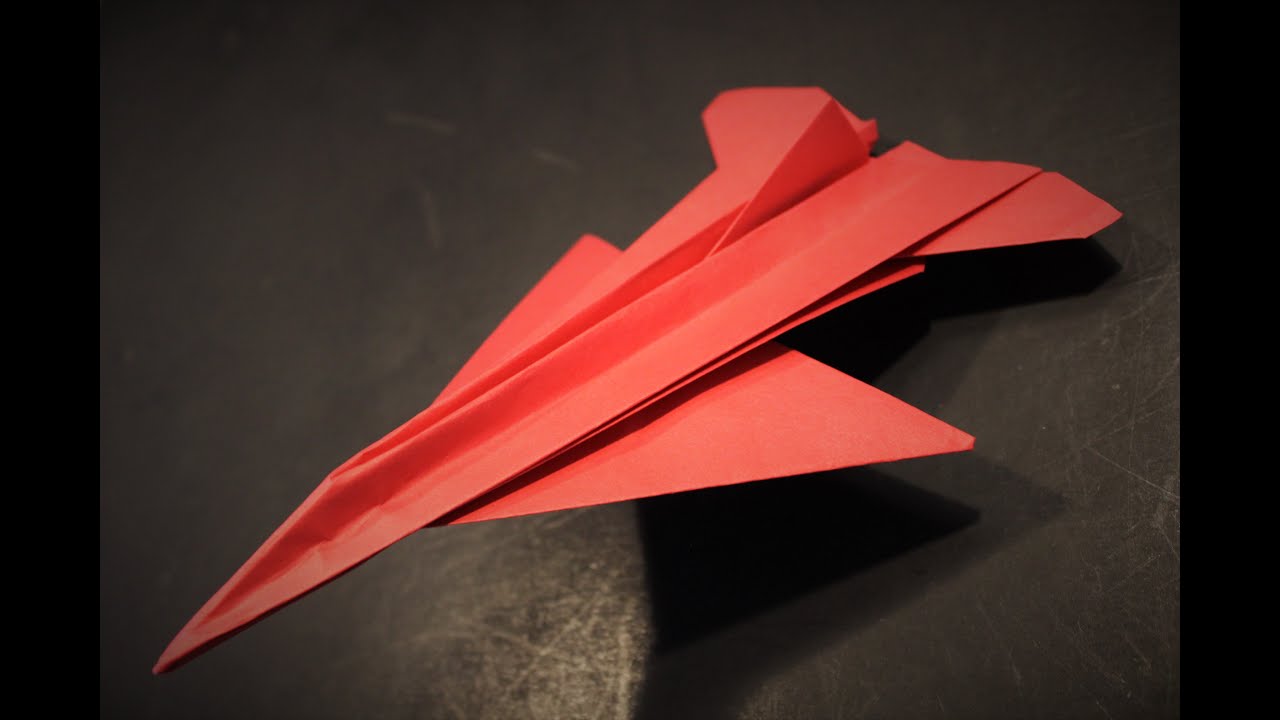
Beyond the Basics: Exploring the World of Paper Airplane Design
Once you've mastered the dart and the glider, you can start to explore the wider world of paper airplane design. There are countless variations and modifications you can try, from adding stabilizers and rudders to creating more complex wing shapes. The possibilities are endless! (Or at least, they're limited only by your imagination and your supply of paper.)

The internet is a treasure trove of paper airplane tutorials and inspiration. You can find designs for everything from simple paper airplanes to incredibly complex models that can perform amazing feats of aerial acrobatics. So go forth, experiment, and create your own paper airplane masterpiece! Maybe you’ll even come up with a design that’s better than that legendary dart. Who knows?
Final Thoughts (and a Plea to My Boss)
So, there you have it: a quick and easy guide to building awesome paper airplanes. Now, if you'll excuse me, I have some ahem "research" to conduct. And to my boss, if you're reading this: I swear, that paper airplane incident was a one-time thing! I’m fully focused and engaged… unless, of course, someone leaves a piece of paper unattended near me. Just kidding! …Mostly.
Seriously though, building paper airplanes is a fun and relaxing activity that can be enjoyed by people of all ages. It's a great way to relieve stress, unleash your creativity, and maybe even annoy your coworkers a little bit. So grab a piece of paper, get folding, and let your imagination take flight!
And remember, it’s all about the fun. So even if your paper airplane doesn't fly perfectly, don't worry. Just crumple it up, try again, and embrace the chaos. After all, that's what paper airplanes are all about.