Bonjour, mes amis gourmands! Today, we’re diving deep – nay, swimming laps – into the deliciously complex world of... drumroll ... Tenders Au Four Temps De Cuisson. Yes, I know, even the name sounds intimidating. Like a particularly nasty algebra problem your French grandmother assigned you. But fear not! We'll decode this culinary mystery together, one perfectly cooked chicken tender at a time.
What in the Crêpe is "Tenders Au Four"?
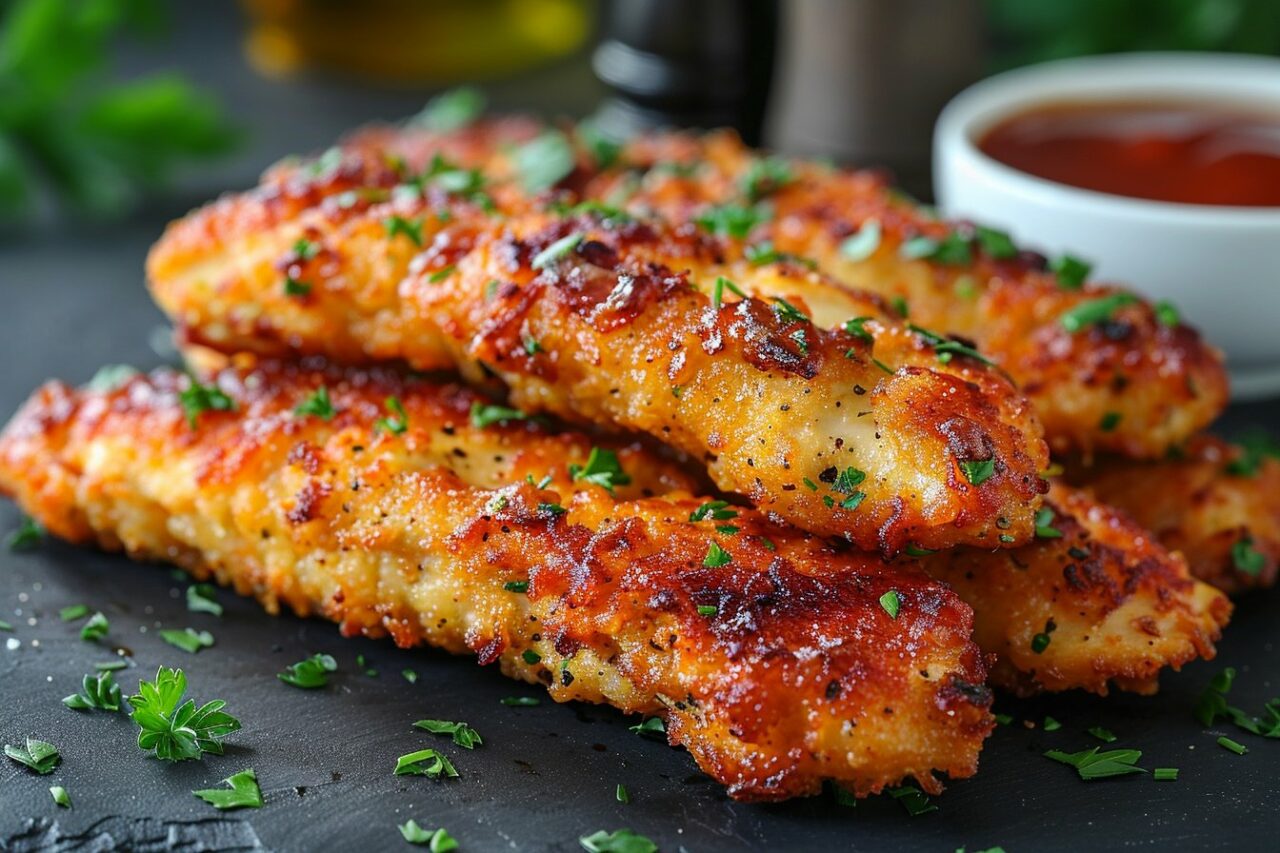
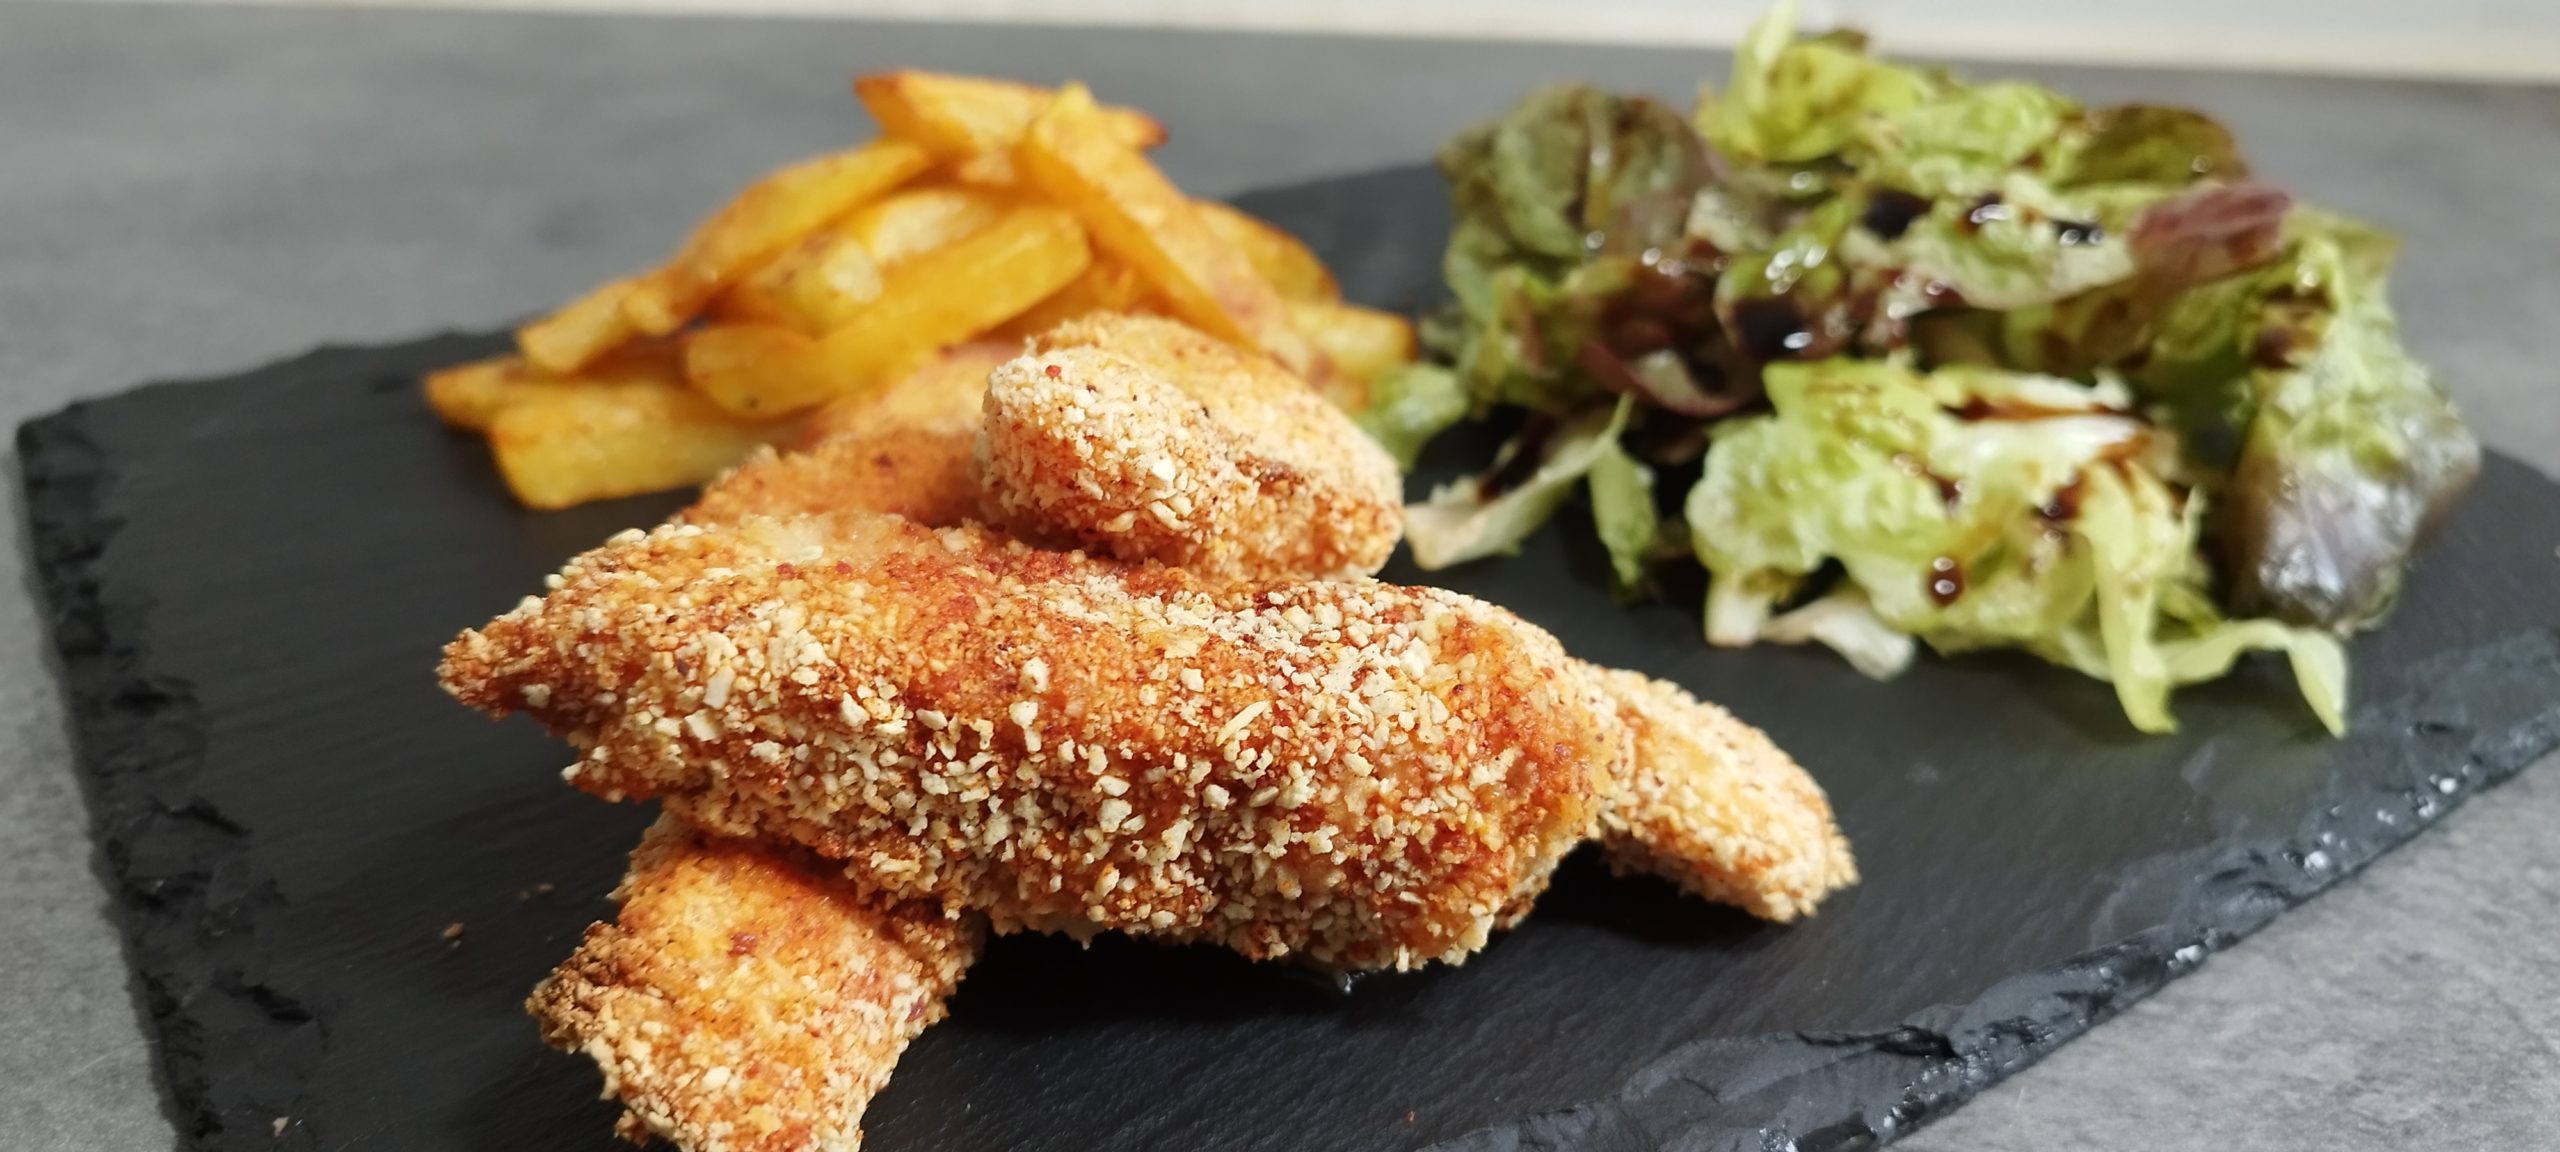
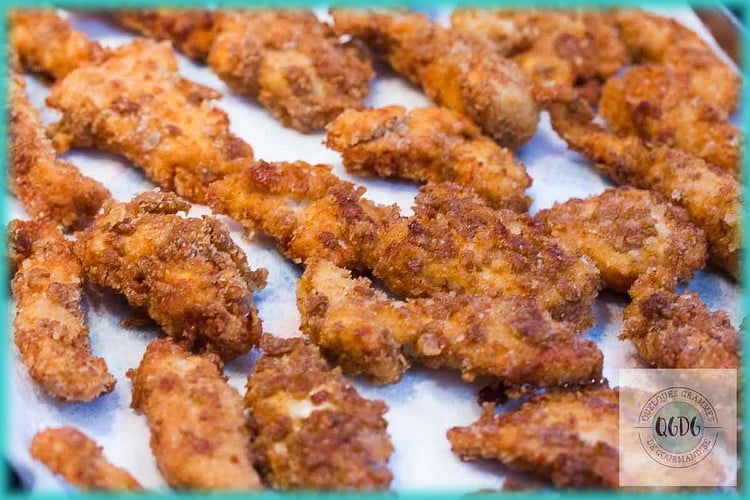
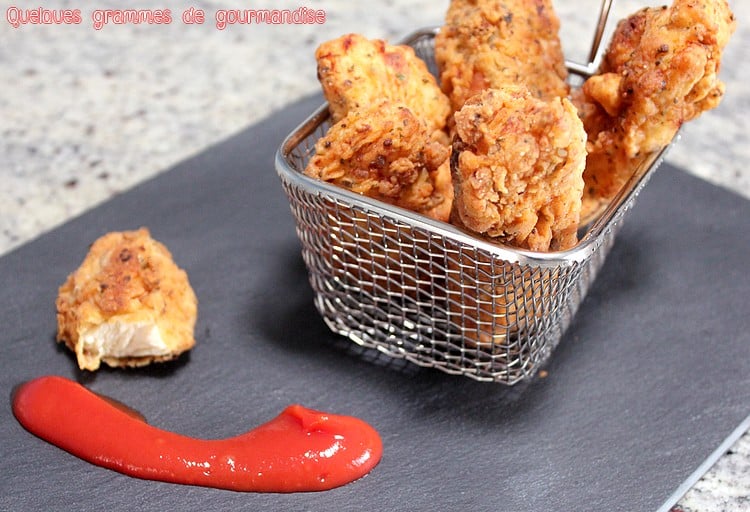
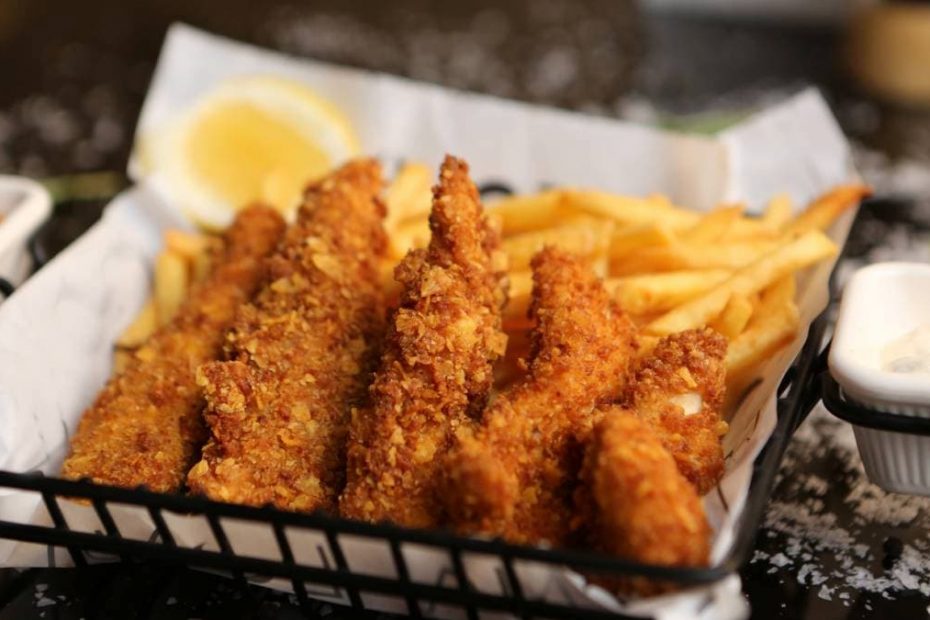
Essentially, “Tenders Au Four” just means oven-baked chicken tenders. But, oh là là, the "Temps De Cuisson," or cooking time, is where things get interesting. Forget that microwave-zapped, rubbery excuse for a chicken tender you choked down in college. We're talking about achieving that perfect balance of crispy outside and juicy, tender inside. It’s a noble goal, worthy of a Michelin star… if Michelin starred chicken tenders were a thing. (Hey, maybe we should pitch that idea?)
The Four Times of Cooking... According to Me! (A Totally Reliable Source)
Okay, so maybe the "four times" isn't some official culinary doctrine. But I've identified four crucial time-related factors for achieving tender-baking nirvana:
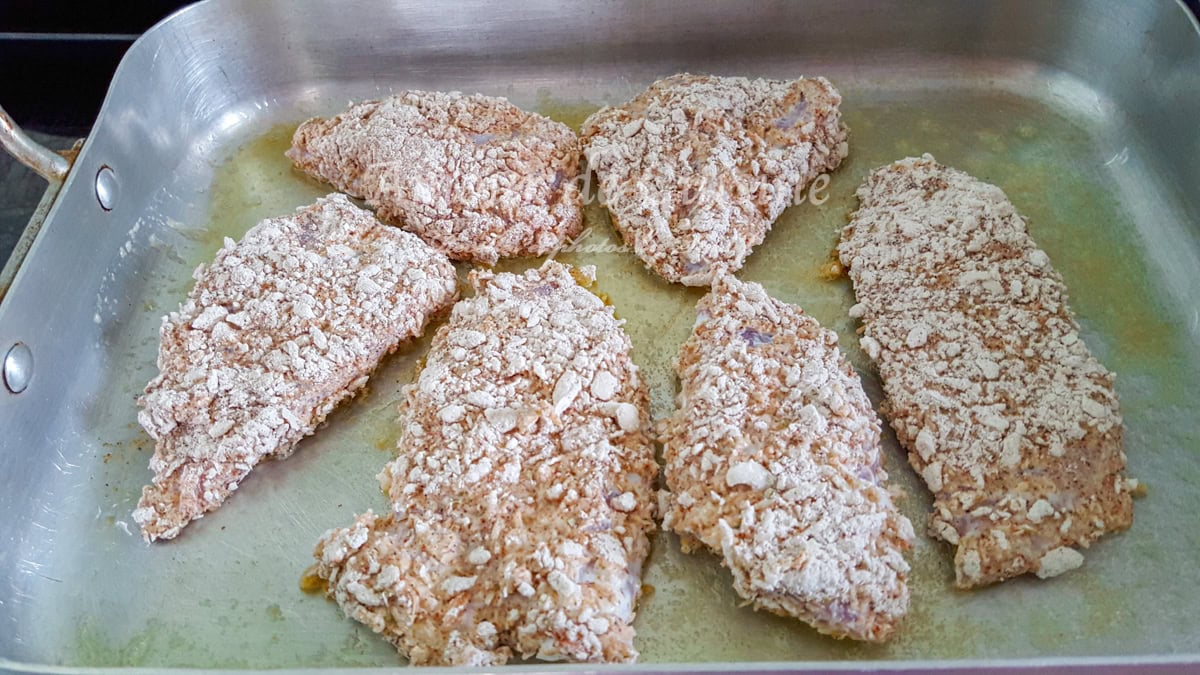
- The Prep Time: This isn't just about breading the chicken. This is about meditation. Visualize that golden-brown perfection. Channel your inner chef. (Or, you know, just watch a cooking show while you bread.) Proper prep is half the battle, mon chéri!
- The Marinating Time (Optional, But Highly Recommended): Think of this as a spa day for your chicken. A little buttermilk? A splash of lemon juice? Let those flavors sink in. The longer the marinade, the more tender and flavorful your tenders will be. I personally recommend a minimum of 30 minutes, unless you're feeling particularly impatient, in which case, Godspeed.
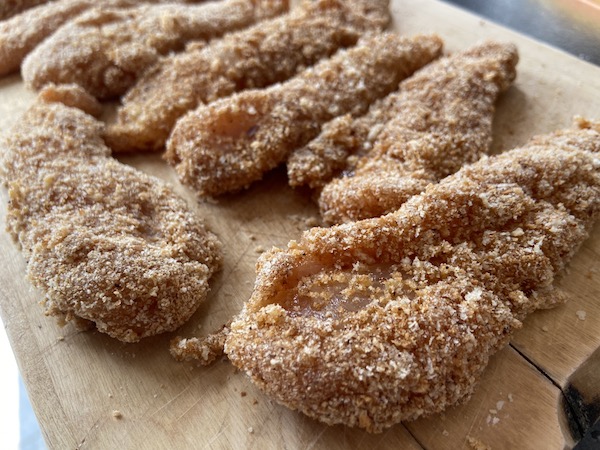
- The Actual Baking Time: This is the big one. The raison d'être of this whole article! Typically, we're talking around 18-25 minutes at 400°F (200°C). But always use a meat thermometer! Internal temp should be 165°F (74°C). Underbaked chicken? Non! Overbaked chicken? Double non! (Seriously, nobody wants shoe leather.)
- The Resting Time: Yes, even chicken tenders need to rest! Let them sit for a few minutes after baking. This allows the juices to redistribute, resulting in a more succulent, flavorful bite. Think of it as the chicken's post-bake relaxation session. They deserve it!
Pro Tips (Because I'm Feeling Generous)
- Don't overcrowd the pan! Give those tenders some space to breathe. They need to brown properly.
- Use a wire rack. Elevating the tenders allows air to circulate, promoting even cooking and crispy bottoms. (Nobody likes soggy bottoms, right? Thanks, Mary Berry!)
- Experiment with seasonings! Garlic powder, paprika, cayenne pepper... the possibilities are endless! Unleash your inner spice artist!
So there you have it! Tenders Au Four Temps De Cuisson, demystified! Now go forth and bake. And remember, if your tenders don't turn out perfectly the first time, don't despair! Just blame it on the oven. It’s always the oven's fault, isn't it?
And if all else fails, there's always delivery. Just don't tell anyone I said that. À bientôt!