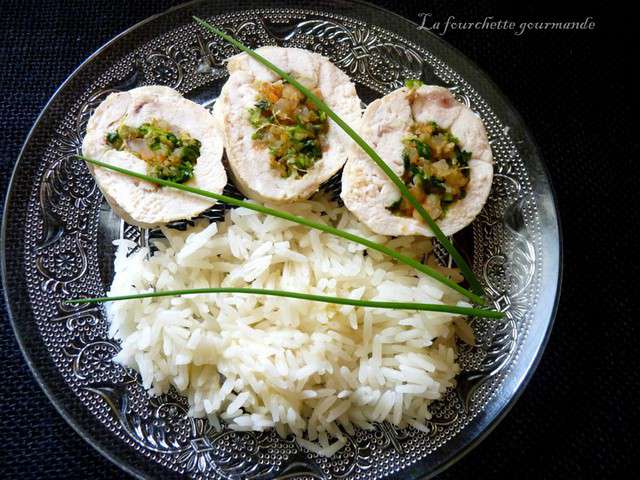
Okay, confession time. Last night, I had this amazing idea for dinner: chicken medallions! Sounded fancy, right? I envisioned a restaurant-worthy plate. Reality? Let’s just say the first batch resembled hockey pucks more than elegant medallions. Tough, dry… you get the picture. But hey, we learn from our mistakes, right? And that, my friends, is why I'm here to share my hard-won (and slightly charred) wisdom on the art of cooking chicken medallions in a pan.
So, you’ve got your chicken medallions. Now what? The key, as I discovered (painfully), is all about the timing and temperature. Don’t worry, I’ve broken it down for you, so you don’t have to eat… well, hockey pucks.
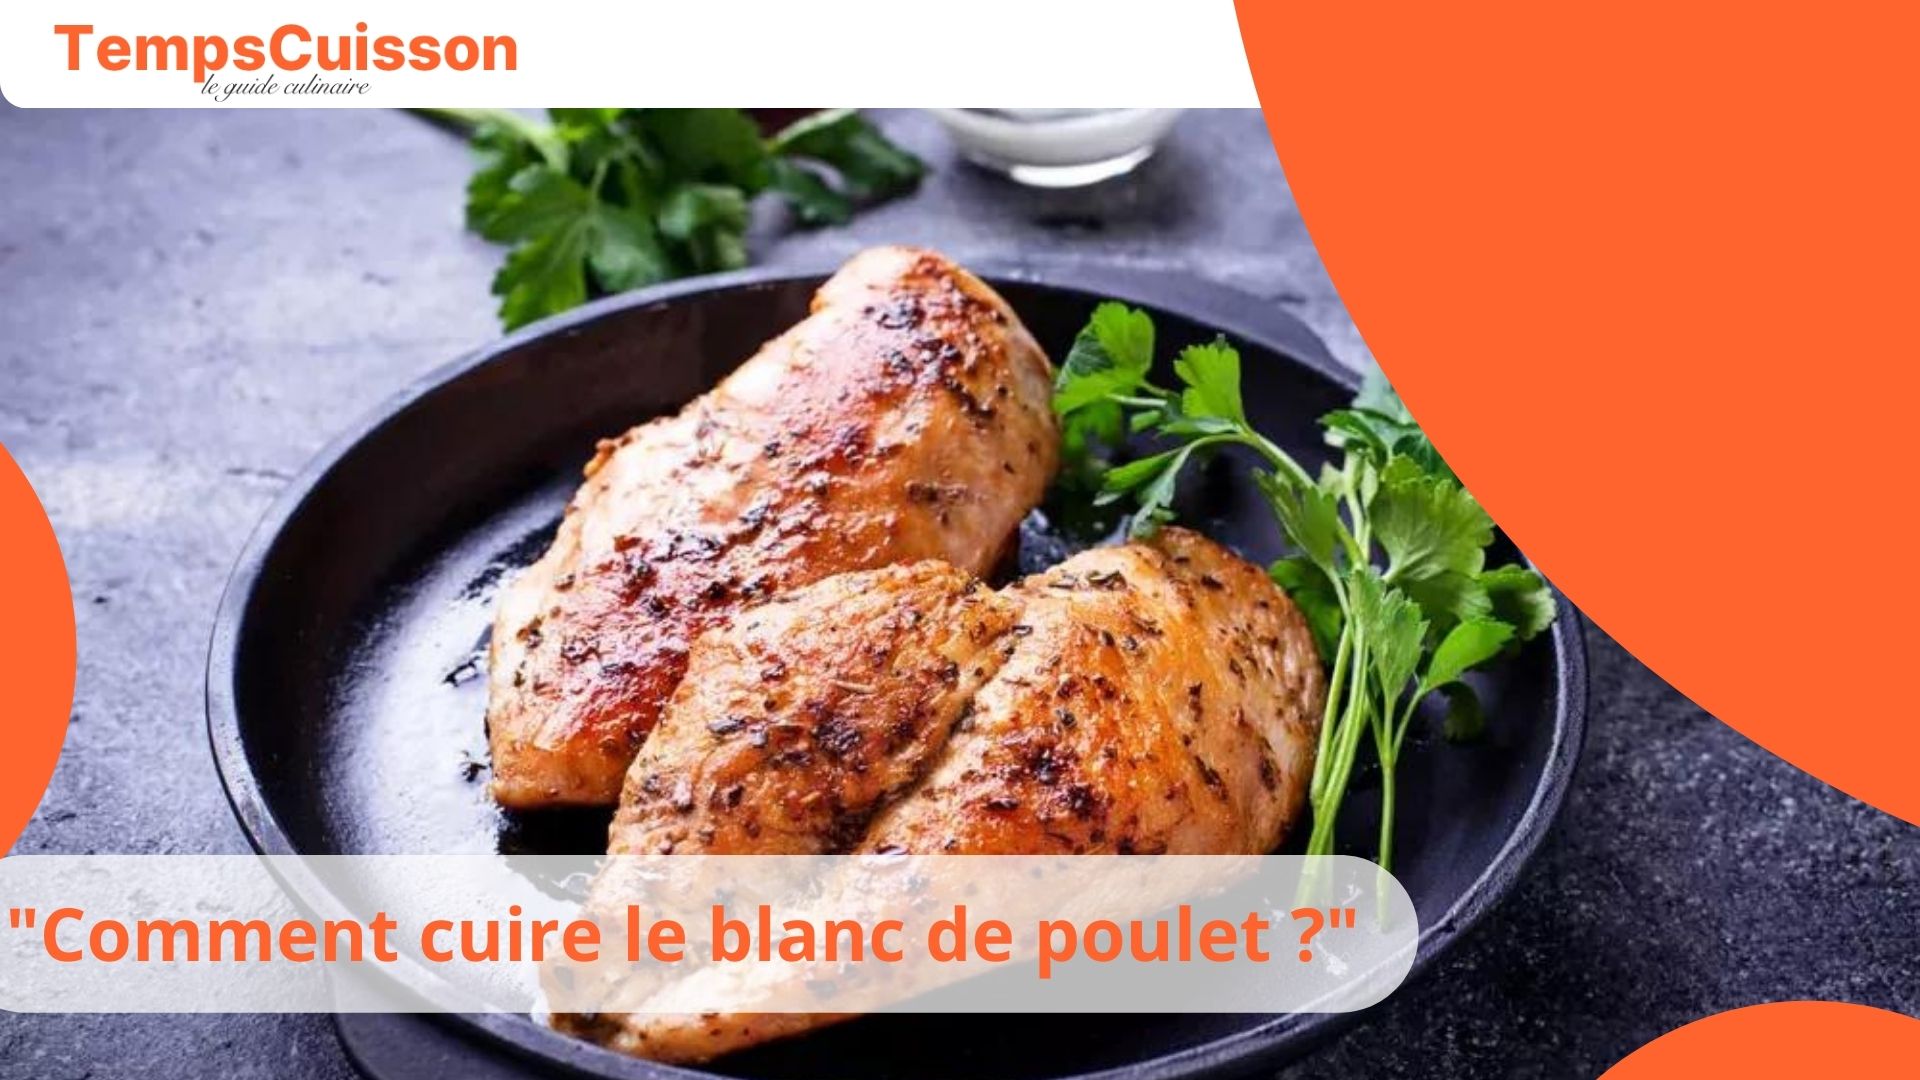
Preparing Your Medallions: A Few Crucial Steps
Before you even think about turning on the stove, let's get those medallions prepped. This makes a HUGE difference.
- Pat them dry! This is non-negotiable. Moisture is the enemy of a good sear. Use paper towels and really get them dry.
- Season generously. Salt, pepper, garlic powder… whatever floats your boat. Don't be shy! Think of it as a flavor party.
- Optional marinade: If you have time (and who really does on a weeknight?), a quick marinade can work wonders. Lemon juice, herbs, a little olive oil – you know the drill. Even 30 minutes makes a difference.
Seriously, don't skip these steps. You'll thank me later.
The Cooking Process: Time is of the Essence!
Alright, time to get cooking! This is where things get interesting… and where I messed up royally the first time. Remember that hockey puck situation? Yeah, let's avoid that.

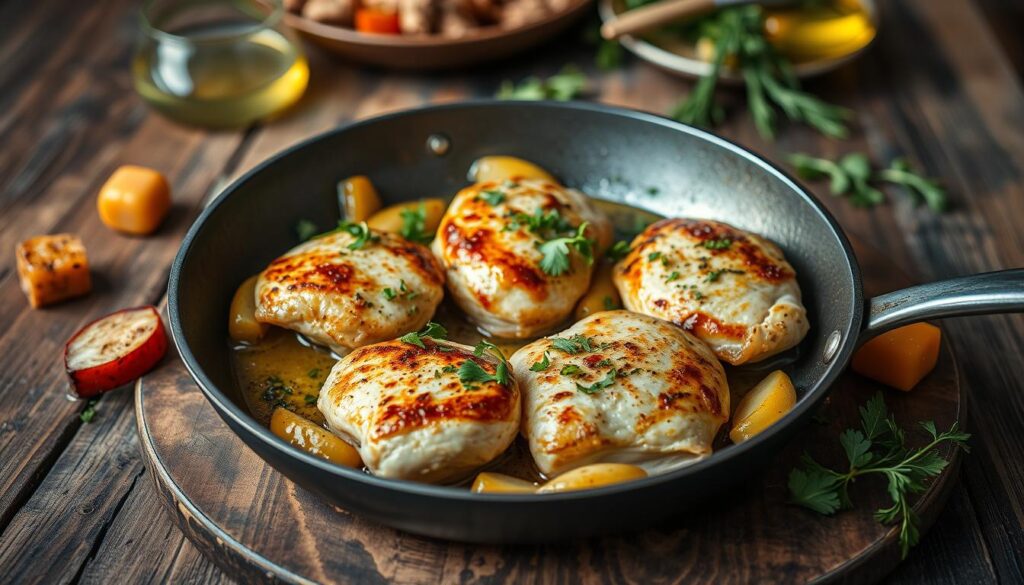
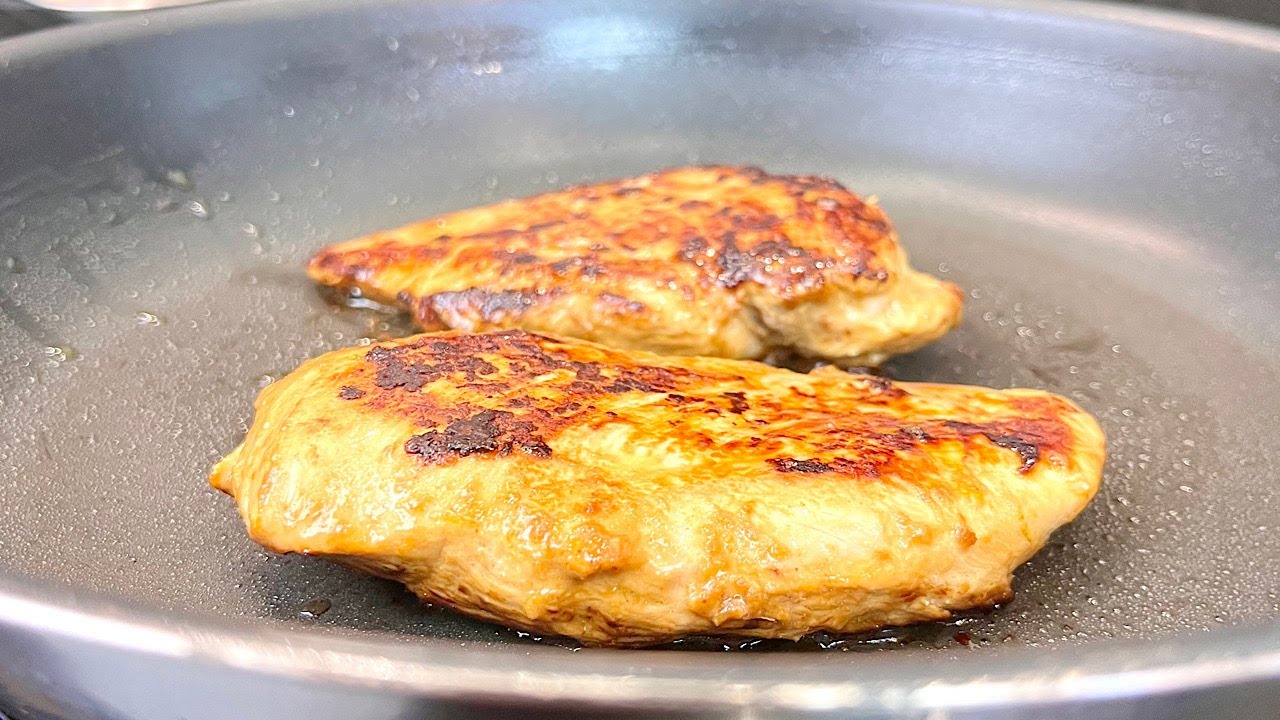
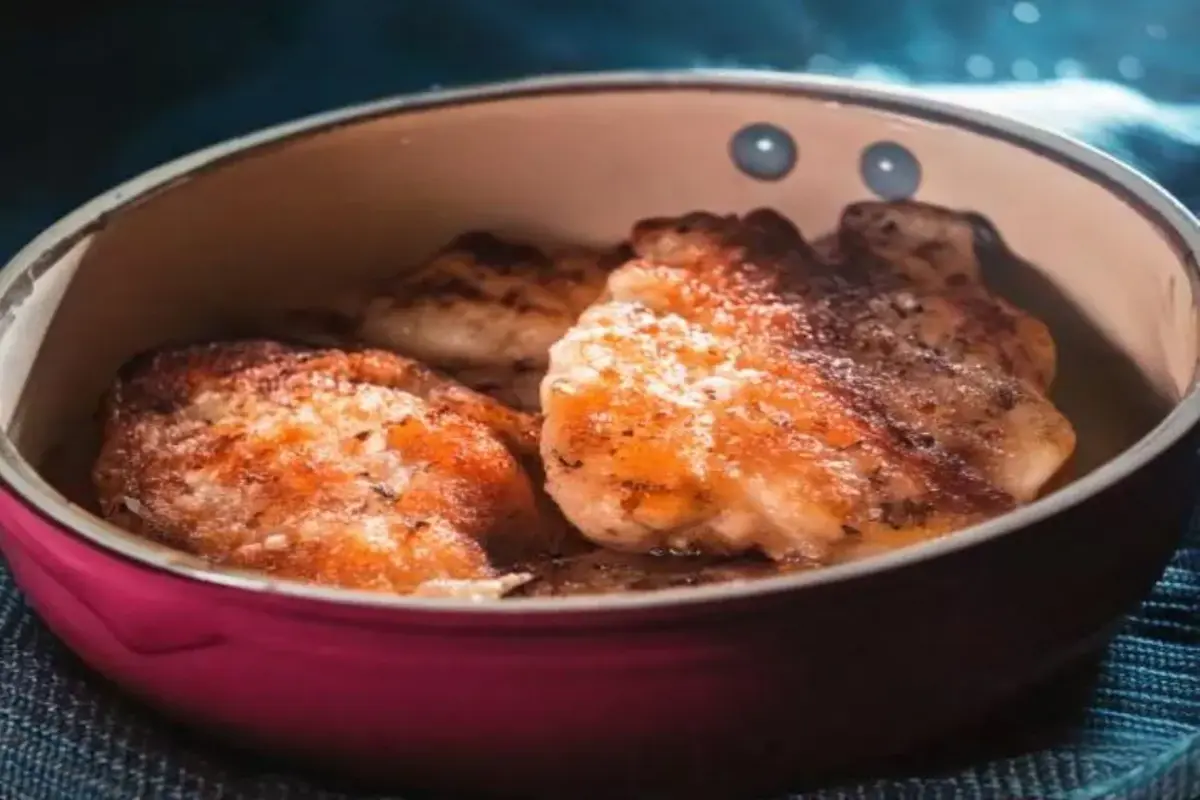
The magic number: Usually, about 4-6 minutes per side, depending on the thickness of your medallions. But always check for doneness with a meat thermometer! Aim for an internal temperature of 165°F (74°C). No guessing games allowed!
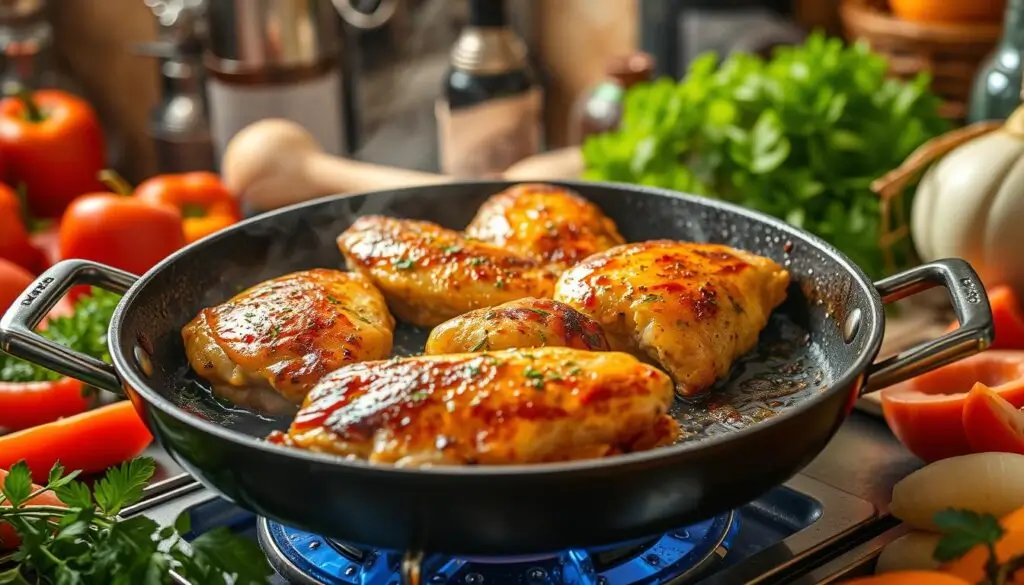
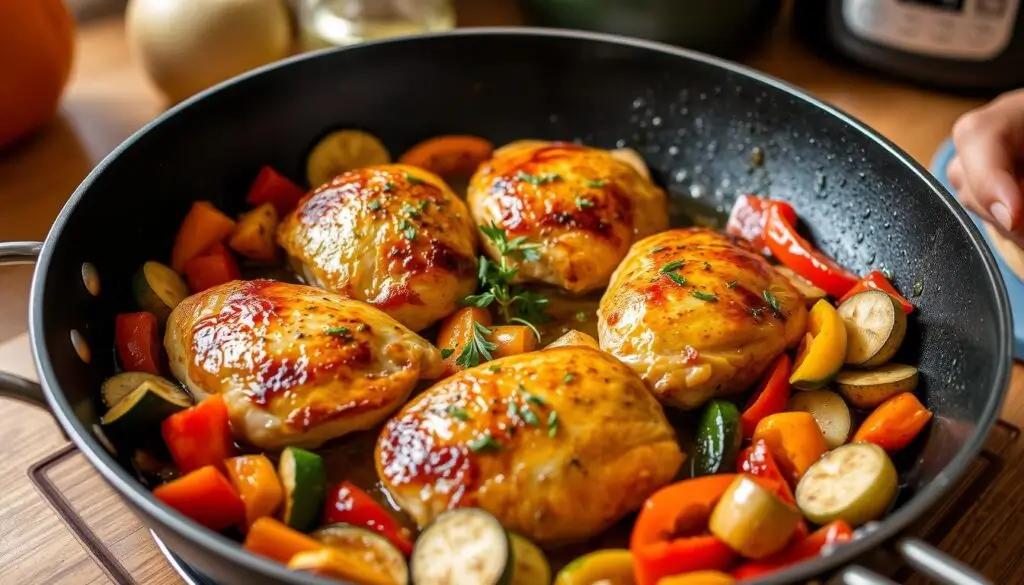
- Heat your pan properly. Medium-high heat is your friend. You want a nice sear, but you don't want to burn the outside before the inside is cooked.
- Use a little oil or butter. Just enough to coat the pan. I prefer olive oil for a healthier option.
- Don't overcrowd the pan! This lowers the temperature and steams the chicken instead of searing it. Work in batches if you need to.
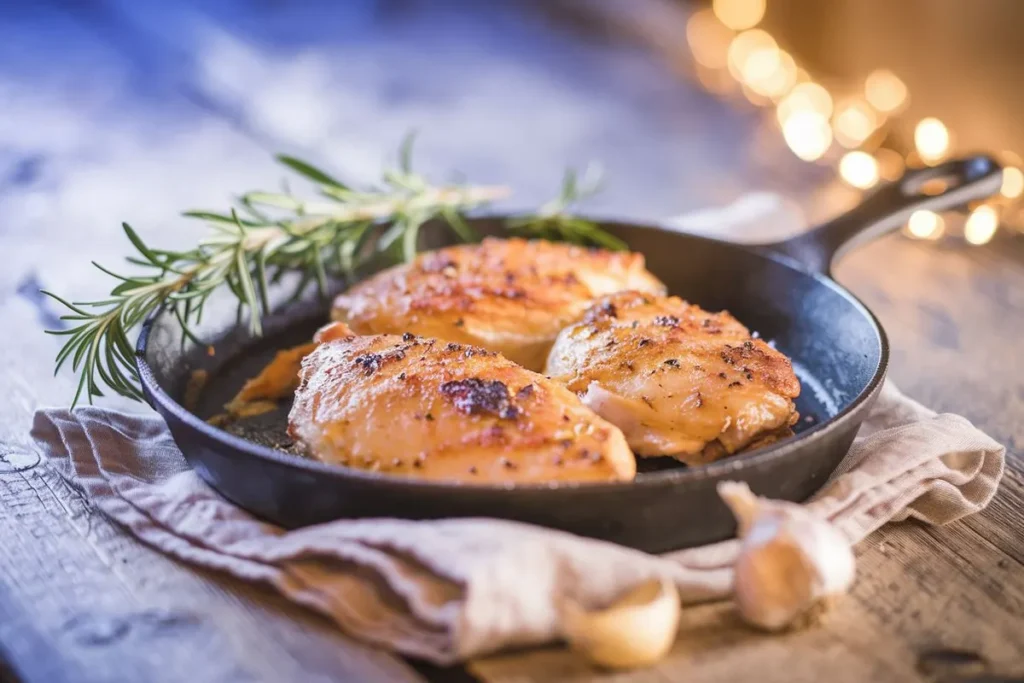
- Resist the urge to flip them constantly! Let them sear properly on each side. Patience is key. Think of it as a culinary zen practice.
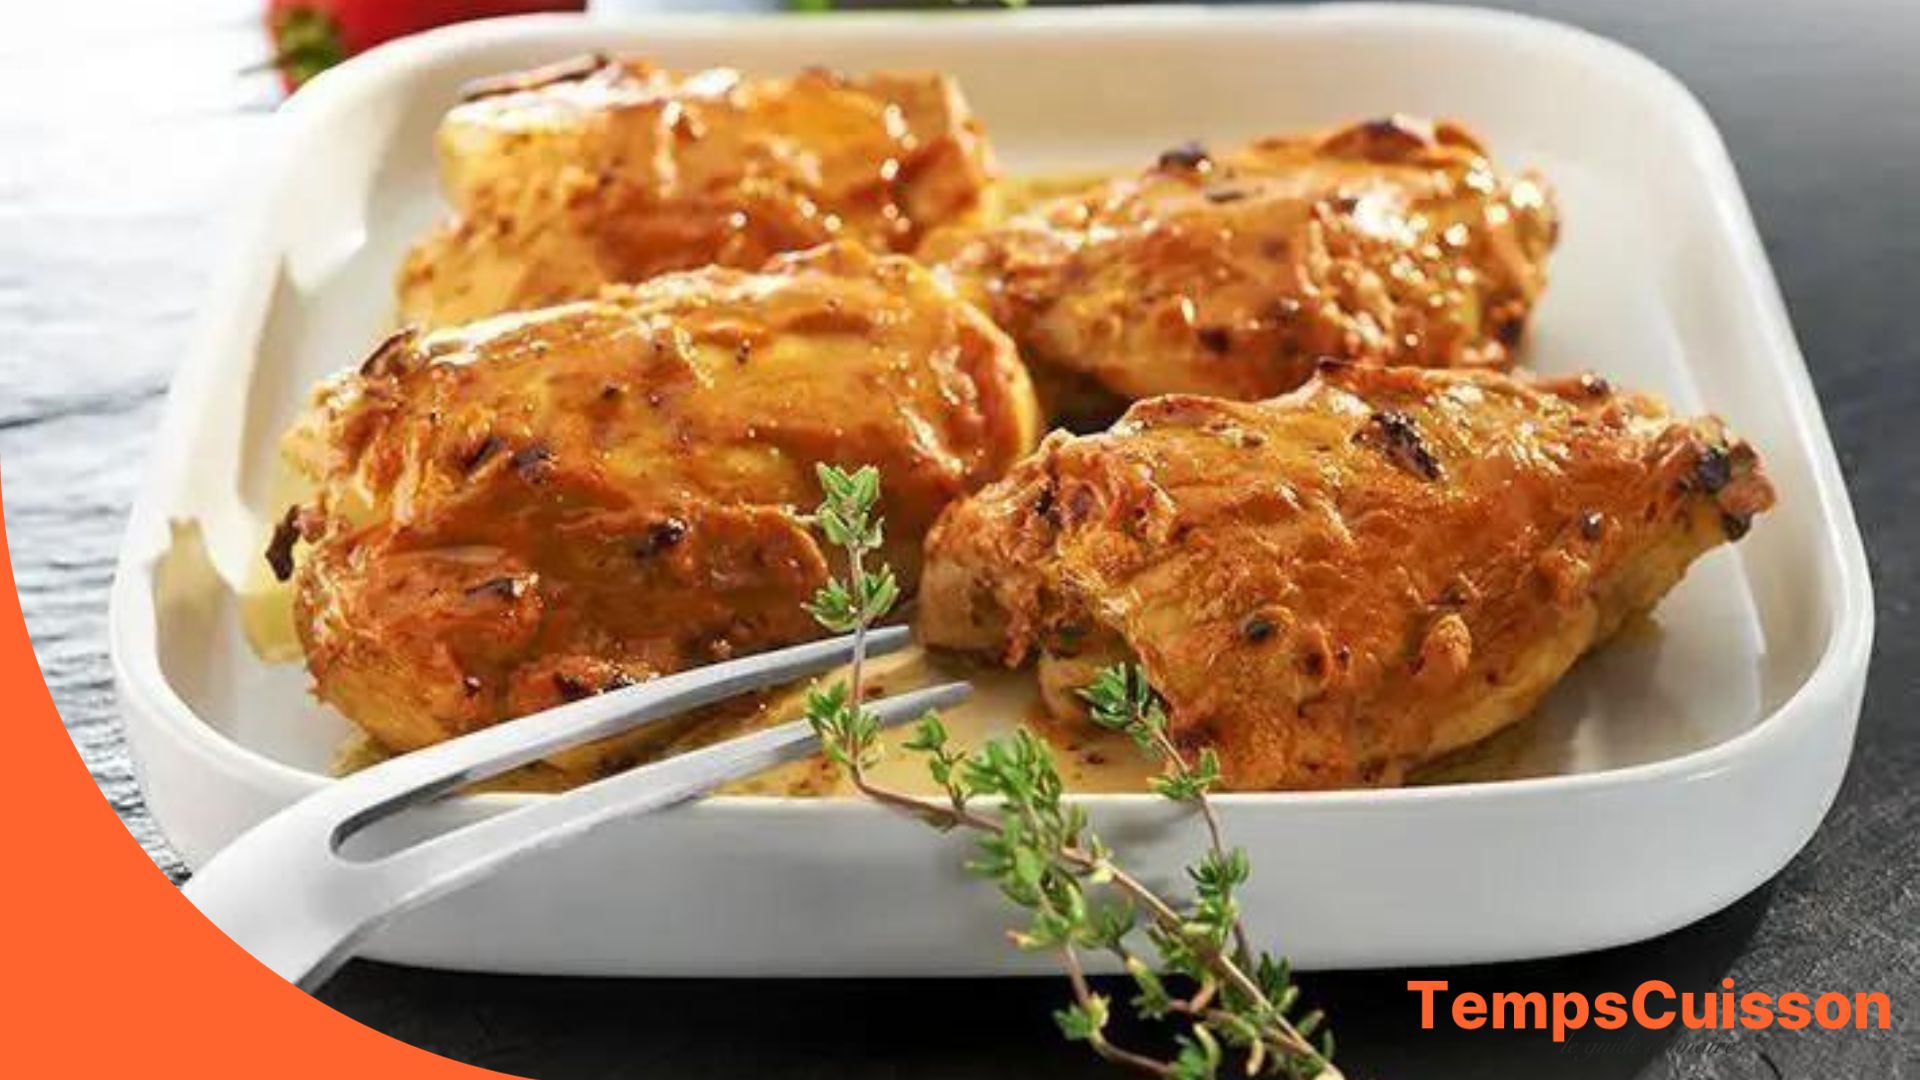
- Rest after cooking. Let the medallions rest for a few minutes before serving. This helps the juices redistribute and keeps them nice and moist.
Side note: I always err on the side of slightly undercooked rather than overcooked. You can always cook them a little longer, but you can't un-dry them!

Troubleshooting: Common Mistakes and How to Fix Them
Okay, let's be real. Things don't always go according to plan. Here are a few common pitfalls and how to avoid them:
- Dry chicken: Overcooking is the main culprit. Use a meat thermometer! Marinades can also help keep them moist.
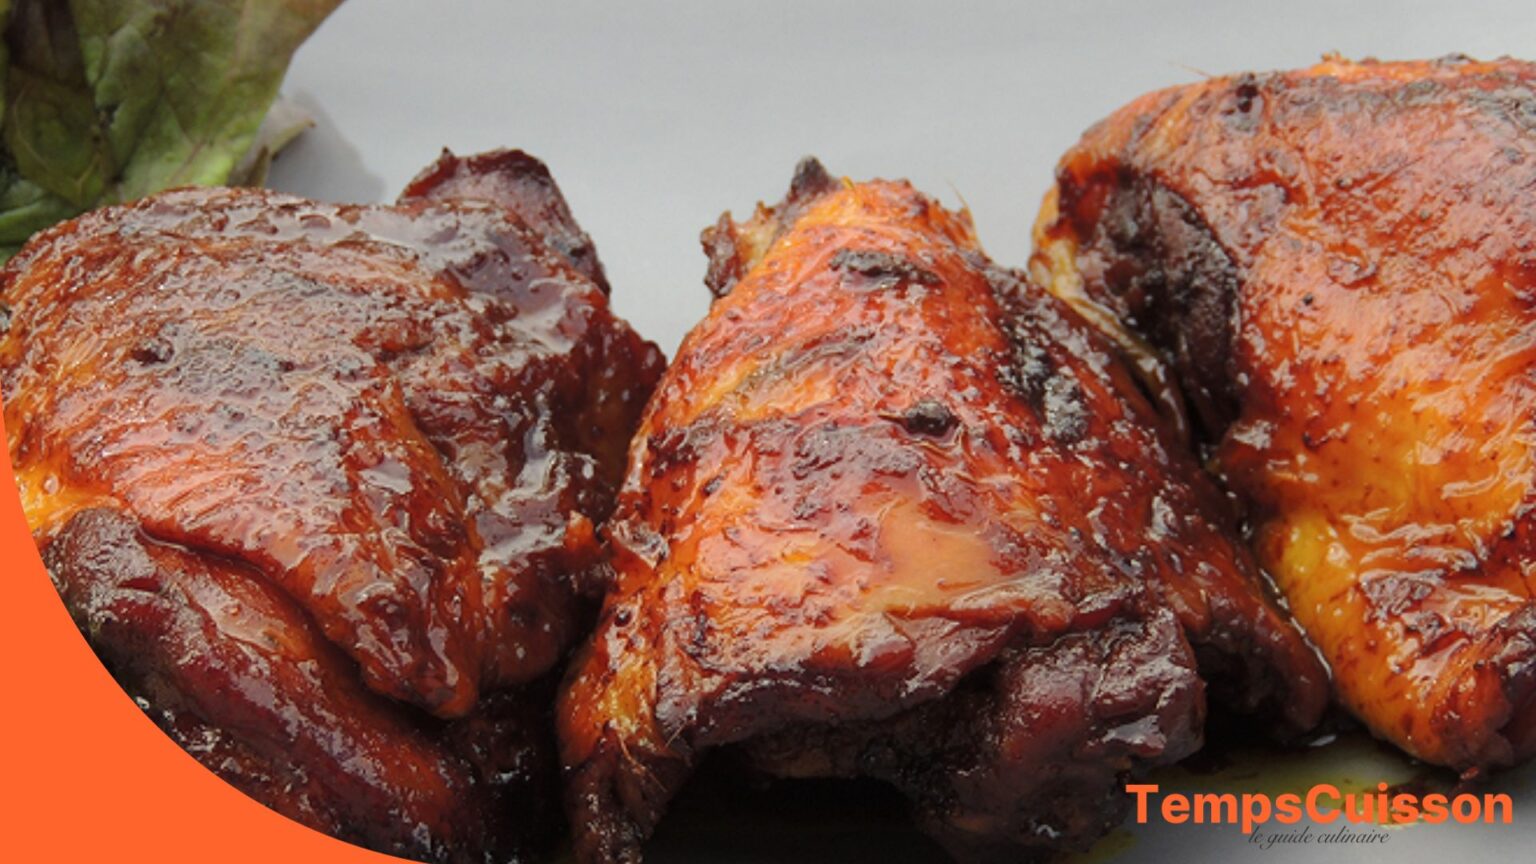
- Burnt outside, raw inside: The heat is too high! Lower the temperature and cook them for a longer time.
- No sear: The pan isn't hot enough, or you're overcrowding it. Increase the heat and cook in batches.
See? Even if you mess up, there's usually a fix. Don't give up on those medallions!
So, there you have it – my guide to perfectly cooked chicken medallions. Armed with this knowledge, you’re now ready to create a delicious and (hopefully) non-hockey-puck-like meal. Bon appétit! And don’t forget to share your success stories (or your near-disasters – we’ve all been there!) in the comments below.