Okay, okay, gather 'round, mes amis! Let me tell you a story. A story of fins, scales, and the surprisingly achievable art of drawing a mermaid's tail. Yes, you heard right! Queue de sirène dessin facile. It's easier than parallel parking, I swear. And infinitely more glamorous.
The other day, my niece, little Antoinette, who believes she's secretly part mermaid (she tries to hold her breath for an unreasonable amount of time in the bathtub), asked me, with those big, innocent eyes only a seven-year-old can wield, "Tante [Your Name], can you draw a mermaid tail? A really, really, REALLY good one?"
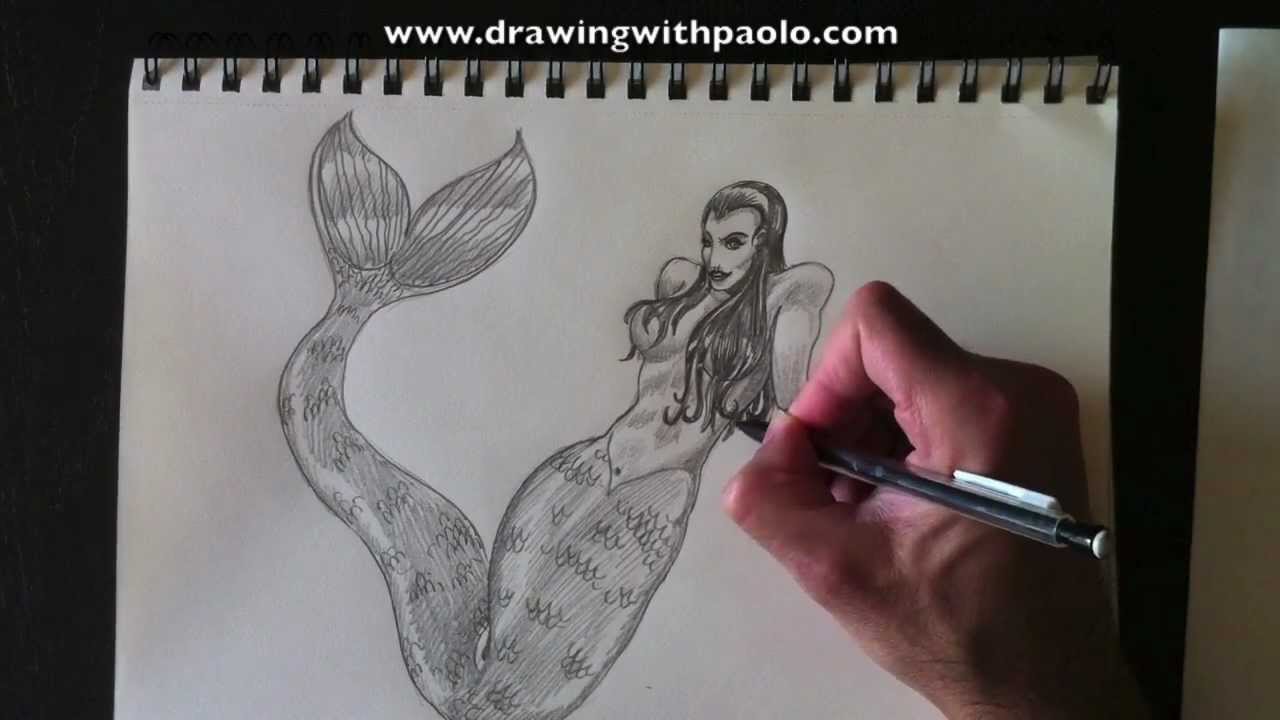
Now, I'm no Picasso. My artistic skills peak somewhere around stick figures and slightly lopsided cats. But I wasn't about to admit defeat in front of a future ocean deity. So, armed with YouTube tutorials and a healthy dose of desperation, I dove headfirst (pun intended!) into the world of mermaid tail illustration. And you know what? It wasn't as scary as I thought!
The Anatomy of a Fin-tastic Tail: Breaking it Down
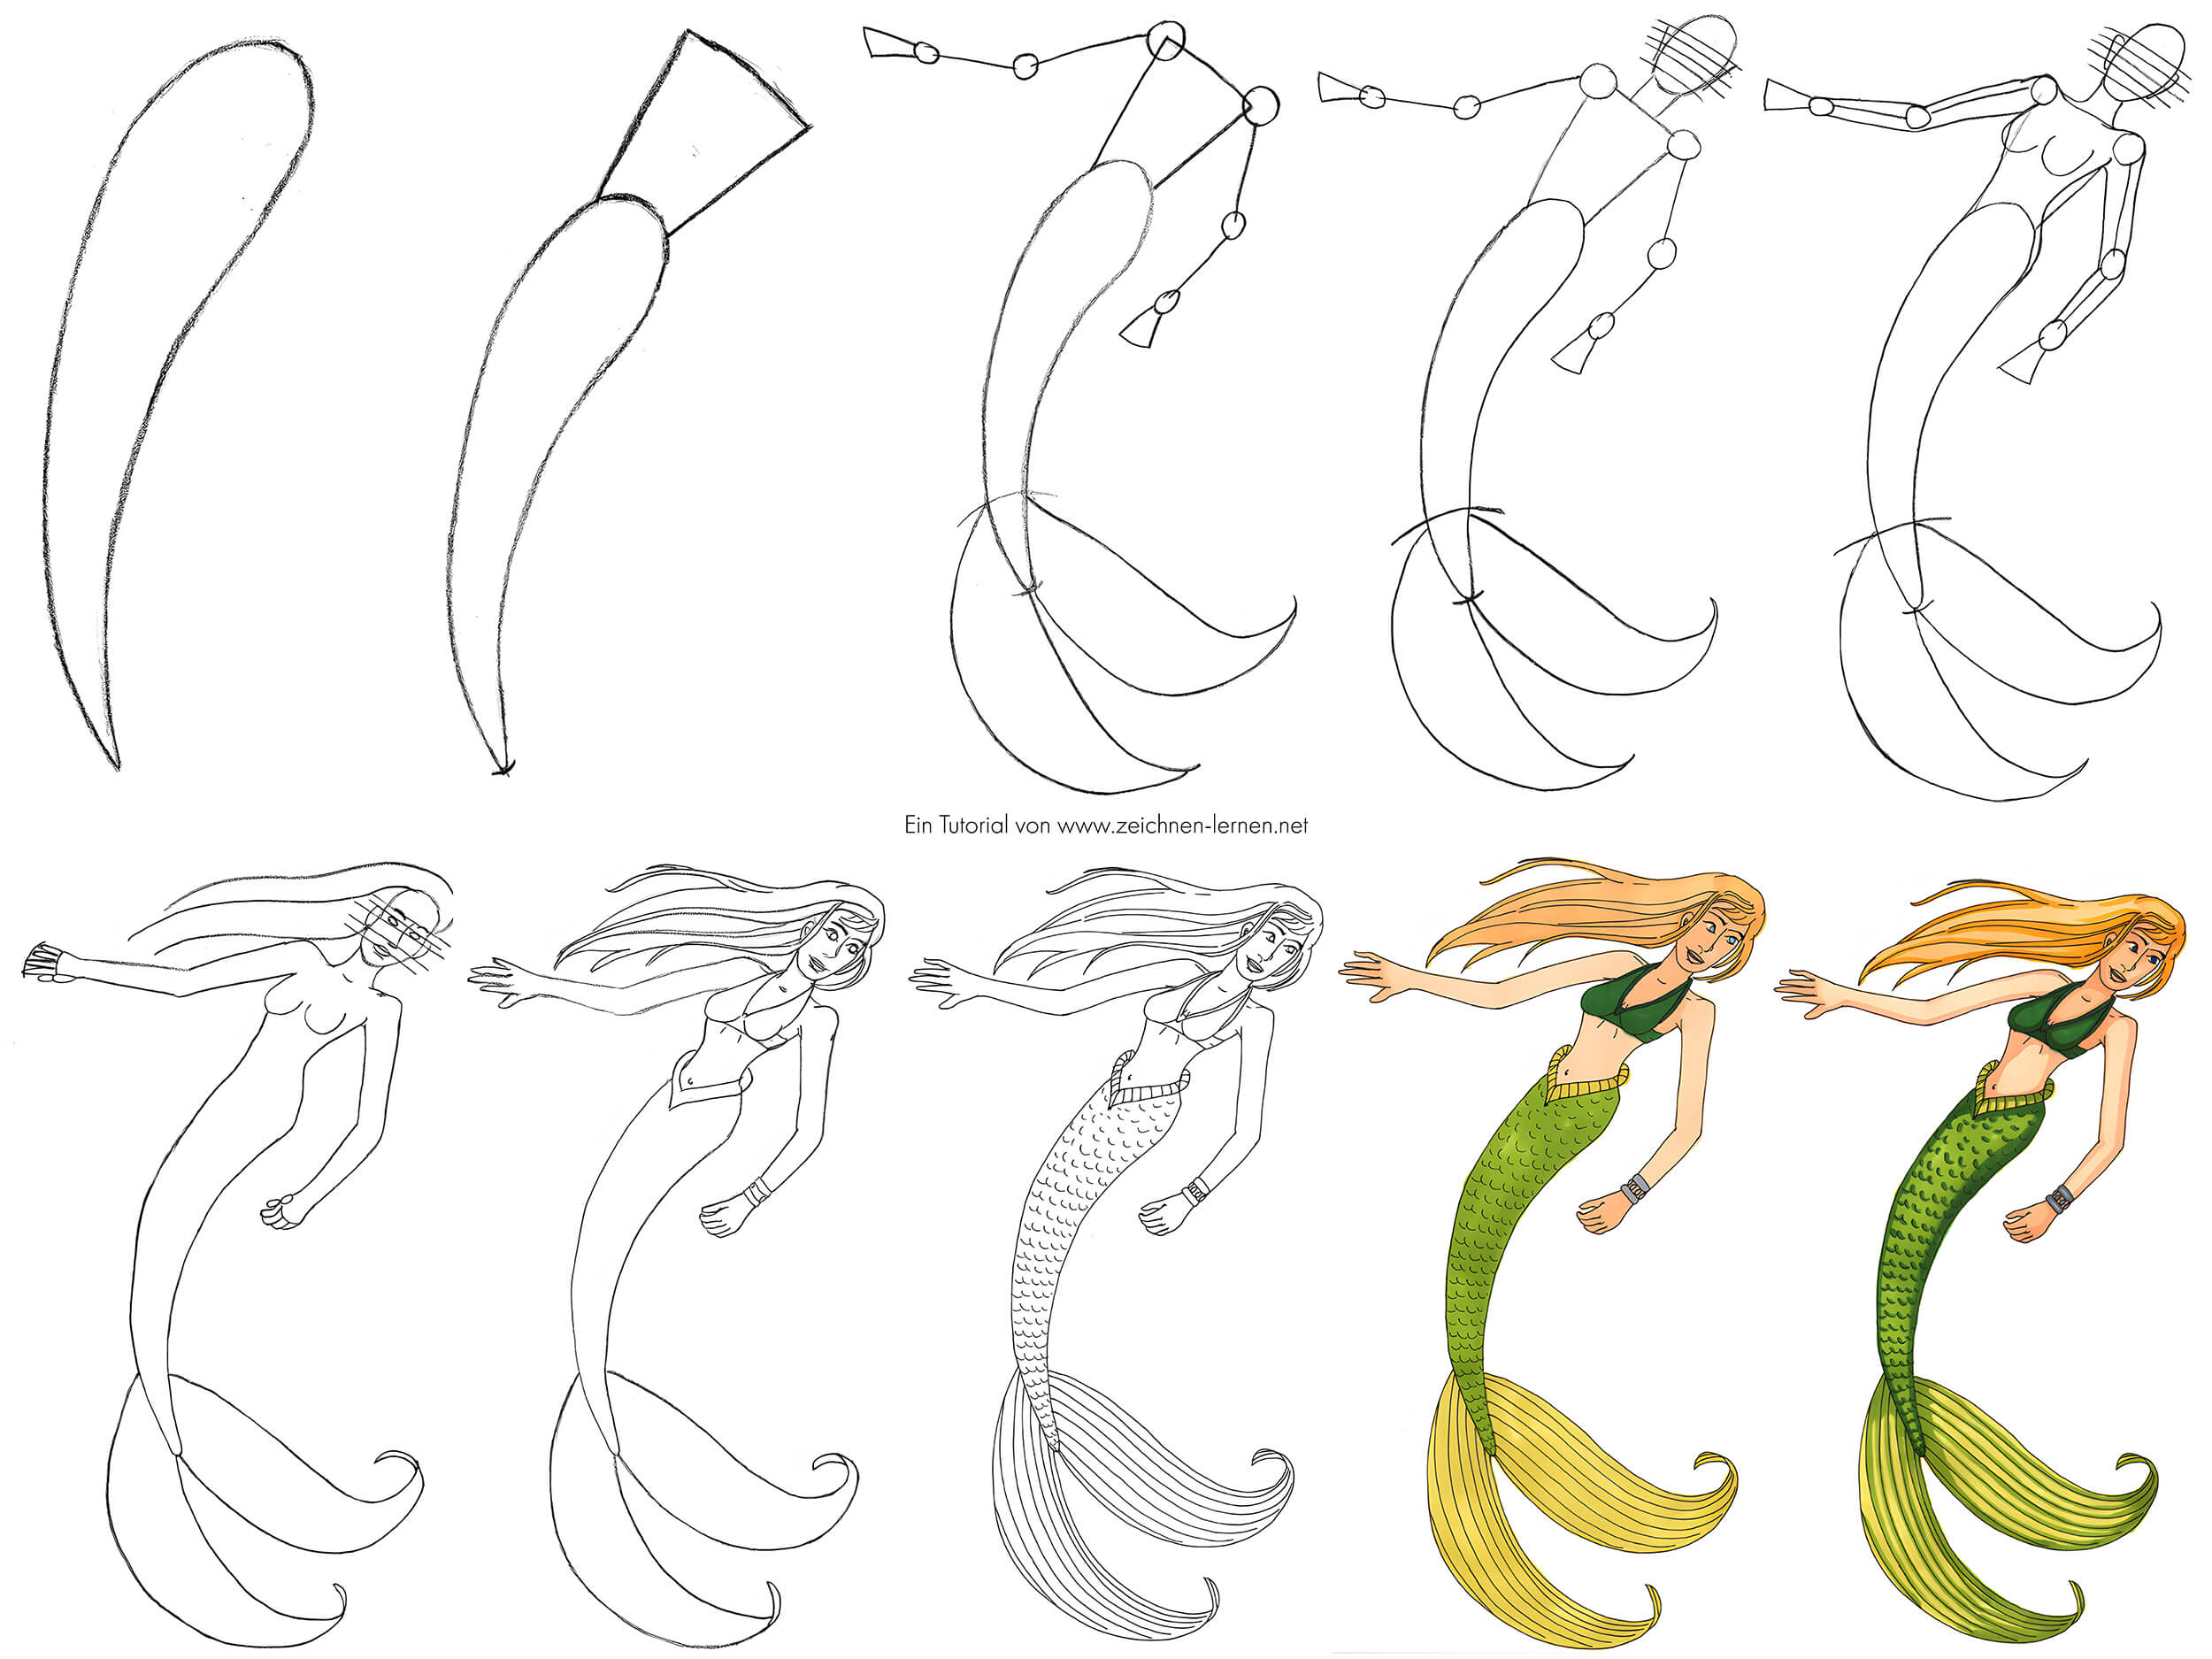
The secret, my friends, is to break it down. A mermaid tail isn't some mythical, unattainable object. It's just a series of shapes cleverly arranged to give the illusion of aquatic elegance. Think of it like making a croissant. Complicated looking, but once you understand the layers, it's just a matter of folding (or, in this case, drawing!).
Step 1: The Basic Shape – Think Hourglass (Sort Of)
First, we need the basic outline. Imagine an hourglass, but a slightly wonkier hourglass. We want it to be narrower at the top (where it connects to the mermaid’s… ahem… other half), then widening out towards the fluke (the fin part). Don't be afraid to make it curvy! Mermaids aren't exactly known for their rigid, geometric physiques. Remember, curves are your friends!
Step 2: The Fluke – Where the Magic Happens
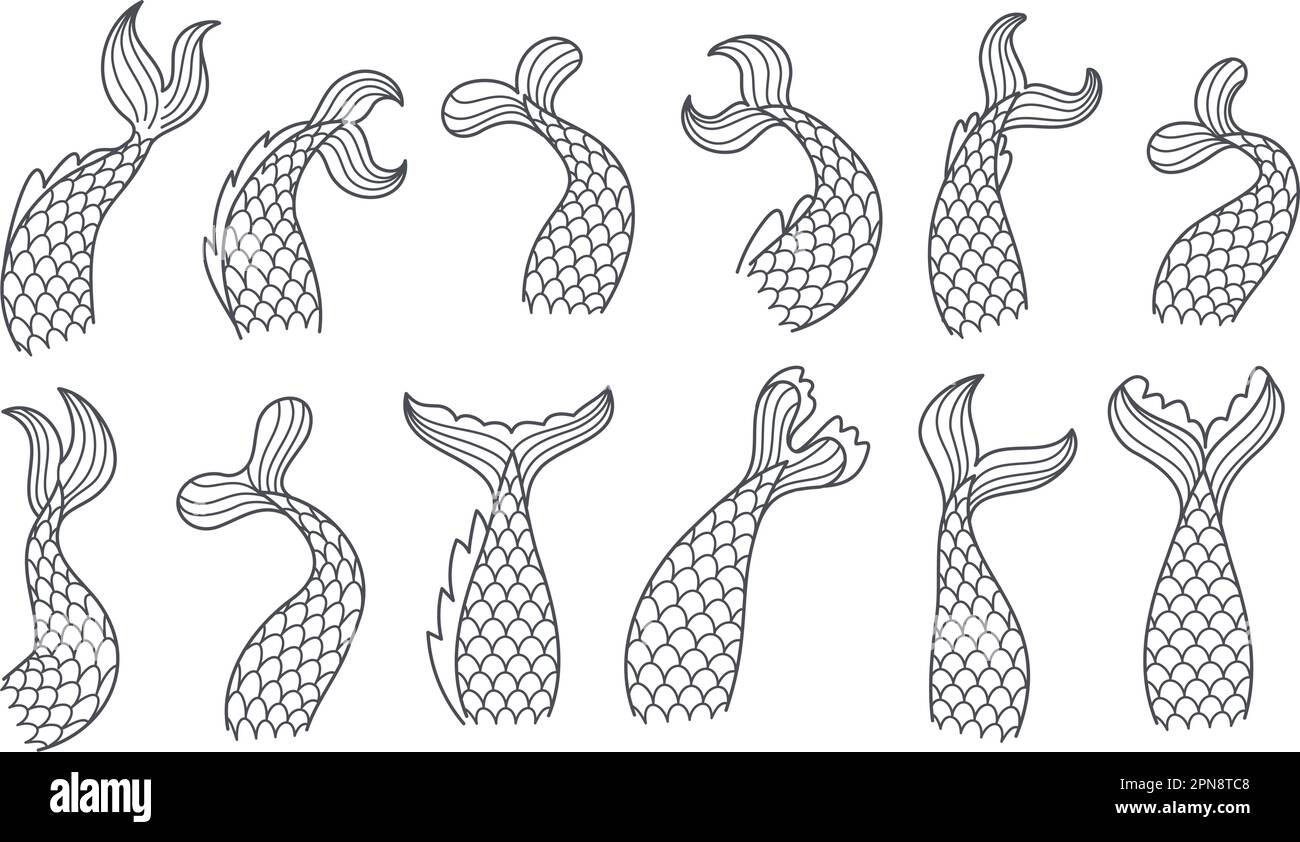
Ah, the fluke! The pièce de résistance! This is where you can really let your creativity shine. The fluke is the tail fin itself, and it can be anything you want it to be. Think of it as the mermaid's personal fashion statement.
- Classic Crescent: A simple, elegant, semi-circular shape. Think of it as the "little black dress" of mermaid tails. Reliable, stylish, and always in fashion.
- Butterfly Effect: Two separate, butterfly-wing-shaped fins. This one screams "look at me!" and is perfect for mermaids who are a little extra.
- Dolphin Delight: A single, vertical fin like a dolphin's. This is a more modern, streamlined look, for the minimalist mermaid.
- Completely Crazy Custom: Go wild! Add spikes, frills, multiple fins, bioluminescent patterns... the possibilities are endless! Just remember to keep it balanced. You don't want your mermaid to tip over!
Pro tip: Sketch out a few different fluke ideas on a separate piece of paper before committing to one. It's like trying on outfits before a big date. You want to make sure you're rocking the right fin for the occasion!

Step 3: Scales – The Devil is in the Detail (But They're Easy!)
Okay, now for the scales. This is where people often get intimidated. But fear not! Scale-drawing doesn't have to be a tedious, soul-crushing task. There are tricks!
- The Overlapping Rows Method: Draw a series of overlapping semi-circles, like tiny, perfectly aligned smiles. Start at the top of the tail and work your way down. Make sure each row slightly overlaps the one above it.
- The Dotty Delight: If you're feeling lazy (and let's be honest, sometimes we all are), you can cheat a little. Instead of drawing individual scales, create a stippled effect with tiny dots. It gives the illusion of scales without the actual effort. Shhh... don't tell anyone!
- The Pattern Power: Don't be afraid to experiment with different patterns. Try using diamonds, hexagons, or even tiny stars! La créativité est la clé! (Creativity is key!)
Remember, scales don't have to be perfect. In fact, imperfections add character! Think of it like this: even the most glamorous mermaid probably has a few scale-related wardrobe malfunctions. It's all part of the charm.
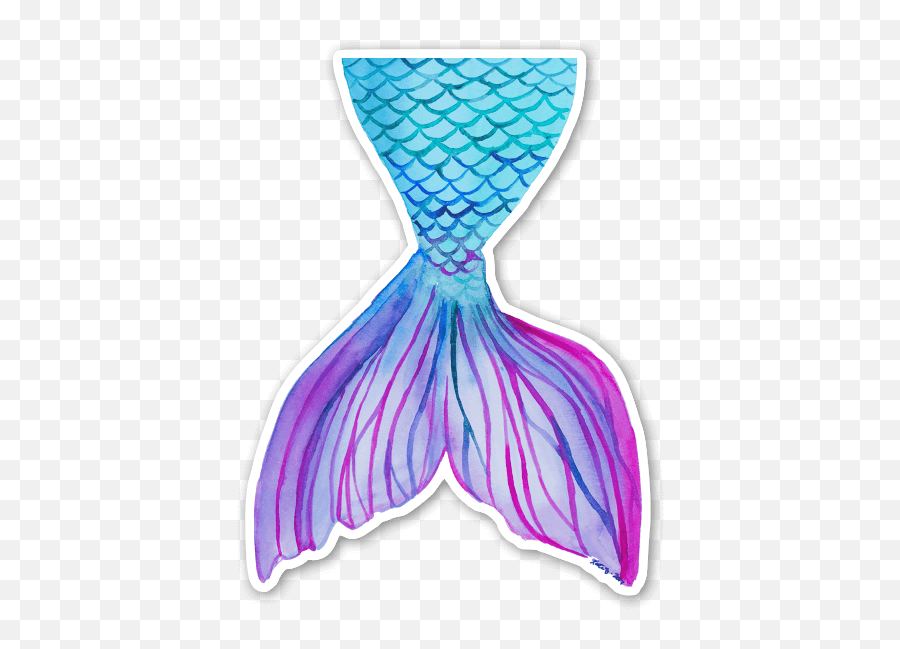
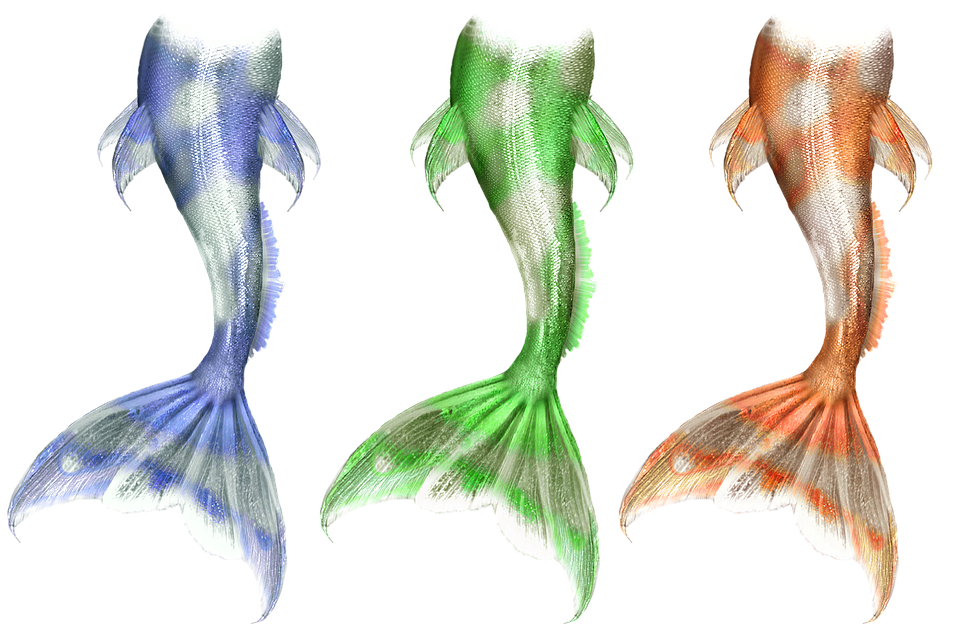
Step 4: Shading – Adding Depth and Dimension
Shading is what takes your mermaid tail from flat and lifeless to shimmering and three-dimensional. Think of it as contouring for mermaids. Use a lighter shade on the areas that would catch the light (usually the top of the tail and along the edges of the fluke) and a darker shade in the areas that would be in shadow (underneath the scales and along the underside of the tail). Experiment! Play around! See what works best for you. There is no wrong way to shade, as long as it brings the tail to life.
Pro Tips for the Aspiring Mermaid Tail Artist
Alright, you've got the basics down. Now, let's move on to some pro tips that will elevate your mermaid tail drawings from "meh" to "magnifique!"
- Reference Photos are Your Friends: Look at pictures of real fish, dolphins, and other aquatic creatures for inspiration. Notice how their scales are arranged, how the light reflects off their skin, and how their fins move.
- Don't Be Afraid to Erase: Drawing is all about experimentation. Don't be afraid to make mistakes and erase them. It's how you learn! Think of it as a conversation between you and the paper.
- Use Different Tools: Experiment with different pencils, pens, and markers to see what you like best. A soft pencil is great for shading, while a fine-tipped pen is perfect for adding details.
- Practice, Practice, Practice: The more you draw, the better you'll get. Don't get discouraged if your first few attempts aren't perfect. Keep at it, and you'll be drawing mermaid tails like a pro in no time!
- Have Fun!: This is the most important tip of all. Drawing should be enjoyable. If you're not having fun, you're doing it wrong! Crank up some music, grab a snack, and let your imagination run wild!
My Antoinette's Verdict (and Yours!)
So, did my little Antoinette approve of my mermaid tail drawing? Absolutely! She even added her own embellishments – glitter, of course – and declared it "the most beautiful mermaid tail EVER!"

And that, my friends, is all that matters. Whether you're drawing for a seven-year-old mermaid enthusiast or just for your own amusement, the goal is to have fun and create something beautiful. Alors, grab your pencils, unleash your inner artist, and start drawing some seriously époustouflant mermaid tails!
You'll be surprised at what you can create. And who knows, maybe you'll even discover your own inner mermaid along the way.
Bonne chance, et amusez-vous bien! (Good luck, and have fun!)


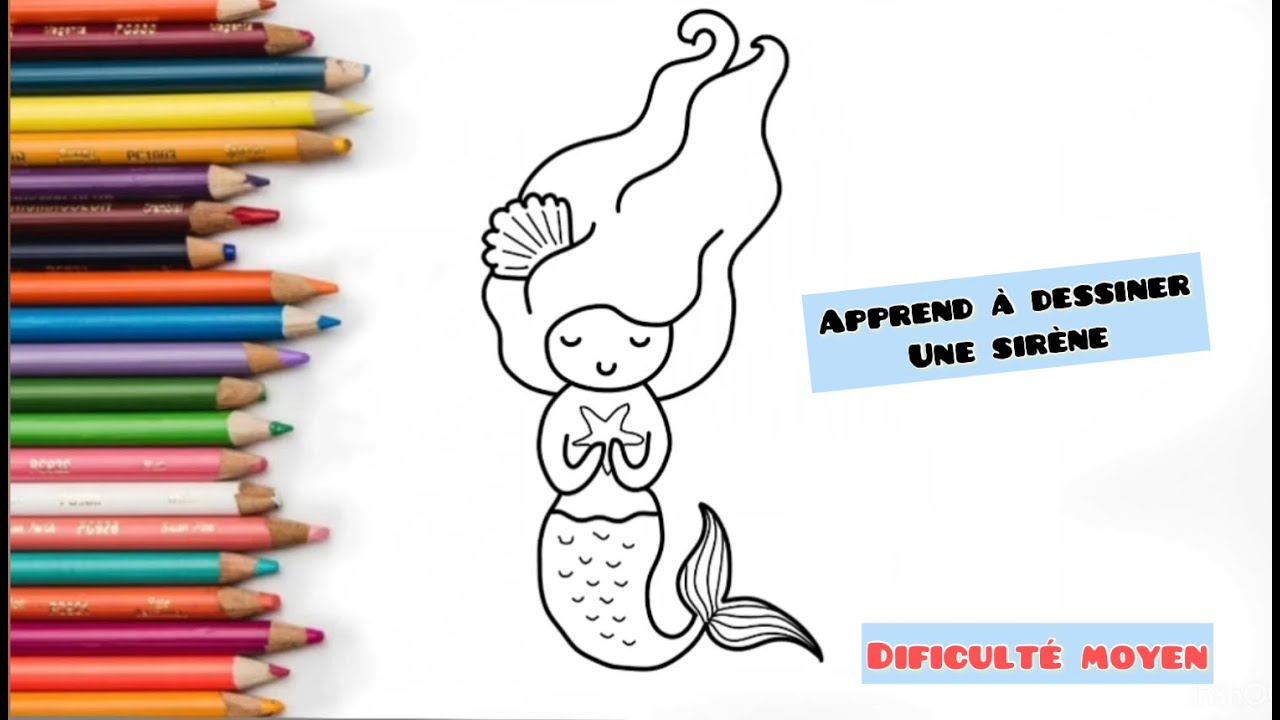


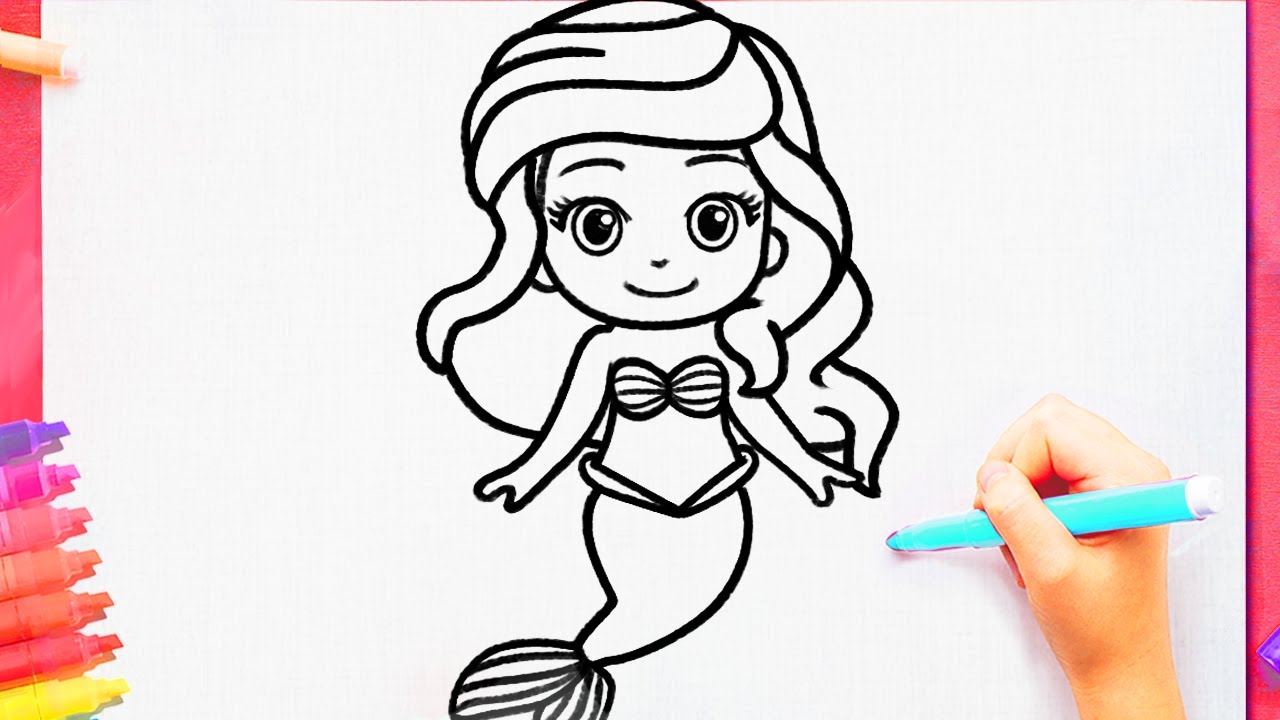
![Comment Dessiner une [ SIRÈNE 🧜♀️ ] étape par étape - YouTube](https://i.ytimg.com/vi/2D3Z7yEeCI0/maxresdefault.jpg)