Okay, so picture this: me, last summer, armed with a hammer and a completely misguided sense of DIY confidence. I decided to "spruce up" the garden wall. My grand plan? A little accent wall of glass bricks. Turns out, "little" and "easy" were major exaggerations. Let's just say, the project involved more swearing than construction. (Don't judge, we've all been there!). It did, however, teach me a thing or two about laying glass bricks outdoors. And, crucially, what not to do.
So, you’re thinking of adding some shimmering, light-filled magic to your outdoor space with glass bricks? Smart move! They're super stylish and can really transform a dull area. But before you go full-DIY-disaster like yours truly, let’s chat about what’s involved in laying glass bricks exterior.
Why Glass Bricks Outdoors?
First off, why bother? Well, think about the possibilities:
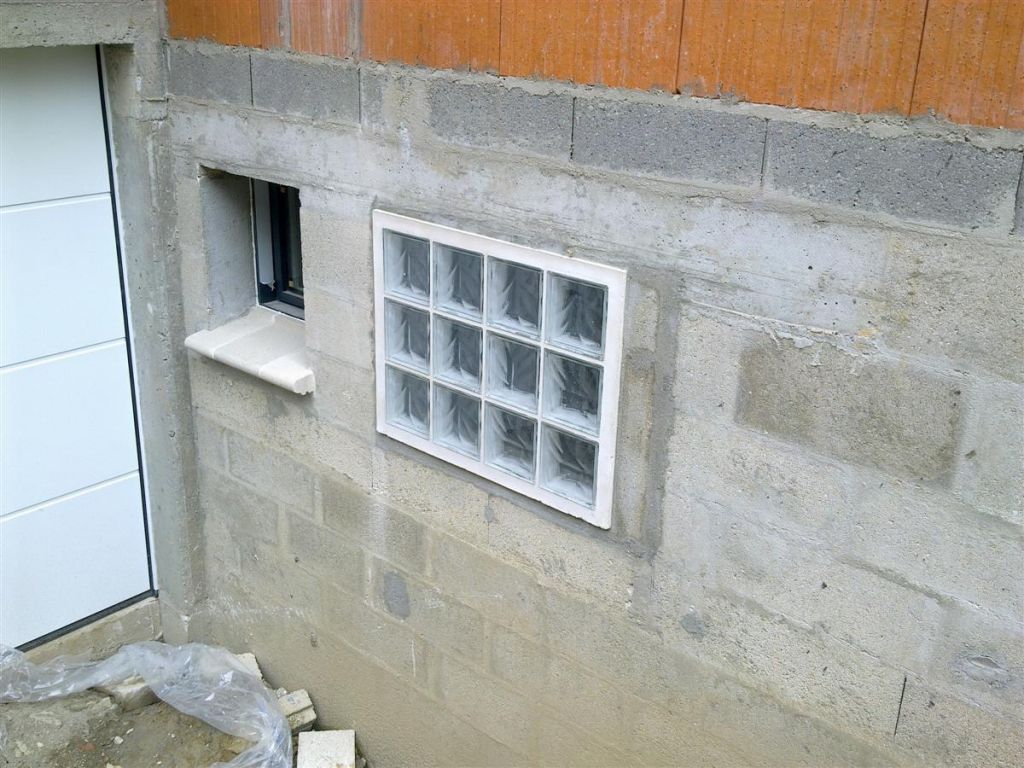
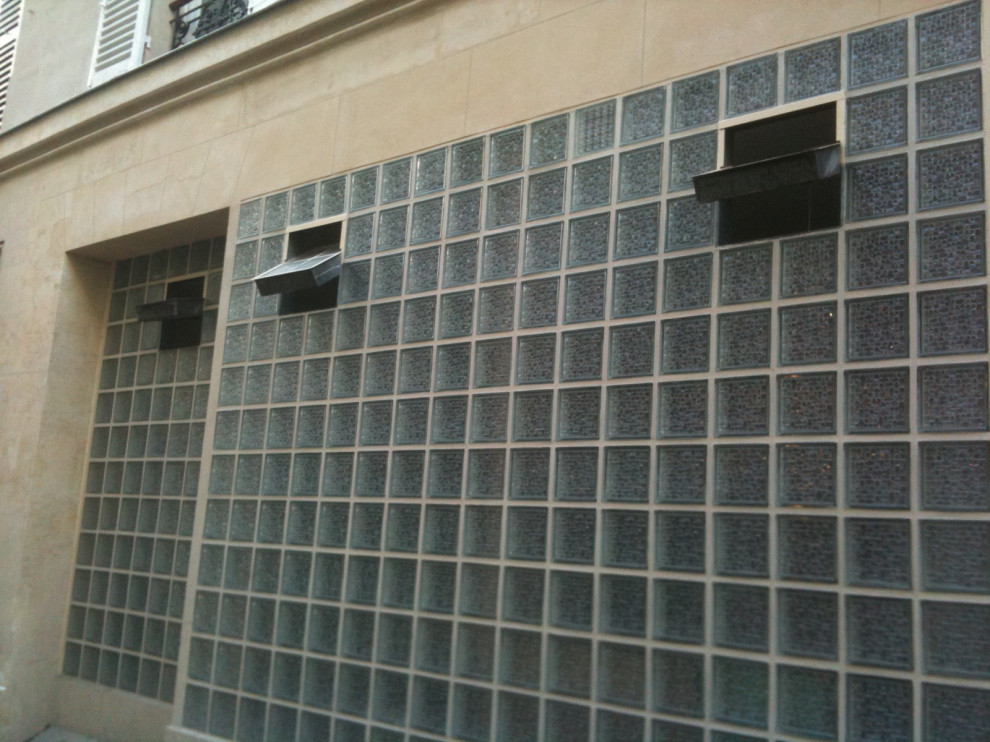
- Privacy: Create a stylish screen without completely blocking light. Perfect for nosy neighbors!
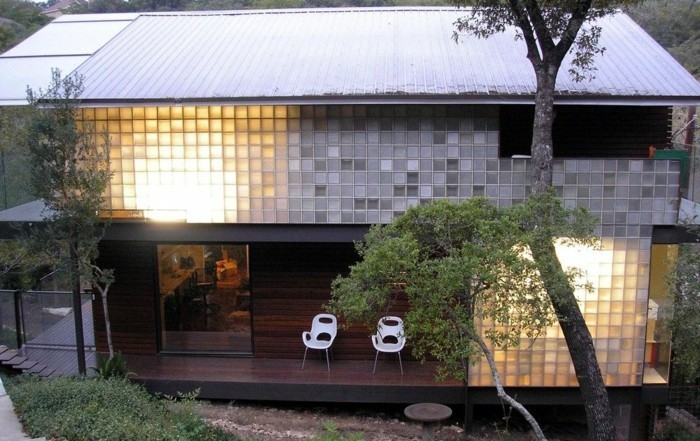
- Light: Let that beautiful sunshine pour in, even in shaded areas.
- Aesthetics: They look amazing. Seriously, glass bricks can add a touch of modern elegance to any outdoor space.
- Durability: Properly installed, they're surprisingly tough and can withstand the elements. (Unlike my initial attempt, which nearly didn't!)
Essential Steps for Outdoor Glass Brick Installation
Alright, let’s get down to the nitty-gritty. Here's what you need to know (and what I wish I'd known last summer):
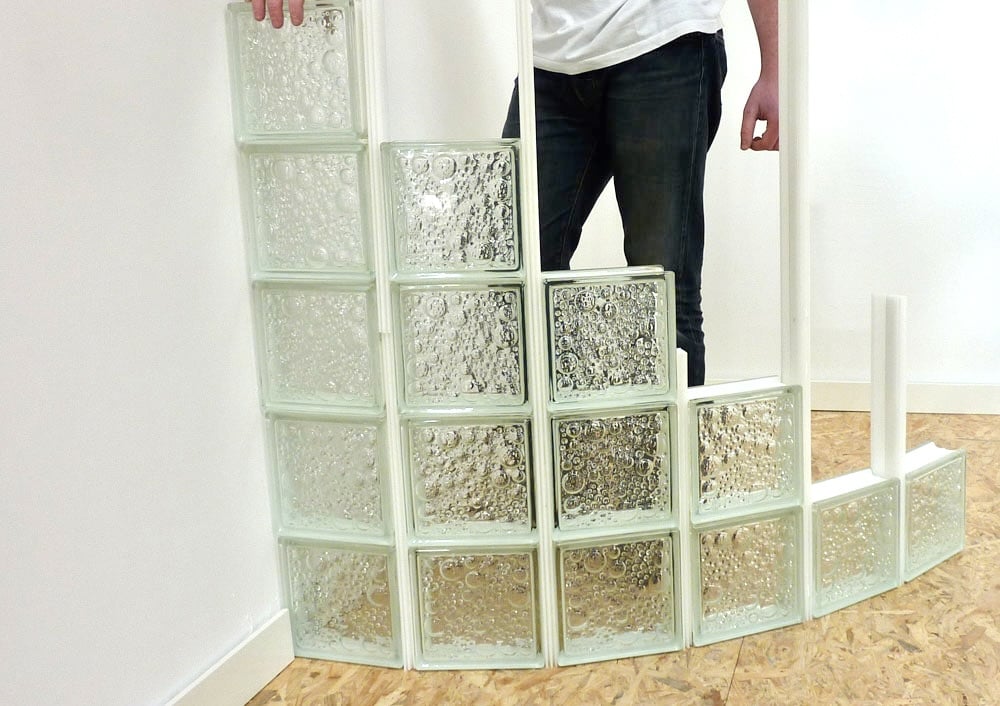
- Planning is Key: Don't just dive in! Measure your space carefully. Plan the layout. Account for mortar joints. Seriously, plan. I cannot stress this enough. (Trust me, you don’t want to be cutting glass bricks – it’s not a fun experience).
- Choosing the Right Mortar: This is critical. Outdoor installations require a mortar specifically designed for exterior use. It needs to be weather-resistant and able to handle temperature fluctuations. Ask your supplier for recommendations!
- Waterproofing: Since it's outside, waterproofing is a must! Use a sealant specifically designed for glass bricks and mortar joints. This prevents water damage and ensures the longevity of your installation.
- Reinforcement: Depending on the size of your glass brick wall, you might need to consider reinforcement. Steel rods embedded in the mortar joints can add extra strength and stability, especially in areas prone to strong winds or seismic activity.
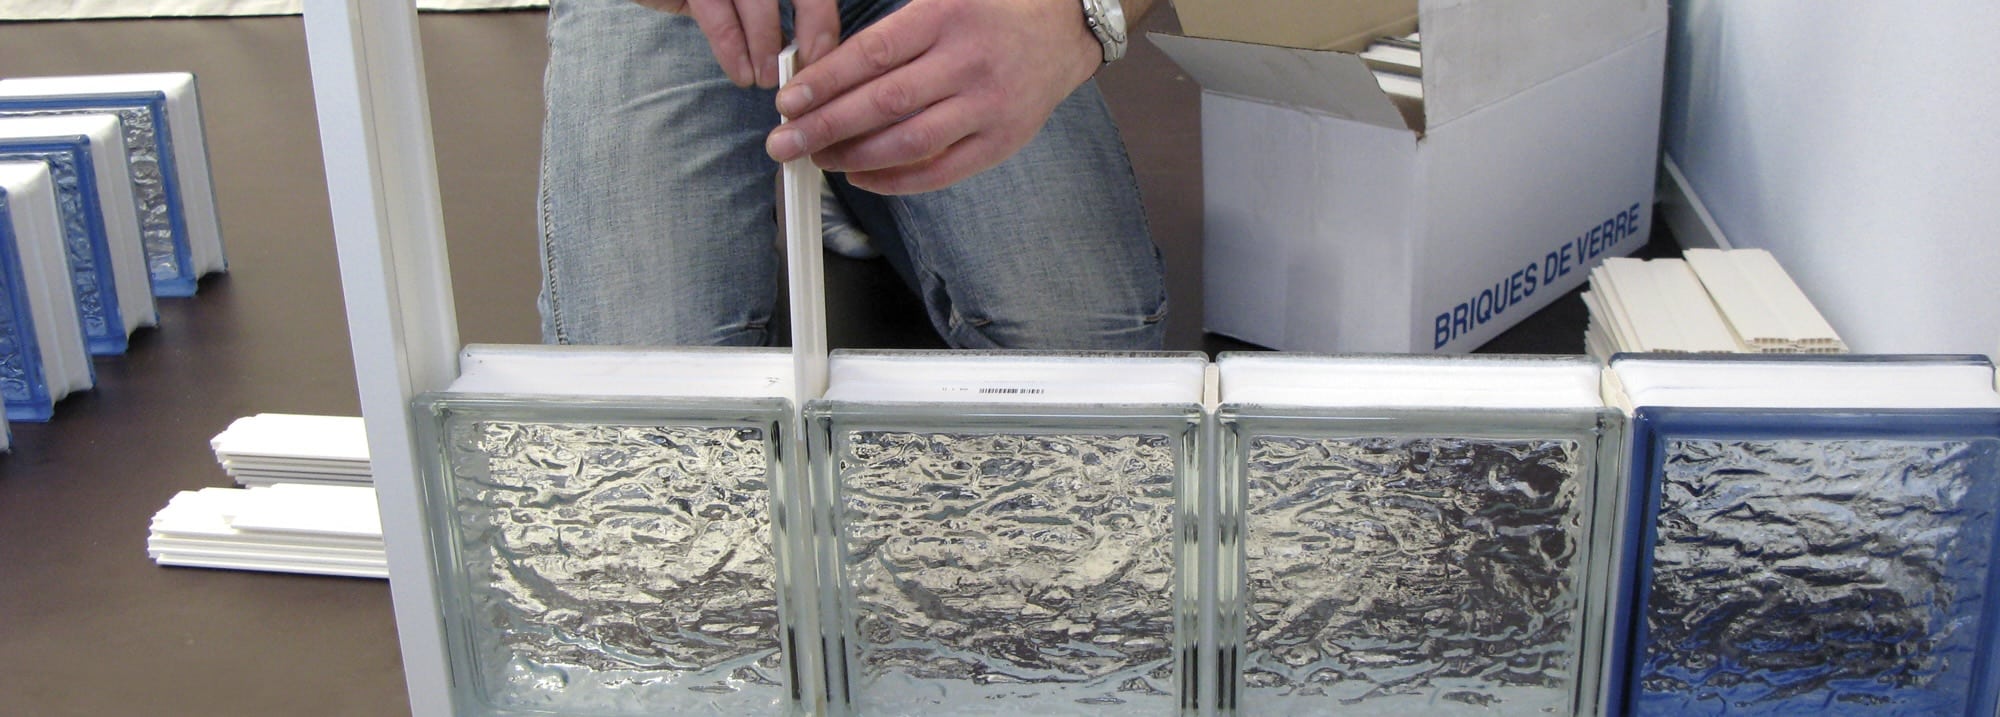
- Proper Spacing and Alignment: Use spacers to ensure consistent mortar joints. This is essential for a professional-looking finish. And, of course, use a level! A wonky glass brick wall is not a good look.
Important Considerations:
These are the little things that can make or break your project:

- Drainage: Make sure water can drain properly from behind the glass brick wall. You don't want water pooling and causing damage.
- Expansion and Contraction: Glass and mortar expand and contract with temperature changes. Allow for this in your design to prevent cracking.
- Cleaning: Glass bricks are relatively easy to clean. Use a mild detergent and water. Avoid abrasive cleaners, as they can scratch the glass.
Should You DIY or Hire a Pro?
That, my friend, is the million-dollar question. If you're experienced with masonry and have a good eye for detail, go for it! But if you're like me (a slightly-too-enthusiastic amateur), it might be worth considering hiring a professional. They'll ensure the job is done right, saving you time, money, and a whole lot of frustration. Ultimately, a professionally installed glass brick feature will last longer and provide better value in the long run.
So there you have it! Hopefully, this has given you a better understanding of what's involved in laying glass bricks outdoors. And remember, even if things don't go perfectly (like someone's first attempt), you can always learn from your mistakes. Just maybe, invest in some stronger language filters... just kidding! (Mostly.) Good luck with your project!