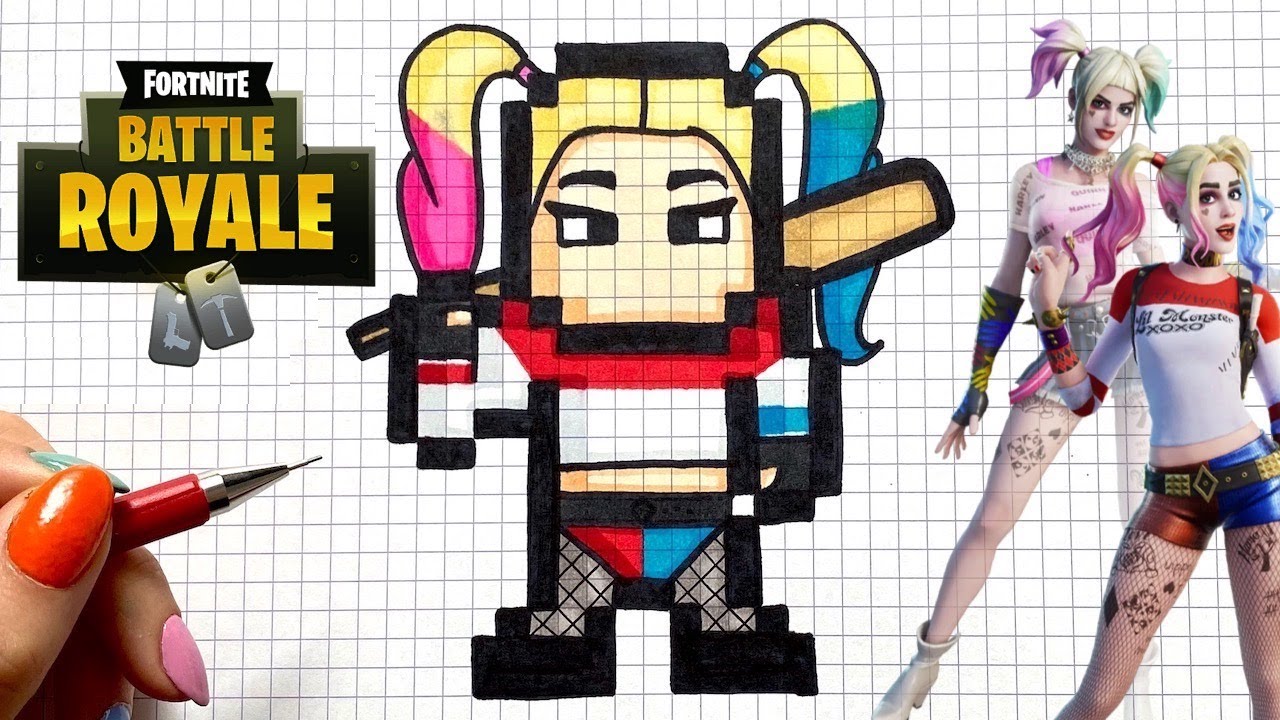
Okay, so picture this: I'm scrolling through Instagram, lost in a sea of perfectly curated feeds (aren't we all sometimes? 😉). Suddenly, BAM! A pixel art Harley Quinn pops up, and it's not just any Harley Quinn. It's adorable. Like, ridiculously, melt-your-heart adorable. And, the kicker? It looked... doable. Not intimidatingly complex, just… fun. That's when the pixel art obsession began. And naturally, my first thought was: "I gotta learn how to do that!" So here we are, ready to dive into the world of easy pixel art Harley Quinn.
Now, you might be thinking, "Pixel art? Isn't that, like, super retro?" Well, yeah, kinda. But that's part of its charm! It's like a digital form of pointillism, and trust me, it's incredibly satisfying. Plus, it's a great way to start learning digital art because it simplifies everything down to its basic components. Think of it as the gateway drug to becoming a digital art ninja. 😉
What You'll Need
Before we jump into the pixelated mayhem, let's gather our supplies. Don't worry, you don't need a fancy art studio or a ton of expensive equipment. The beauty of pixel art is its simplicity!
- Pixel Art Software: There are tons of free options available! I personally use Piskel (piskelapp.com), it's free, online, and super user-friendly. But you can also check out GIMP (a free alternative to Photoshop) or even just good old MS Paint if you're feeling truly retro. (Remember MS Paint? Good times!)
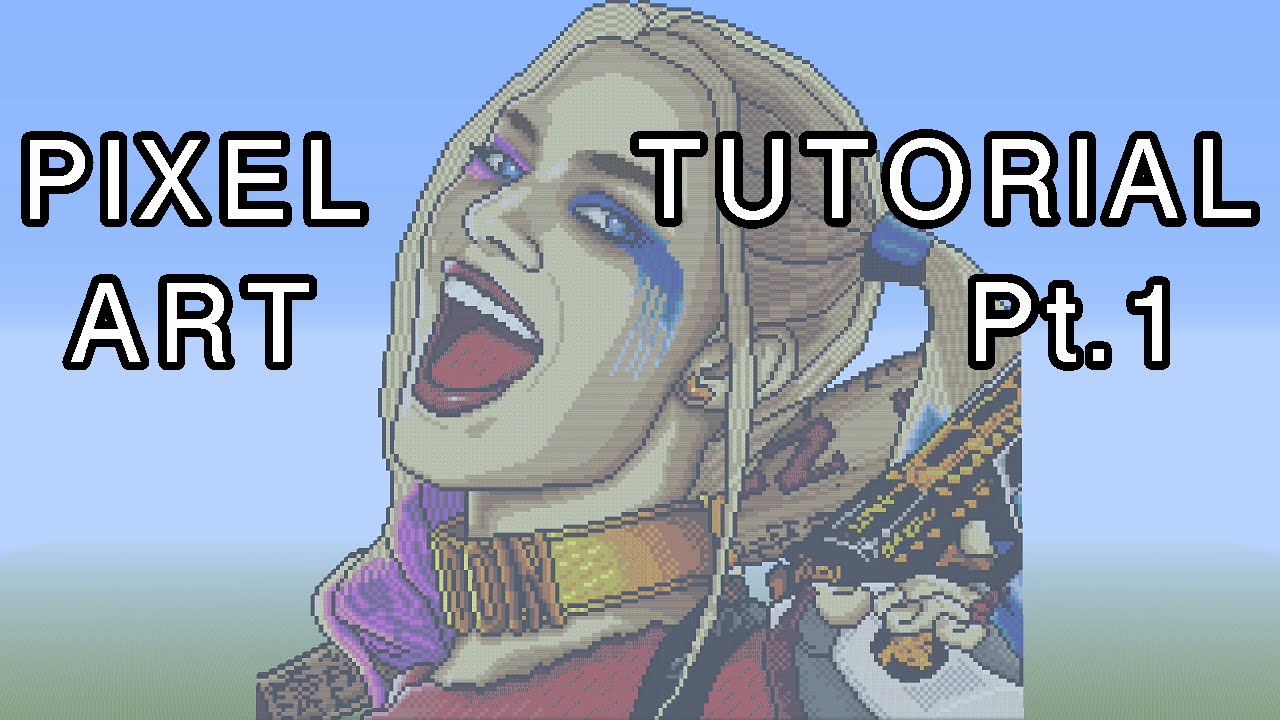
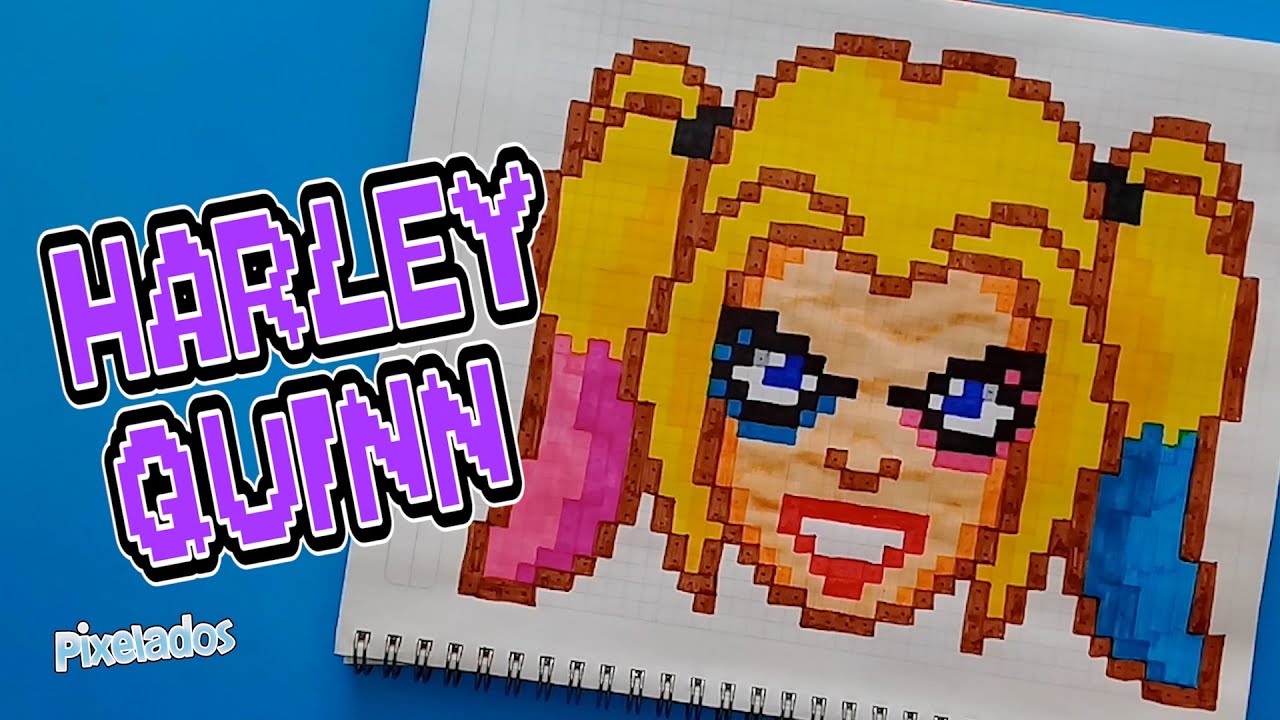
- A Reference Image: Choose a Harley Quinn image you like. Something relatively simple with clear lines is ideal for beginners. Avoid super detailed, hyper-realistic images at first. Think cartoonish, cute Harley.
- Patience (and maybe some snacks): Rome wasn't built in a day, and neither is a pixel art masterpiece. (Okay, maybe "masterpiece" is a bit much for a beginner project, but you get the idea!). Grab some snacks, put on some music, and get ready to relax and create.
Breaking Down Harley: Simplifying the Design
Okay, here's the secret sauce: simplifying. We're not aiming for photorealism here. We're aiming for charm and recognizability. Think about the key elements that make Harley Quinn, well, Harley Quinn:
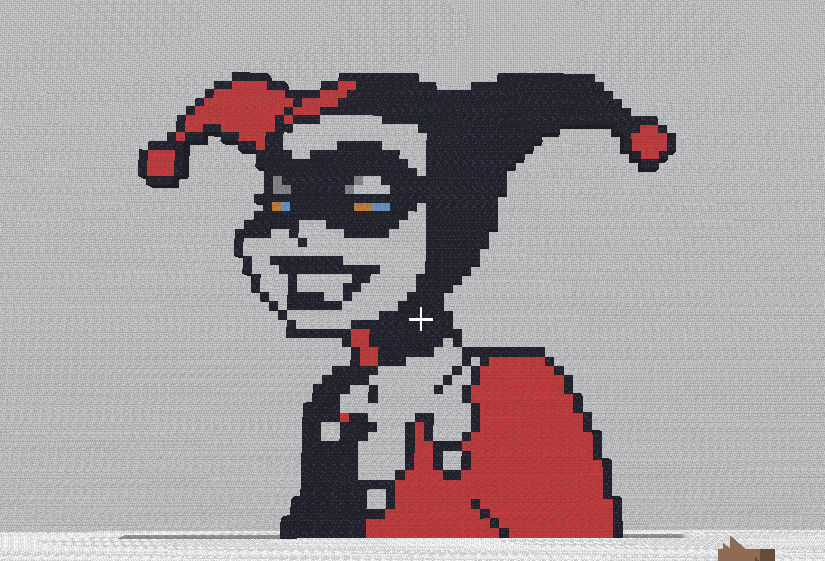
- Her Color Scheme: Red and black are her signature colors. We'll definitely need those.
- Her Pigtails: Those iconic pigtails are a must. They're instantly recognizable.
- Her Makeup: The smeared makeup adds to her chaotic charm. But we'll need to simplify it for pixel art.
- Her Smile: A mischievous grin is essential.
Now, let's translate these elements into simple shapes and colors. Imagine breaking Harley down into a collection of squares and rectangles. Seriously, try to visualize it! This will make the pixel art process much easier. You'll be surprised how much information you can convey with just a few well-placed pixels.
The Step-by-Step Pixel Art Harley Quinn Guide
Alright, time to get pixelating! I'm going to walk you through a basic process, but remember, this is just a starting point. Feel free to experiment and put your own spin on it!
Step 1: The Base Shape
Start with a simple square or rectangle to represent Harley's head. Don't worry about the details yet, just focus on getting the basic shape right. A size of 32x32 or 64x64 pixels is a good starting point. Too small, and it's hard to see the details. Too big, and it'll take forever! (Trust me, I've been there.)

Step 2: Adding the Hair and Pigtails
Now, add the hair. Simplify the pigtails into basic cone shapes. Use black or a dark brown for the hair outline. Remember the iconic red and black pigtails! Color one pigtail red and the other black. Don't be afraid to use jagged edges to create a more pixelated look. It adds to the charm, I promise! (And it's way easier than trying to make perfectly smooth curves with pixels.)
Step 3: The Face
Next, let's add the facial features. Keep it simple! Two dots for the eyes, a small curved line for the mouth, and a few pixels for the nose. Don't overdo it. Remember, less is more in pixel art. Add a little bit of red eyeshadow on one eye and black on the other, hinting at her signature makeup. A slight, mischievous curve to the mouth is key. We want to capture that Harley Quinn attitude!
Step 4: The Outfit
Now, let's work on the outfit. You can keep it simple with a basic red and black top, or you can add a little bit of detail to suggest her jester costume. Again, stick to basic shapes and colors. A few well-placed pixels can suggest the diamond pattern on her costume. Don't be afraid to use a slightly lighter shade of red and black to add some dimension. Shading is key to making your pixel art pop!

Step 5: Adding Details and Shading
This is where you can really personalize your Harley. Add some shading to the hair and outfit to give it more depth. Use slightly lighter and darker shades of red and black to create the illusion of highlights and shadows. This is a great way to add dimension and make your Harley Quinn pixel art stand out. Consider adding a simple white highlight to the eyes to make them sparkle. And don't forget that mischievous smile! Adjust the curve of the mouth and add a few subtle details to capture her personality.
Step 6: Clean Up and Refine
Take a step back and look at your creation. Are there any areas that need to be cleaned up or refined? Adjust the placement of pixels, tweak the colors, and make sure everything looks cohesive. Sometimes, just moving a few pixels around can make a big difference. Don't be afraid to experiment! Pixel art is all about trial and error. And don't be too hard on yourself if it doesn't look perfect the first time. Practice makes perfect!
Tips and Tricks for Pixel Art Harley Quinn Success
Here are a few extra tips to help you on your pixel art journey:
- Use a Limited Color Palette: Restricting yourself to a smaller number of colors will help you create a more cohesive and visually appealing image. 16 colors is a good starting point.
- Embrace the Jaggies: Don't try to smooth out every line. The "jaggies" are part of the charm of pixel art. They give it that retro, pixelated look.
- Zoom In and Out: Zooming in allows you to see the individual pixels and make precise adjustments. Zooming out gives you a better overview of the overall composition.
- Don't Be Afraid to Experiment: Try different colors, shapes, and techniques. The more you experiment, the better you'll become.
- Practice, Practice, Practice: The more you practice, the better you'll get at pixel art. Start with simple designs and gradually work your way up to more complex ones.
Beyond the Basics: Taking Your Pixel Art to the Next Level
Once you've mastered the basics of pixel art Harley Quinn, you can start experimenting with more advanced techniques. Try adding more detail, using more colors, or creating animated sprites. You can even create your own pixel art games! The possibilities are endless!
- Animation: Create a simple animation of Harley Quinn blinking or waving. It's surprisingly easy to create a simple animation by creating a few frames with slight variations and then looping them.
- Backgrounds: Add a simple background to your Harley Quinn pixel art. A cityscape, a carnival, or even just a solid color can add context and make your artwork more visually appealing.
- Other DC Characters: Once you've mastered Harley Quinn, try creating pixel art versions of other DC characters, like Batman, Joker, or Poison Ivy.
So there you have it! A beginner's guide to creating easy pixel art Harley Quinn. It's a fun, rewarding, and surprisingly addictive hobby. So grab your pixel art software, unleash your inner artist, and start creating your own pixelated masterpiece! And don't forget to share your creations with the world! (I'd love to see them!). Bonne chance, and happy pixelating!