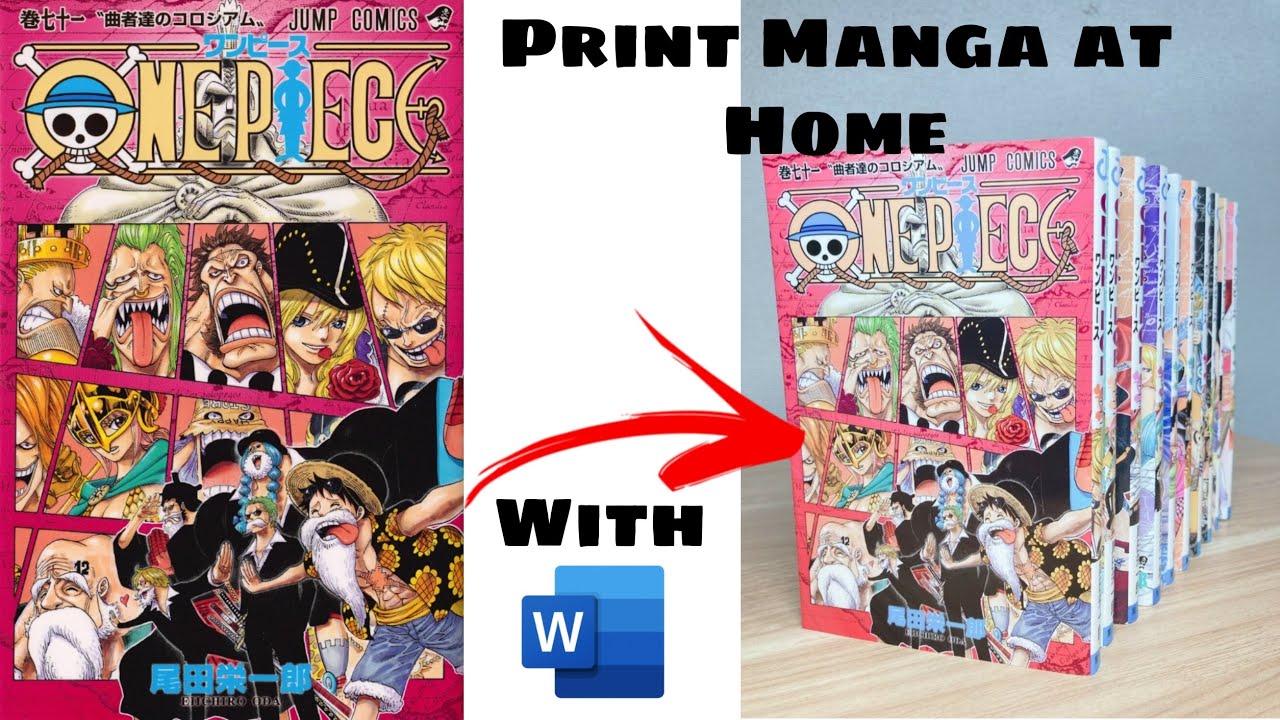
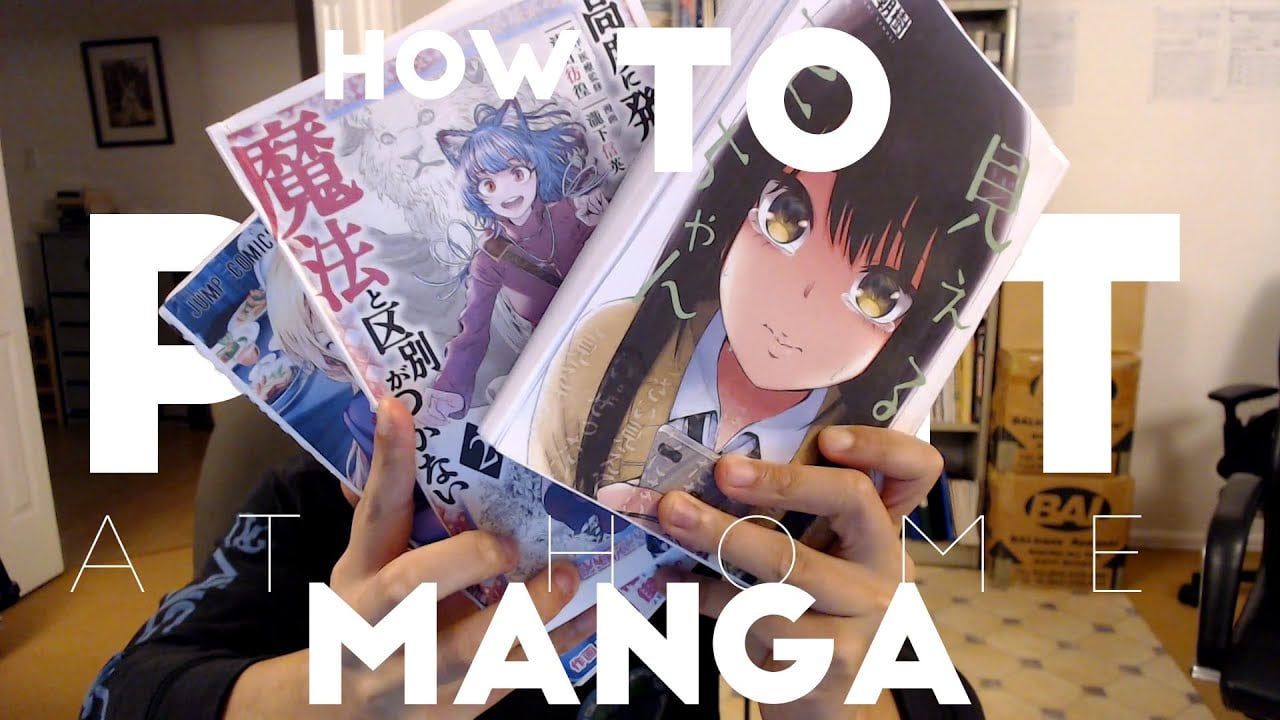
Salut les amis ! Ever wanted to hold your very own manga in your hands? Like, something you created yourself? Or maybe a fan translation you've been itching to physically own? Well, guess what? You totally can! Printing manga at home might sound like a daunting task, reserved for professional publishers, but trust me, it’s totally doable. And it's way more fun than you think. Think of it as baking your favorite cake, but instead of flour and sugar, you're using ink and paper!
Pourquoi s'embêter à imprimer à la maison ? (Why even bother printing at home?)
Okay, valid question! Why go through all the hassle when you can just, you know, buy manga? Well, let me tell you. First, it's about the freedom. Want a specific chapter bound? Got it. Want a limited-edition run of your friend's indie comic? Go for it! It's like having your own personal printing press. Imagine the possibilities!
- Customization, baby!: Tailor your manga to your exact preferences. Size, paper, binding – you’re the boss.
- For the love of the craft: It's a cool, creative project. Think of it as a digital art project that spills into the physical world.
- Indie author support: Help your artist friends, even with a small run of their manga. Support the indie creators!
- Collectibility: Homemade manga are super cool and unique. They make awesome gifts!
Plus, let’s be honest, owning something you made with your own two hands just feels good. It's a tangible reward for your effort and a pretty darn cool conversation starter. "Oh, this manga? Yeah, I printed it myself." Instant cool points! It's kinda like learning to knit – after you've made your own scarf, you have a new appreciation for textile art and also a cozy scarf!
Le matériel dont vous aurez besoin (The Stuff You'll Need)
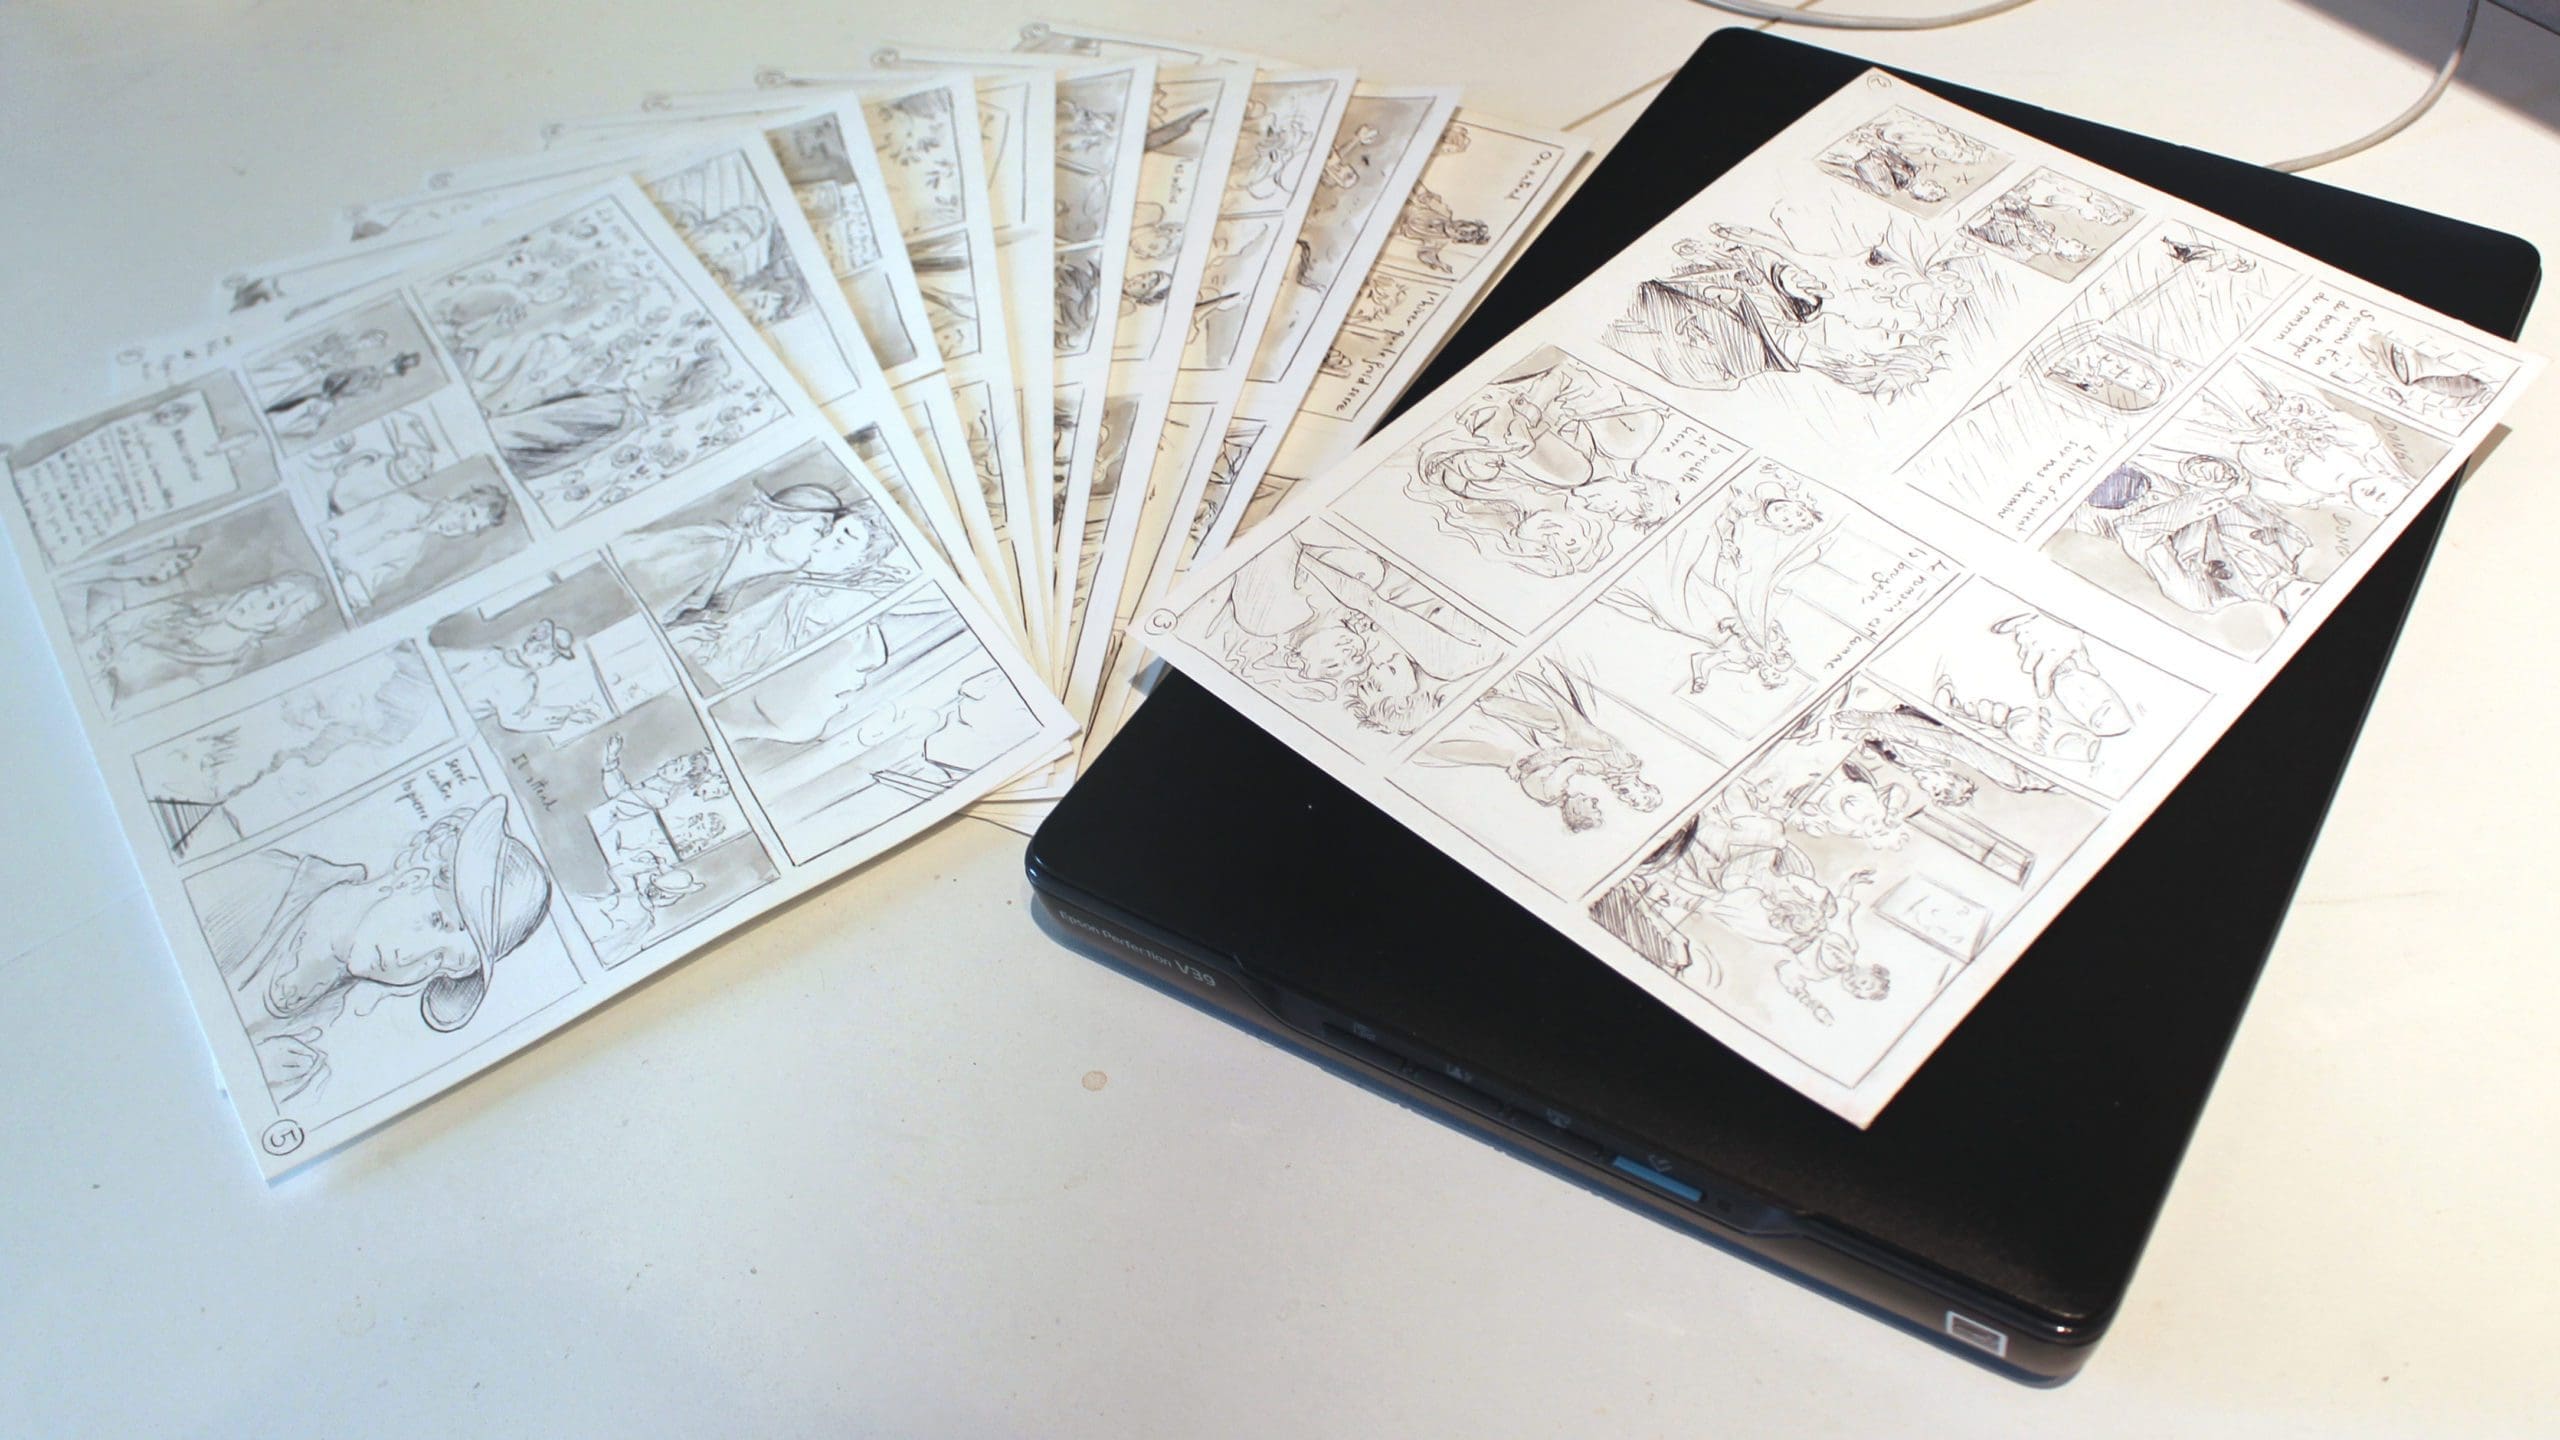
Alright, down to brass tacks. What do you actually need to make this manga-printing dream a reality? Don't worry, you don't need a million-dollar industrial printer. Here's the lowdown:
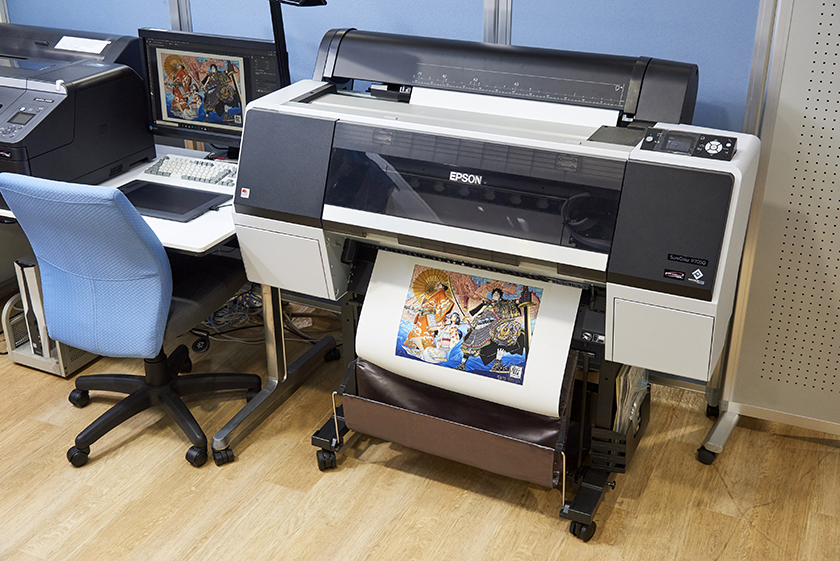
- An Inkjet Printer: This is your workhorse. An inkjet printer is more suitable than laser. It has to be able to handle different paper thicknesses. A printer that supports borderless printing is useful for getting the maximum printed area and not have ugly borders.
- Paper: Now, this is where you can get creative! Think about what you want your manga to feel like. Glossy paper for vibrant images? Matte paper for a more vintage vibe? Thicker paper for durability? The choice is yours. Experiment! Paper weight is something to consider. The heavier the paper, the better, but your printer has to be able to handle it.
- Ink: Obviously. Make sure you have enough! Trust me, running out of ink halfway through a print job is the worst. Consider buying in bulk if you plan to do a lot of printing.
- Software: You'll need something to lay out your manga pages. Word processors can do the trick, but dedicated software like Scribus is better, especially if you're aiming for a professional look.
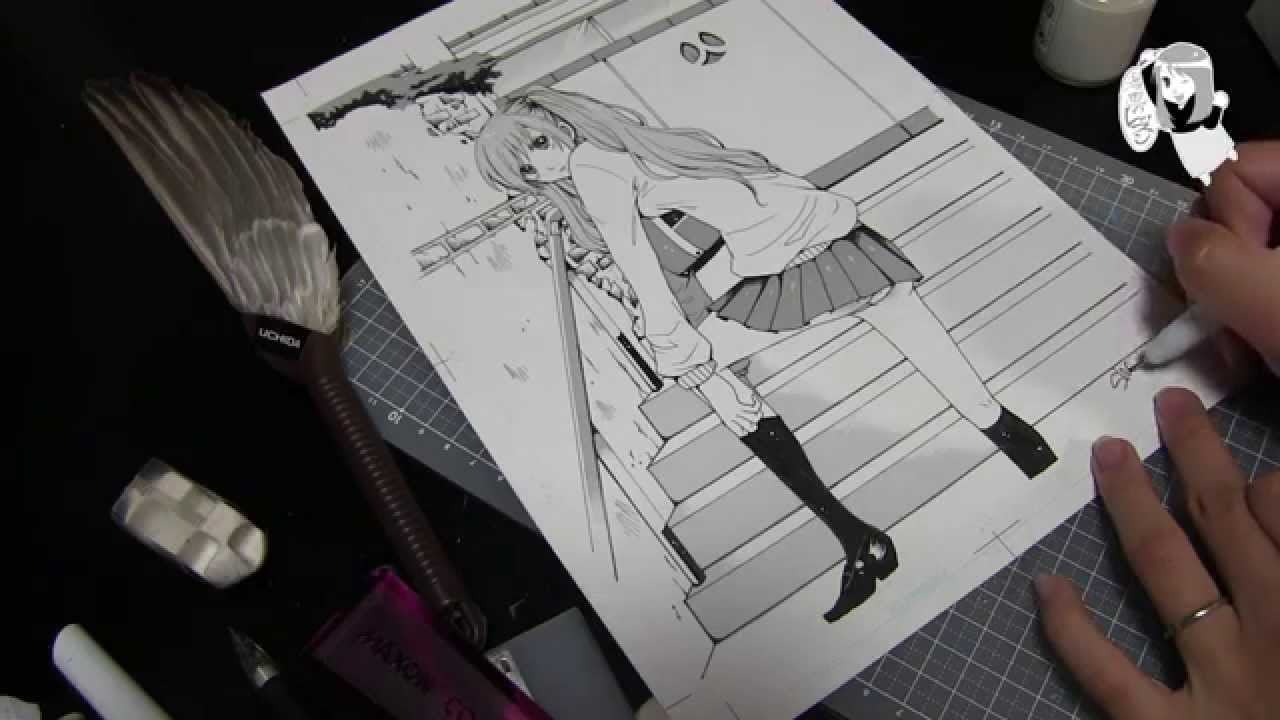
- A Cutter or Guillotine: For trimming your pages to the right size. You can use a craft knife and ruler, but a guillotine will save you a lot of time and effort.
- Binding Materials: Staples, glue, thread, or even a fancy binding machine, depending on the binding method you choose.
- Optional, but Recommended: A bone folder for creating sharp creases.
Think of these items as the ingredients for your manga-printing recipe. Each ingredient is important, and choosing the right ones will make all the difference. It's like choosing the right kind of tomatoes for your pasta sauce – it affects the final product!
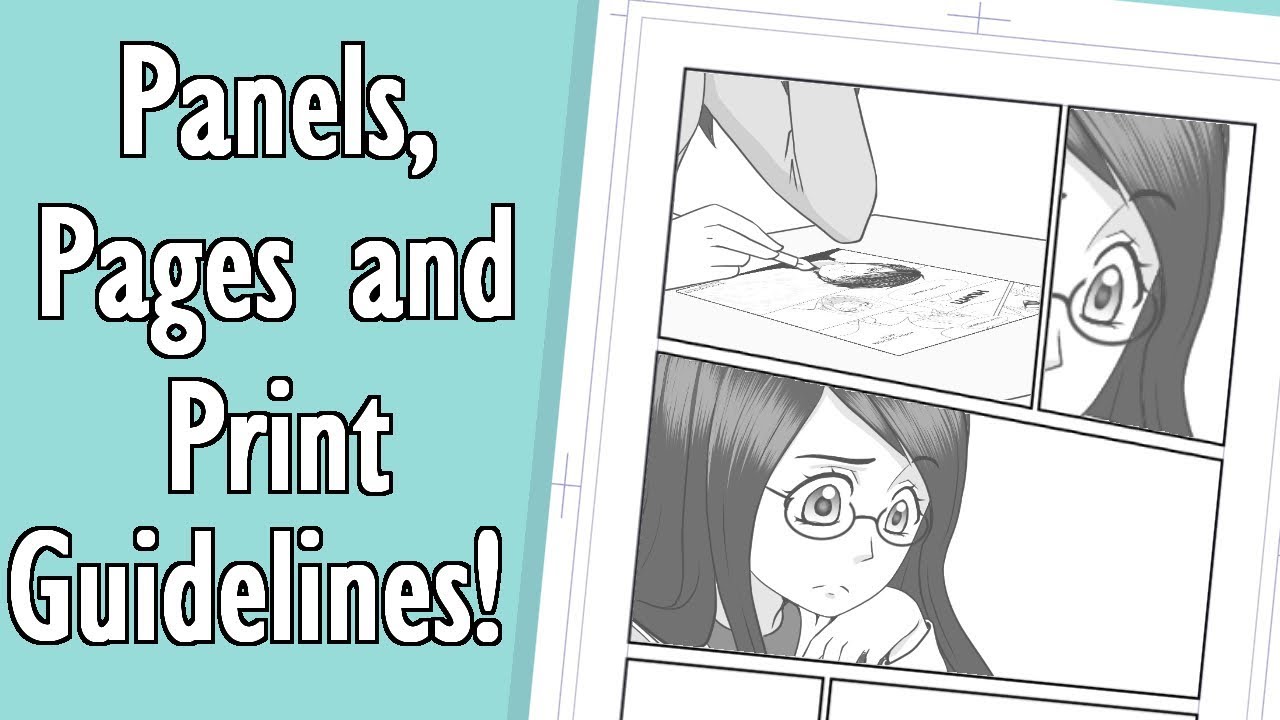
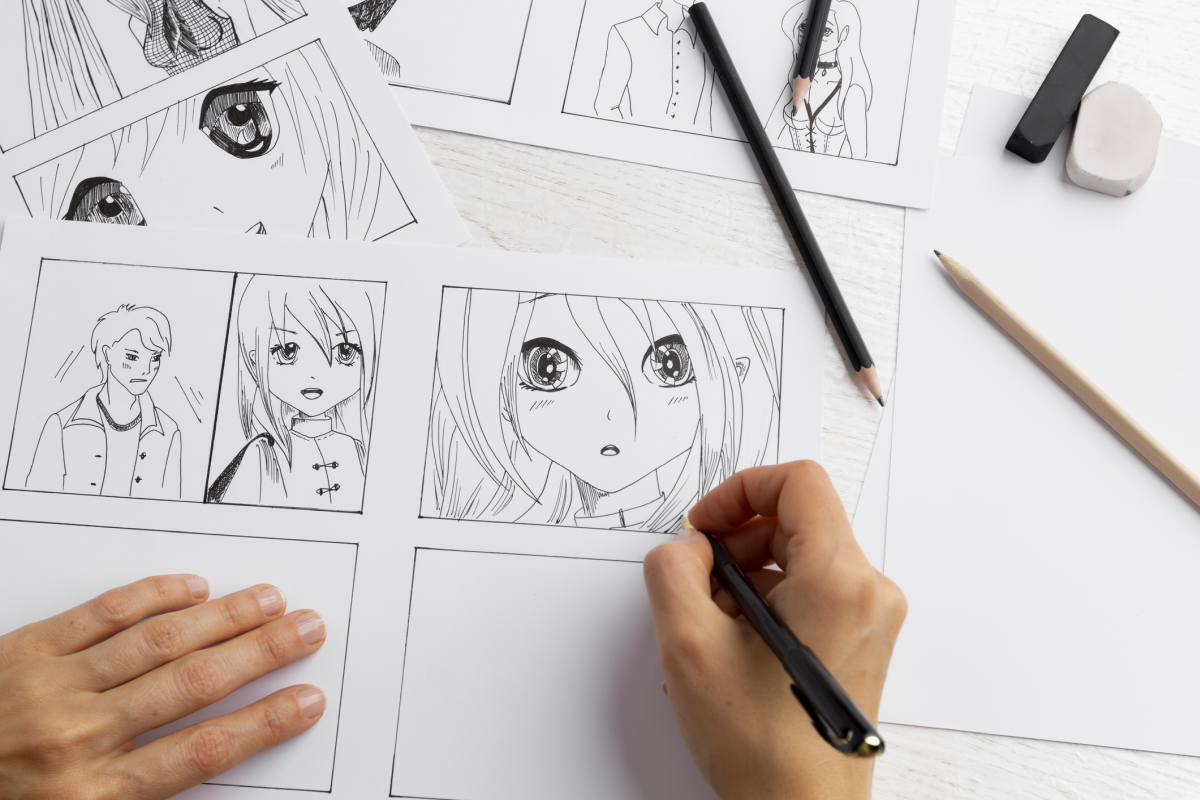
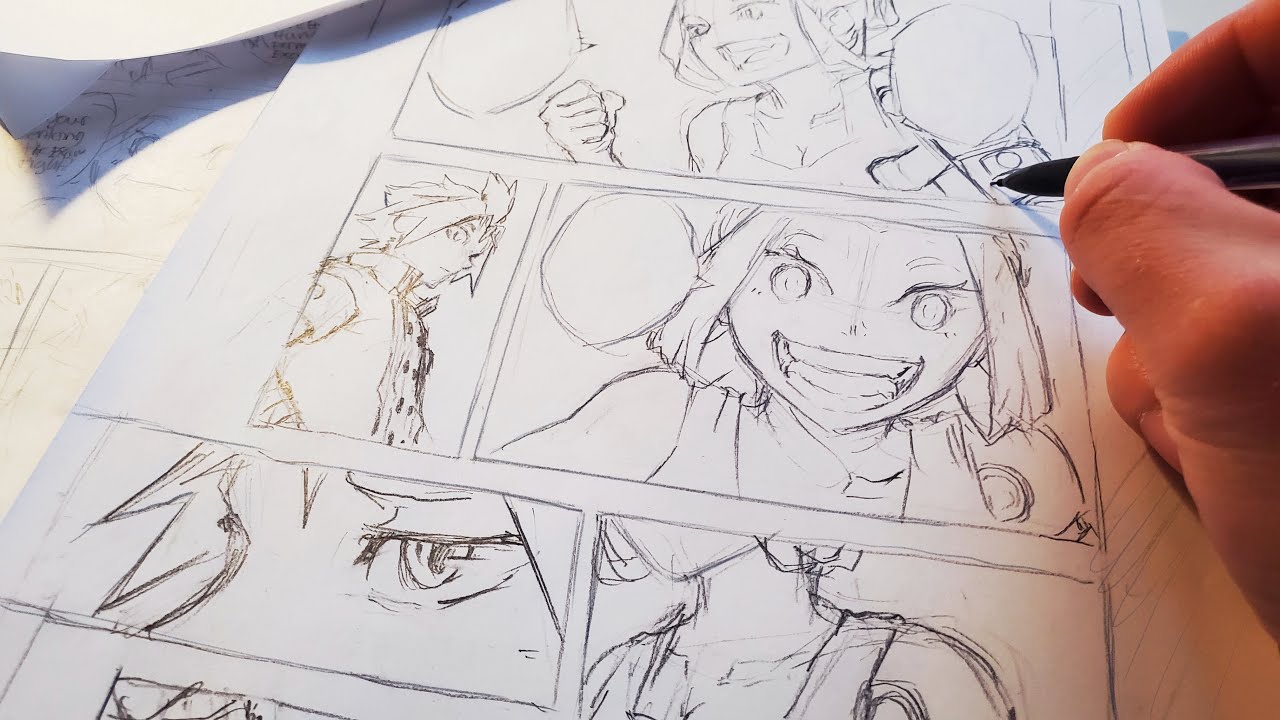
Préparation de vos fichiers (Prepping Your Files)
Okay, you've got your supplies. Now, let's talk about preparing your manga files for printing. This is a crucial step, so pay attention!
Resolution is key
Make sure your images are high resolution (at least 300 DPI). Nothing looks worse than a blurry manga. Your reader will not enjoy it! Think of it as watching your favorite anime on a potato – nobody wants that!
Bleed area
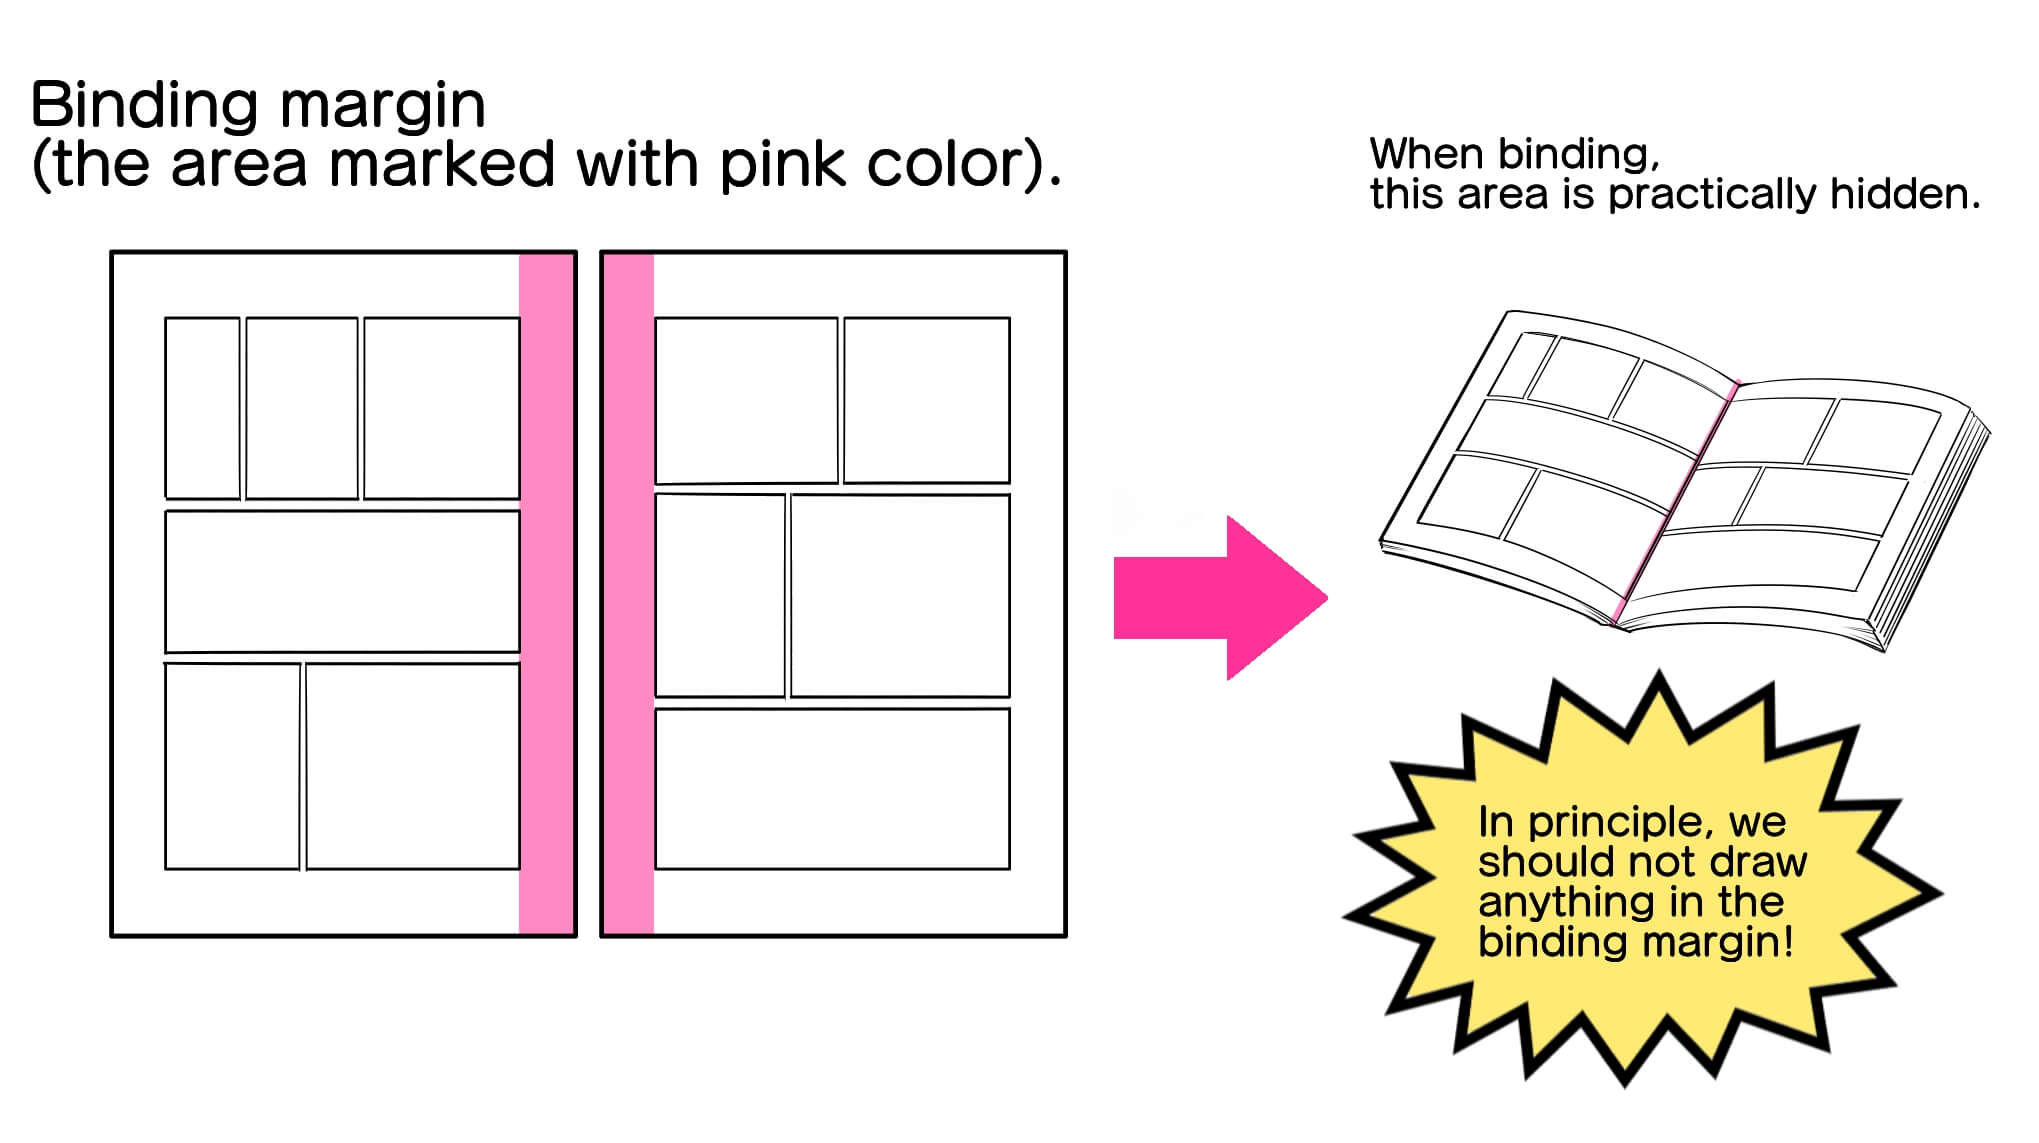
Add a bleed area (typically 3mm) to your pages. This is extra space that gets trimmed off after printing, ensuring that your images go right to the edge of the page.
Page size and layout
Carefully choose your page size and layout your pages correctly in your software. Double-check everything before you hit print!
Color Management
If you're printing in color, use a color profile that matches your printer. This helps ensure that the colors you see on your screen are the same as the colors that come out of your printer. Think of it like choosing the right filter for your Instagram photo – you want the colors to look good!
Le processus d'impression (The Printing Process)
Alright, the moment of truth! You've got your supplies, your files are prepped, now it's time to print! Here’s a basic rundown of the steps:
- Print a test page: Before printing your entire manga, print a test page to check the quality and color accuracy.
- Adjust printer settings: Experiment with your printer settings to get the best results. Quality settings, paper type, and color profiles can all make a difference.
- Print your pages: Once you're happy with your test page, print the rest of your manga pages.
- Trim the pages: Use your cutter or guillotine to trim the pages to the correct size, cutting off the bleed area.
- Bind the manga: Choose your binding method and bind the pages together.
The printing process can be a bit of trial and error, so don't be afraid to experiment. It's like learning to cook a new recipe – sometimes you need to adjust the ingredients or cooking time to get it just right.
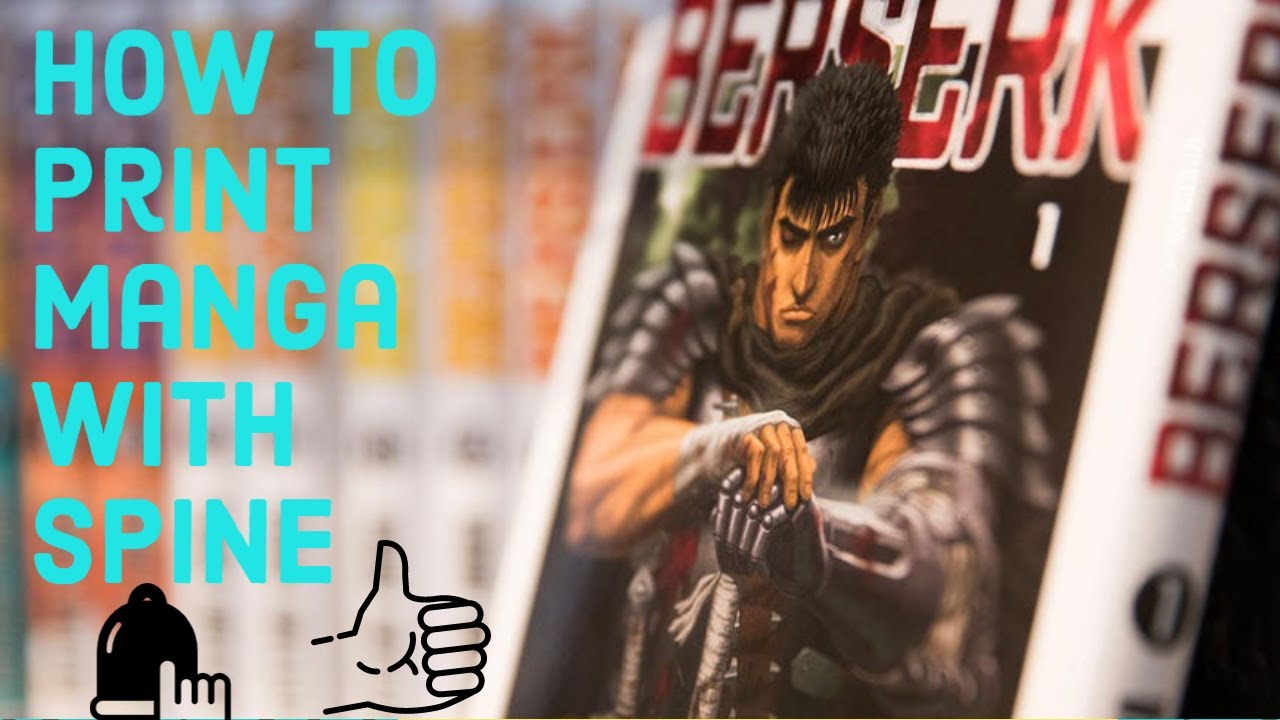
Reliure (Binding)
Ah, the grand finale! Binding is what brings your individual pages together into a beautiful, cohesive manga. There are several methods you can use:
- Staple Binding: Simple, effective, and perfect for shorter manga.
- Saddle Stitch Binding: A variation of staple binding where the pages are folded in half and stapled along the spine.
- Perfect Binding: Gluing the pages together to create a flat spine. Looks professional but is more complex and works better with longer books.
- Spiral Binding: Using a spiral coil to hold the pages together. Durable and allows the manga to lay flat.
- Japanese Binding: An artistic and traditional method that involves sewing the pages together with decorative stitching.
The binding method you choose will depend on the length of your manga, your budget, and your desired aesthetic. It's like choosing the right frame for a painting – it can really enhance the overall look and feel.
Astuces et conseils (Tips and Tricks)
Here are a few extra tips and tricks to help you on your manga-printing journey:
- Don't be afraid to experiment: Try different paper types, ink settings, and binding methods to find what works best for you.
- Take your time: Printing manga at home is not a race. Take your time and pay attention to the details.
- Learn from your mistakes: Don't get discouraged if your first attempt isn't perfect. Learn from your mistakes and try again.
- Have fun!: This is supposed to be a fun, creative project. Relax and enjoy the process.
Printing manga at home can be a rewarding and fulfilling experience. It's a chance to create something unique and personal, and to connect with your favorite stories and characters in a whole new way. So go ahead, give it a try! Who knows, you might just discover your inner manga artist. Bon courage !