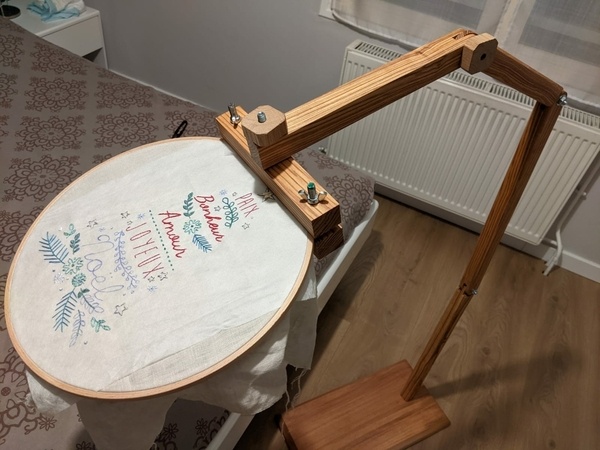
Okay, so picture this: I'm at a flea market, surrounded by more crocheted doilies than any sane person should ever see in one place. And then, BOOM! There it is. A gorgeous, antique floor-standing embroidery frame. The kind that makes you want to immediately abandon all your responsibilities and become a professional stitcher. But the price? Let's just say my bank account wept a little. That's when the idea hit me: why not build one?
The quest for the perfect DIY embroidery frame was on! And let me tell you, it's surprisingly doable. In fact, it's a fantastic project if you're even remotely handy (and even if you're not, I'm pretty sure you can manage!). So, let's talk about how to fabriquer un métier à broder sur pied, shall we?
Pourquoi un métier à broder sur pied, au juste?
Alright, before we dive into the nitty-gritty, let's address the elephant in the room: why bother? Isn't hand-holding your embroidery hoop good enough? Well, yes, if you enjoy cramps, neck pain, and looking like Quasimodo after an hour of stitching.
Seriously though, a floor-standing embroidery frame offers a ton of advantages:
- Hands-free stitching: Both hands are free to manipulate the needle and thread, leading to faster and more precise stitching. Think of it as the difference between typing with one finger and using all ten!
- Better posture: You can adjust the frame to a comfortable height, reducing strain on your neck and back. Goodbye, hunchback!
- Large projects become manageable: Tackling a massive sampler? No problem! The frame provides stable support for even the most ambitious projects.
- It looks cool! Let's be honest, having a beautiful embroidery frame in your craft room just screams "I'm a serious artist!" (Even if you mostly embroider swear words on tea towels. Don't worry, I won't judge).
(Psst… Did I mention it’s way cheaper than buying a ready-made antique one?)
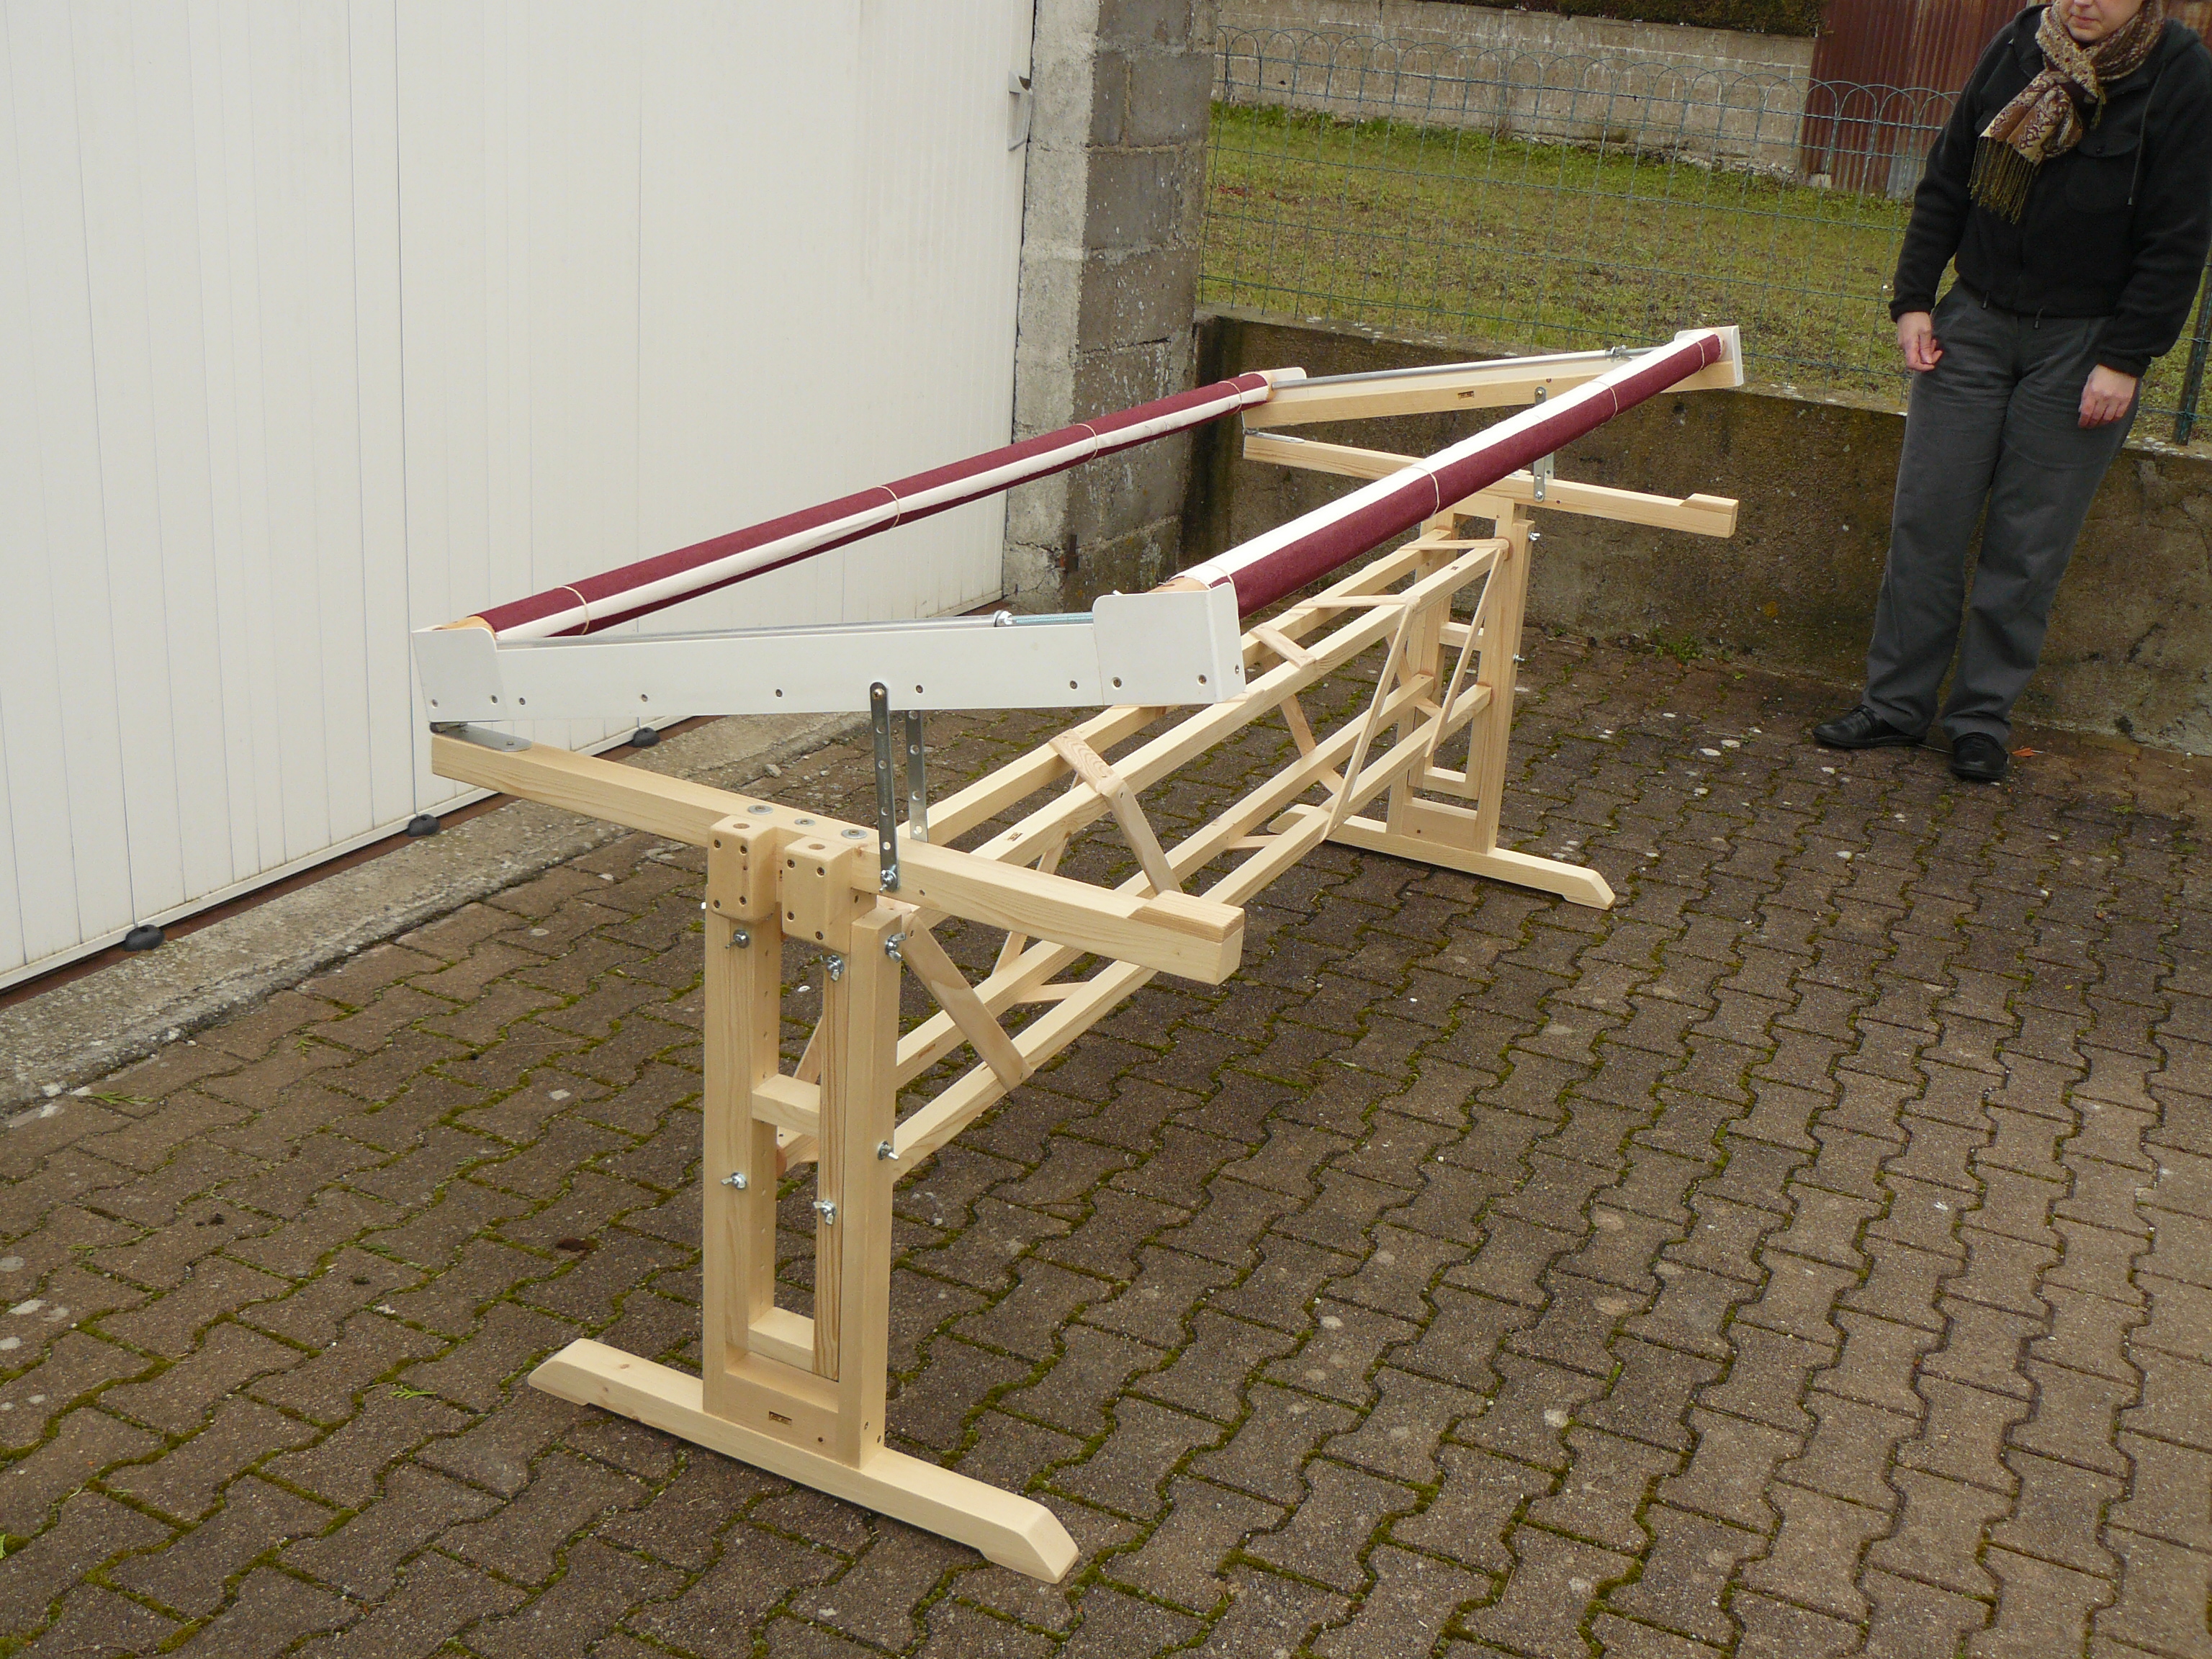
Les Bases de la Construction
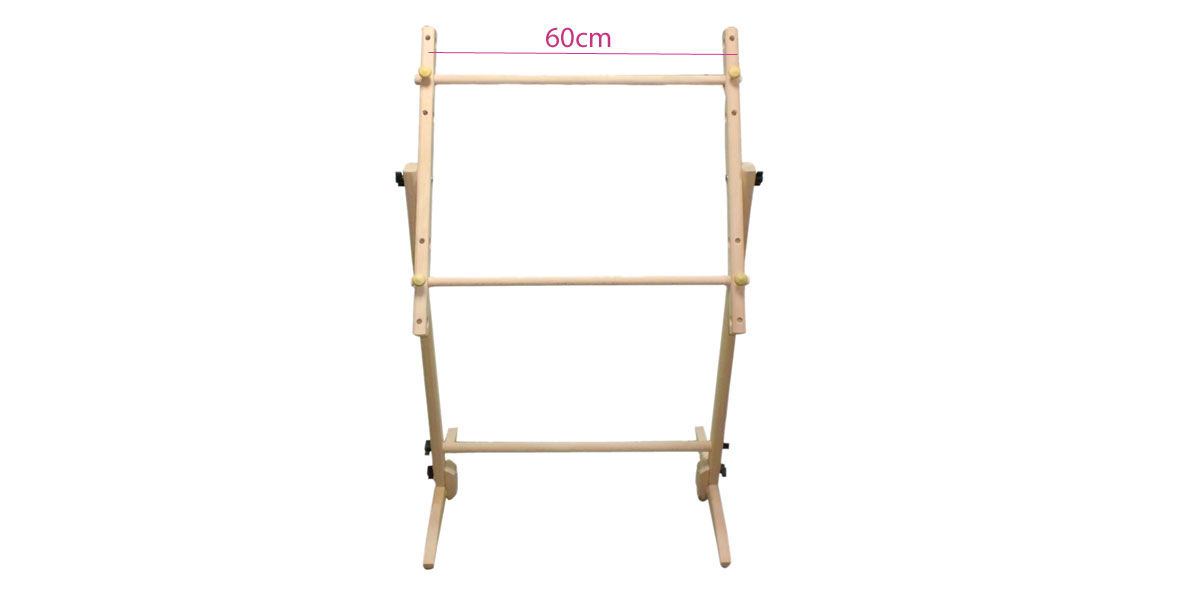
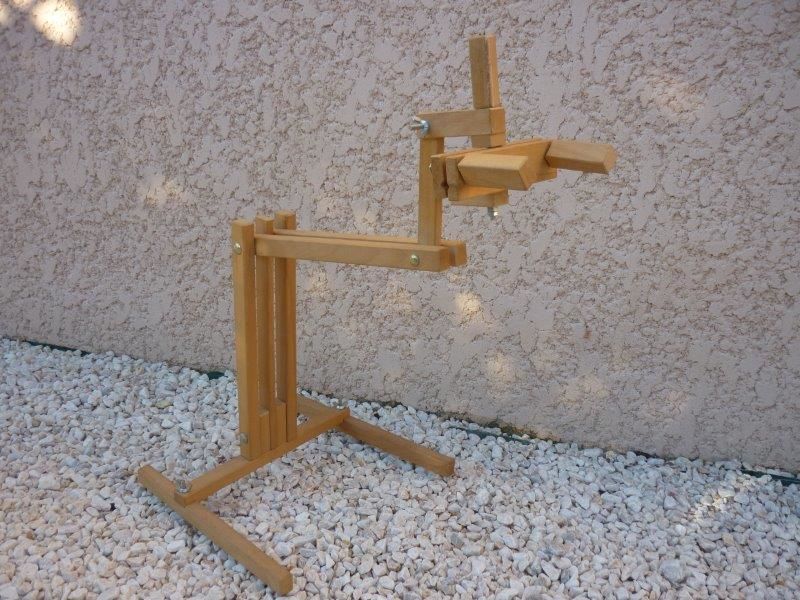
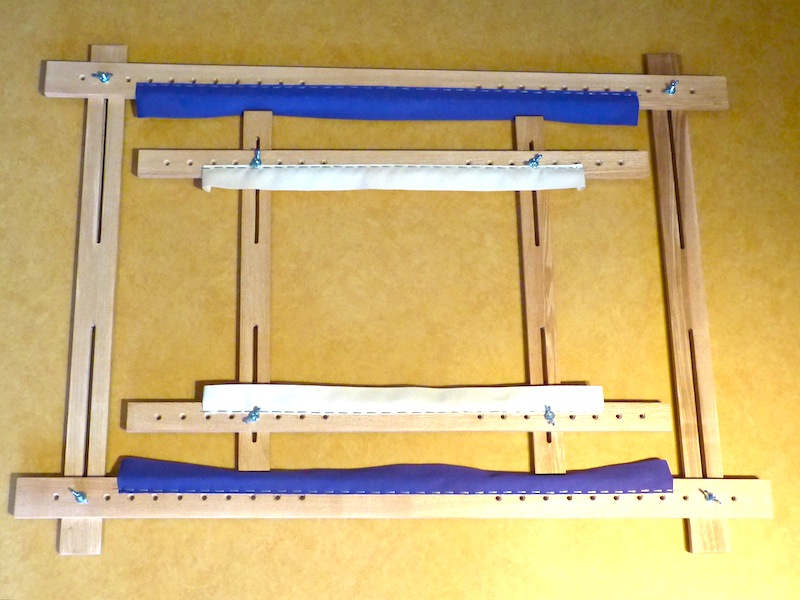
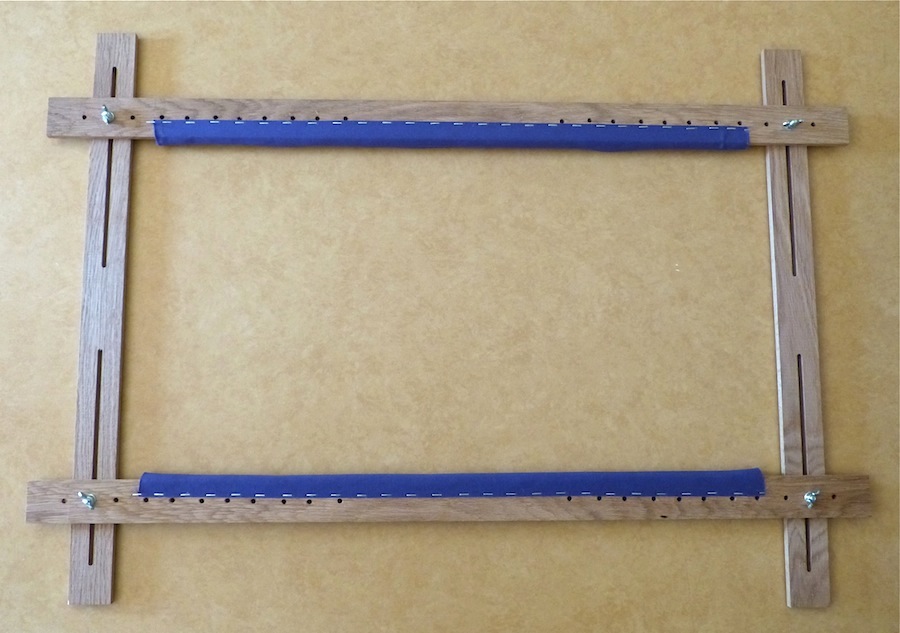
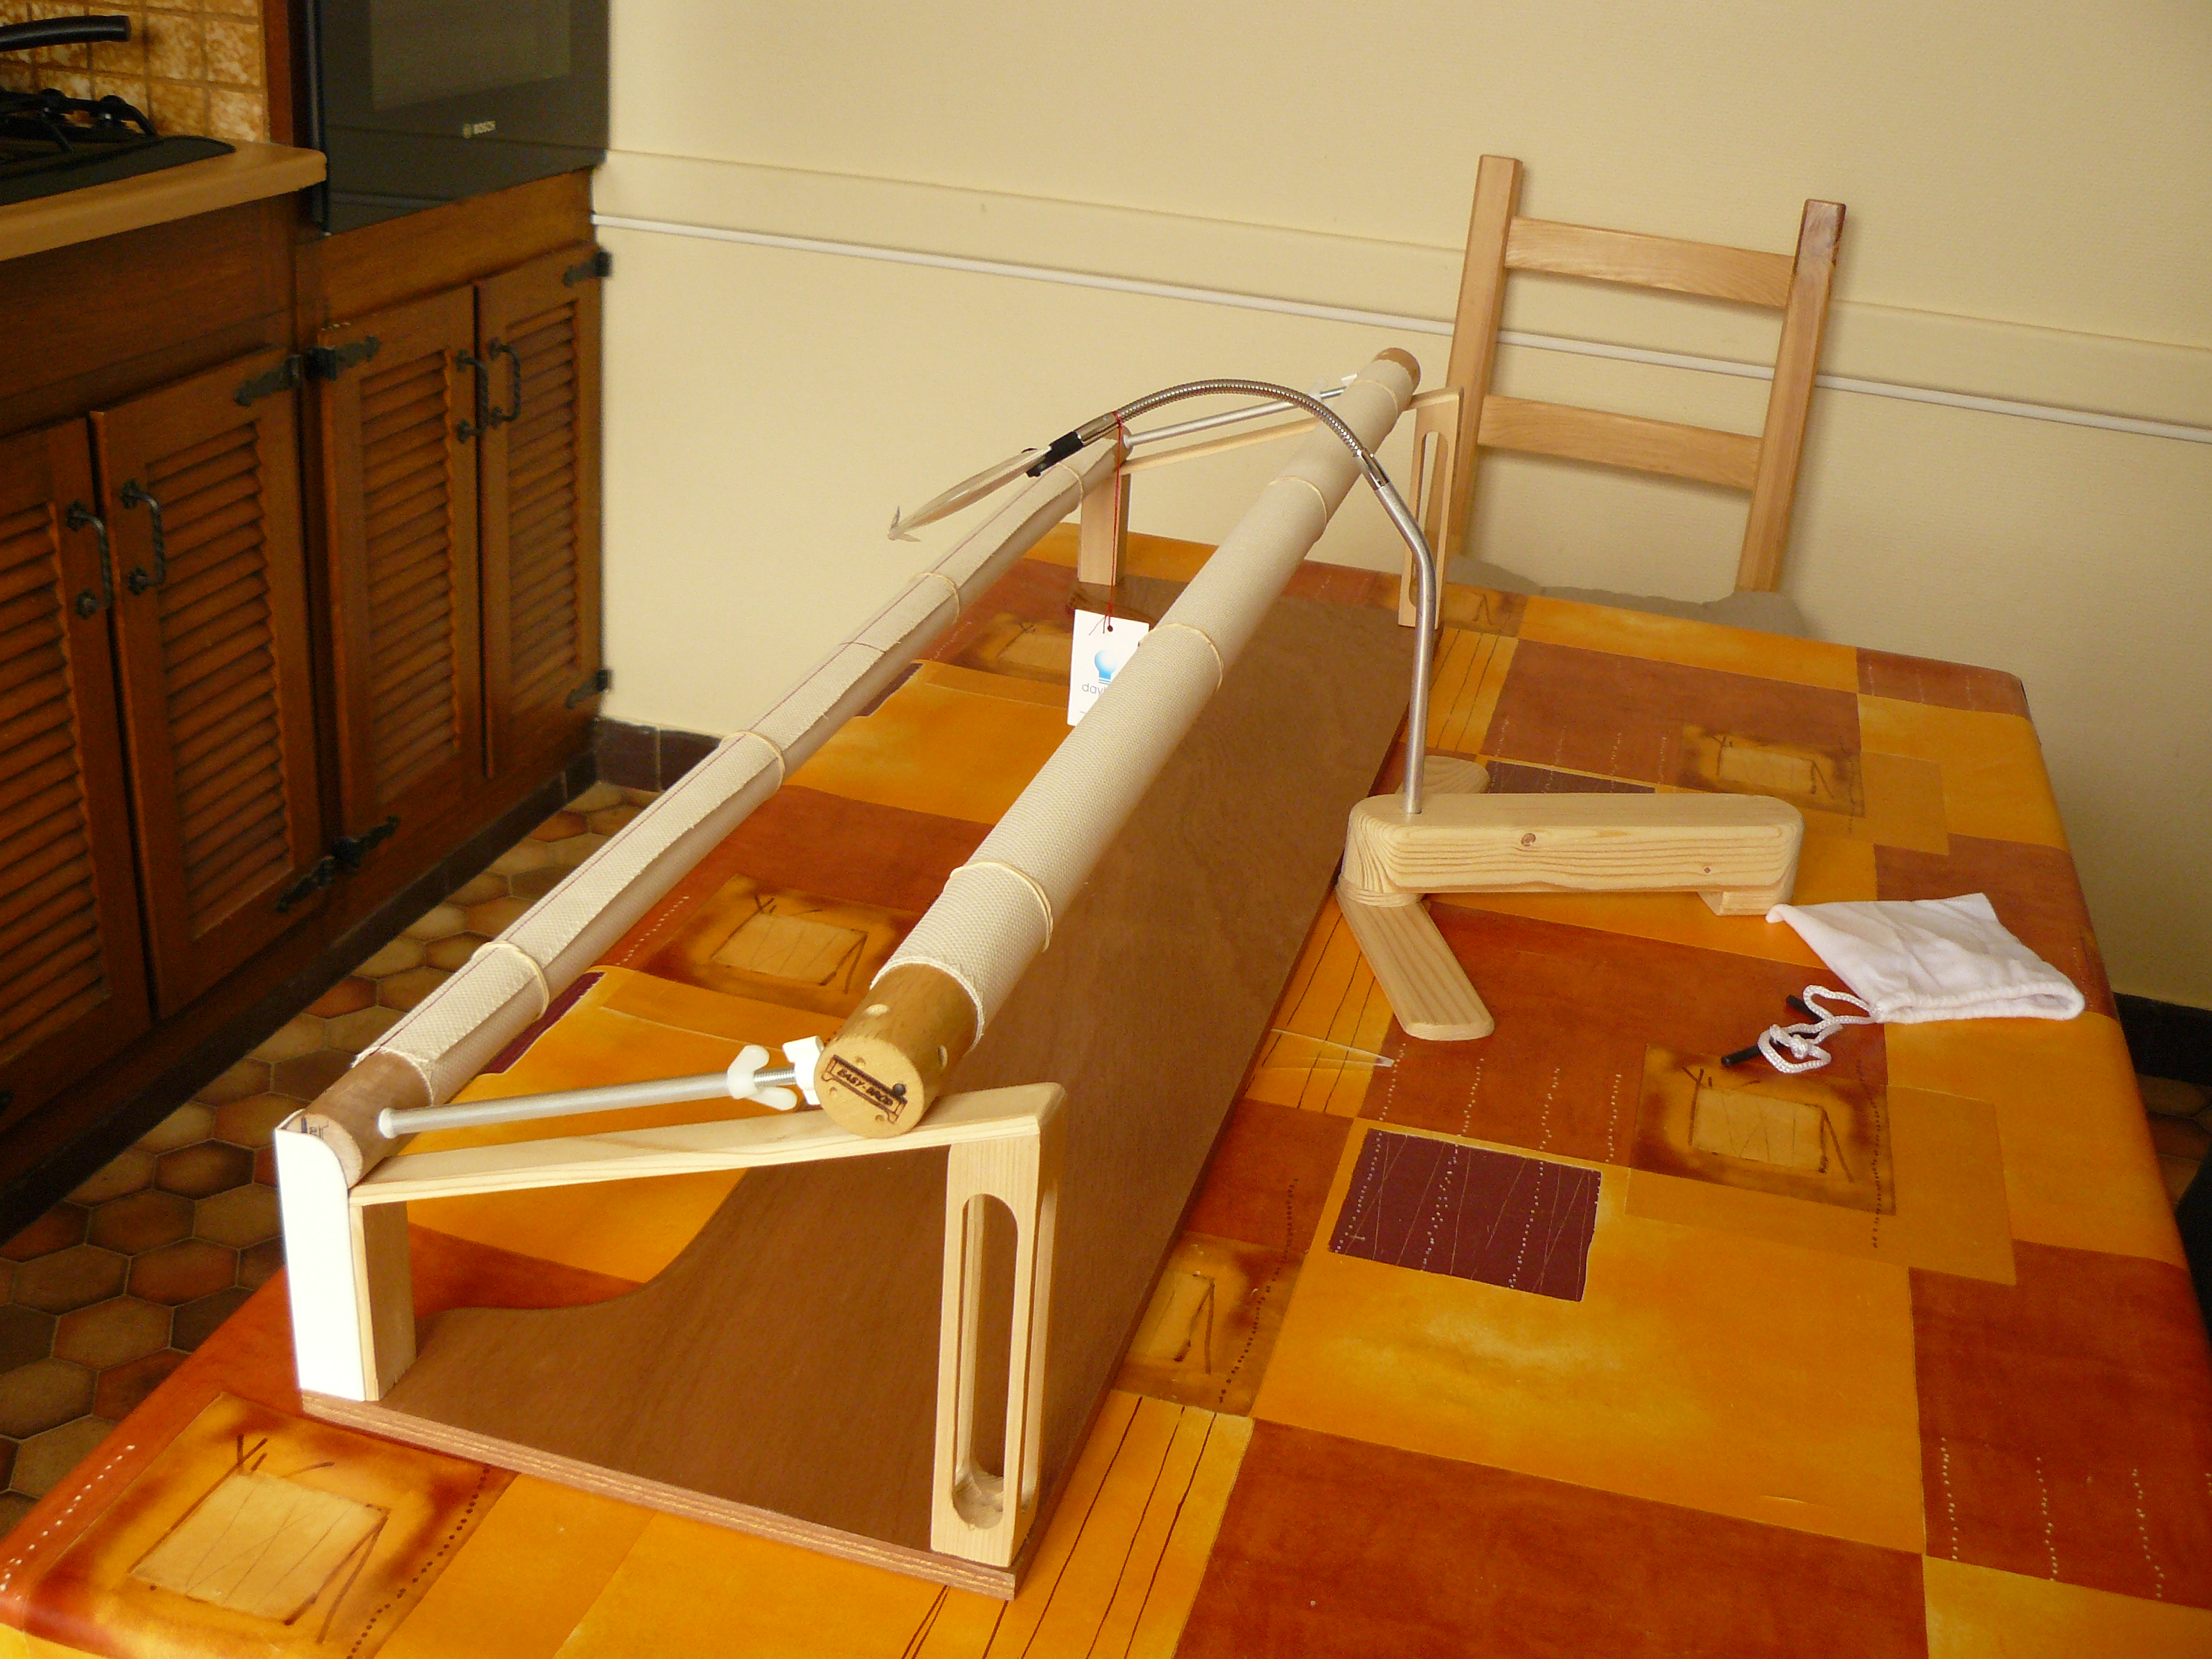
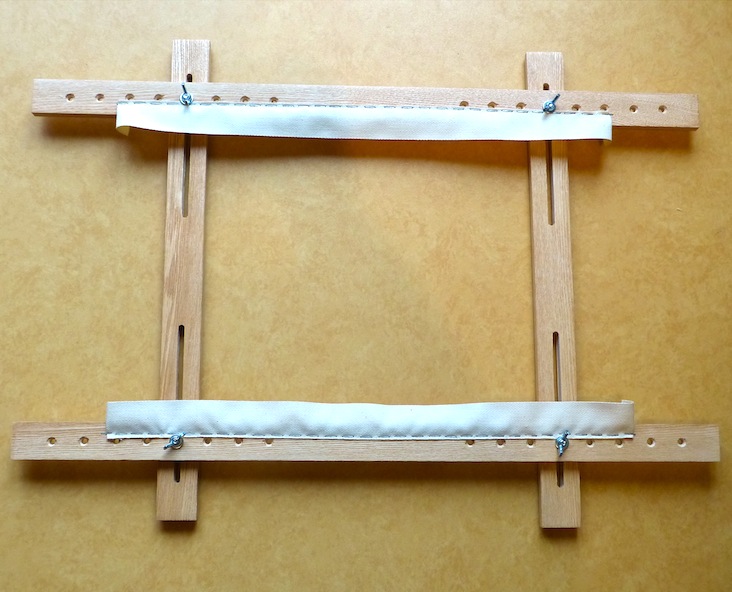
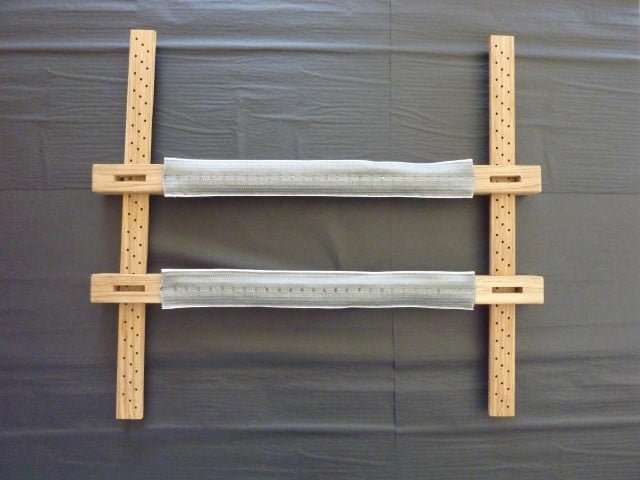
Now, the exact design is totally up to you. There are tons of variations online, from simple A-frame structures to more elaborate adjustable models. But here are the basic components you'll need:
- Wood: This is your main material. Pine is a good, affordable option.
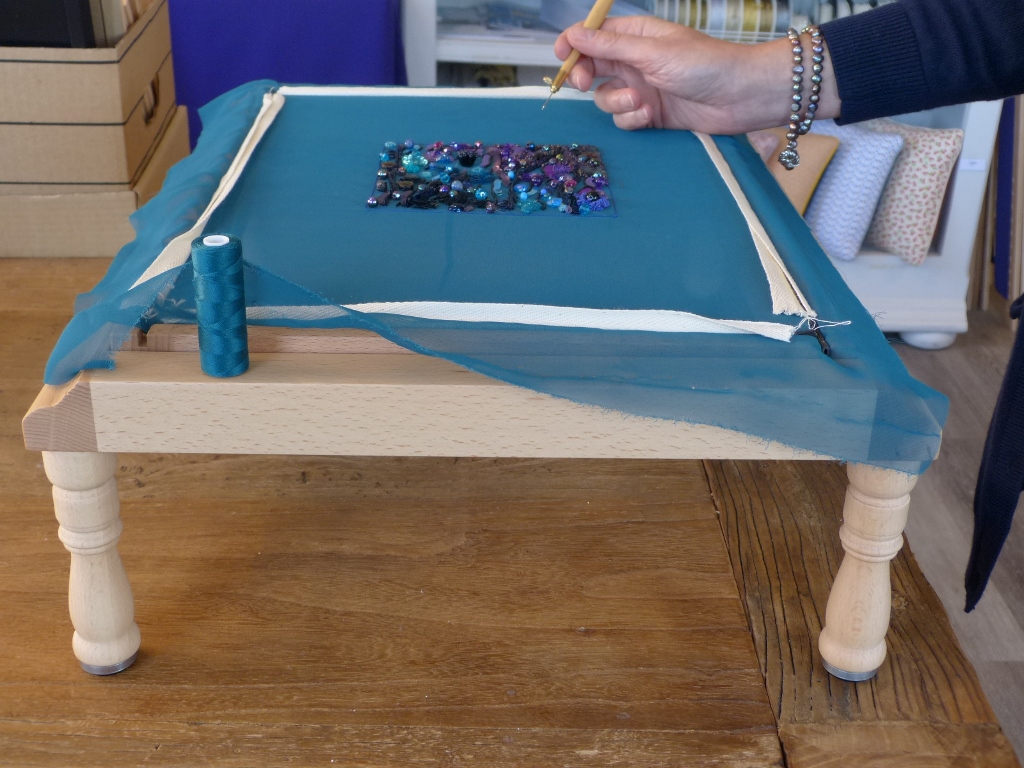
- A hoop or stretcher bars: This is what you'll attach your fabric to. You can repurpose an existing embroidery hoop or buy stretcher bars specifically designed for this purpose.
- Hardware: Screws, bolts, wingnuts, and hinges. These will hold everything together and allow for adjustments.
- Tools: Saw, drill, screwdriver, measuring tape, sand paper. The usual suspects.
The key is to think about what you want the frame to do. Do you need it to swivel? Should it be adjustable in height? Do you want it to fold away for storage? Answering these questions will help you determine the best design for your needs.
Quelques Conseils…
Before you start chopping wood like a lumberjack on a caffeine binge, here are a few tips I learned along the way:
- Plan it out! Draw a detailed diagram before you even think about picking up a saw.
- Measure twice, cut once! Seriously. This is not the time to get creative with measurements.
- Don't be afraid to experiment! Building a DIY project is all about learning and adapting. If something doesn't work quite right, try a different approach.
- Sand, sand, sand! You don't want your beautiful embroidery snagging on rough edges.
So, go forth and create your own amazing embroidery frame! You'll save money, you'll learn new skills, and you'll have a beautiful, functional piece of equipment that will enhance your embroidery experience. And who knows, maybe you'll even inspire someone else to ditch the overpriced flea market finds and embrace the power of DIY!
(Oh, and if you make a really cool one, please send me pictures!)


![[Bricolage] Mon métier à broder maison](https://i.servimg.com/u/f75/20/03/57/45/p3220011.jpg)