Okay, picture this: I'm doing my usual frantic Saturday morning closet clean-out (you know, the kind where you tell yourself you'll finally Marie Kondo everything, but end up just shoving things further back?). Anyway, I unearthed a mountain of tights. And let's be honest, half of them had runs. Not just little, discreet runs, oh no. We're talking major, ladder-down-the-leg, "should I even try to salvage this?" kind of runs. So, naturally, instead of throwing them away (because who actually throws things away these days?), I googled "what to do with old tights." And bingo! The Tawashi appeared. Now, let's dive into making one, shall we?
Qu'est-ce qu'un Tawashi, au Juste?
For those of you scratching your heads, a Tawashi is basically a Japanese scrubbing sponge. Think of it as the eco-friendly, reusable, and frankly, way cooler alternative to those plastic ones you buy in the supermarket. Plus, it's a fantastic way to use up old clothes, particularly tights. (See? Hoarding can be virtuous!)
Pourquoi Utiliser des Collants pour un Tawashi?
Good question! Collants (especially the slightly thicker ones) are perfect for Tawashi-making because:
- They're durable (even with runs, the fabric is still generally pretty strong).
- They have a nice texture that's great for scrubbing.
- They're readily available! (Seriously, who doesn't have a graveyard of tights somewhere?).
- They're cheap (or, rather, free!).
Basically, they're a superhero in disguise. A slightly ripped, slightly faded superhero, but a superhero nonetheless. Now, let’s actually get to the how-to!

Comment Fabriquer un Tawashi avec un Collant (Version Pix!)
Alright, here's the breakdown. It's simpler than you think, I promise! (Even I managed it, and I'm not exactly known for my crafting prowess.)
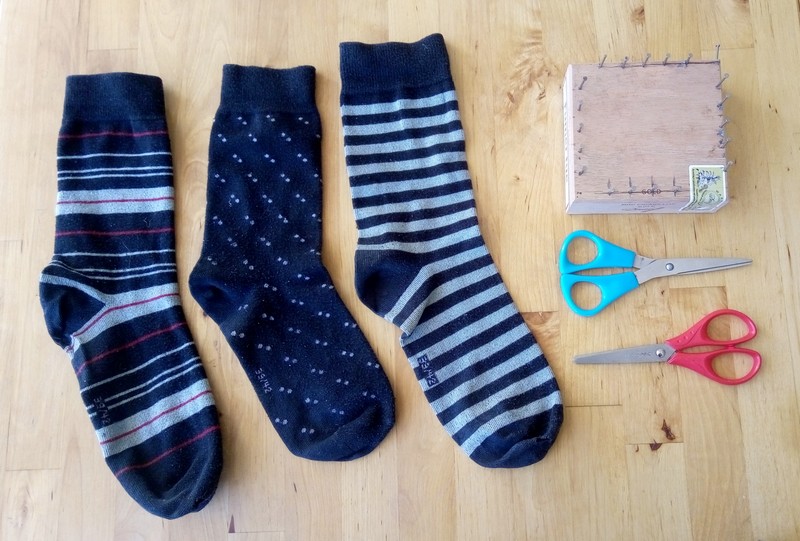
- Gather Your Supplies: You'll need: one or two pairs of old tights, scissors, and maybe a ruler if you're feeling particularly precise (I usually wing it!).
- Cut the Tights: Cut the legs off the tights. You want to cut them into strips. Aim for strips that are about 2-3 cm wide. Don't worry about being perfect. Uneven strips actually give the Tawashi a nice, rustic look. (Translation: my mistakes look intentional!).
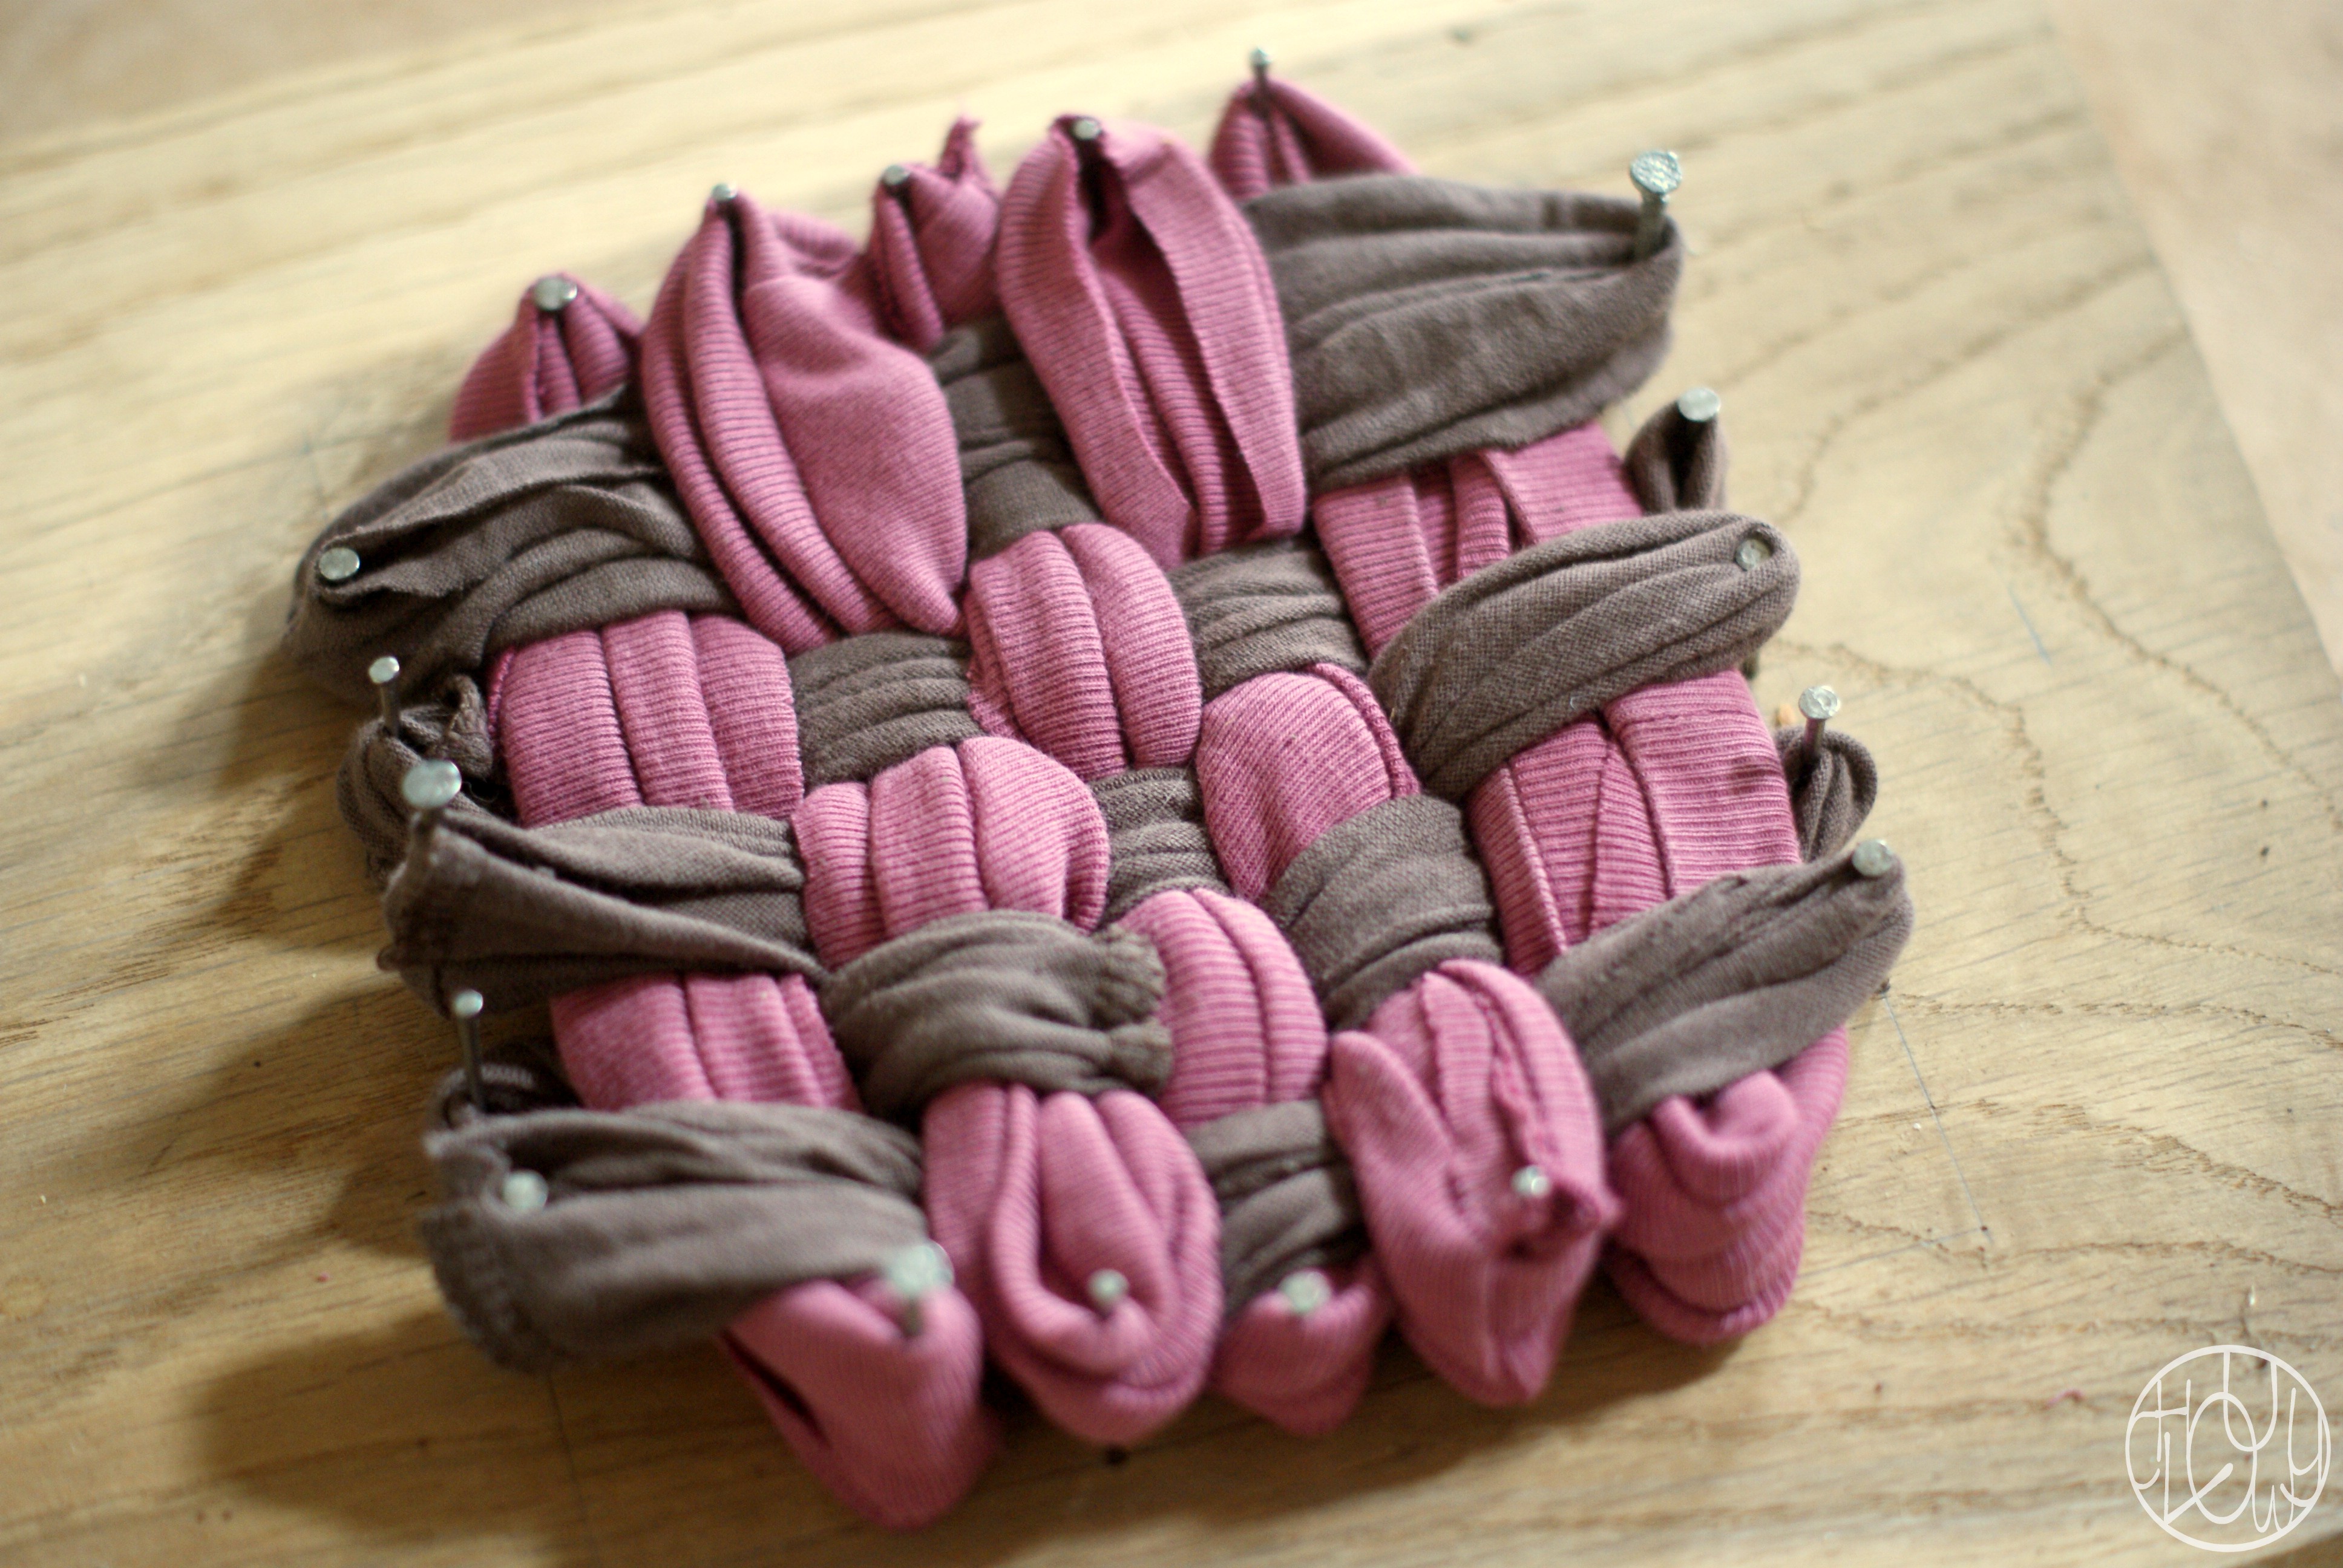
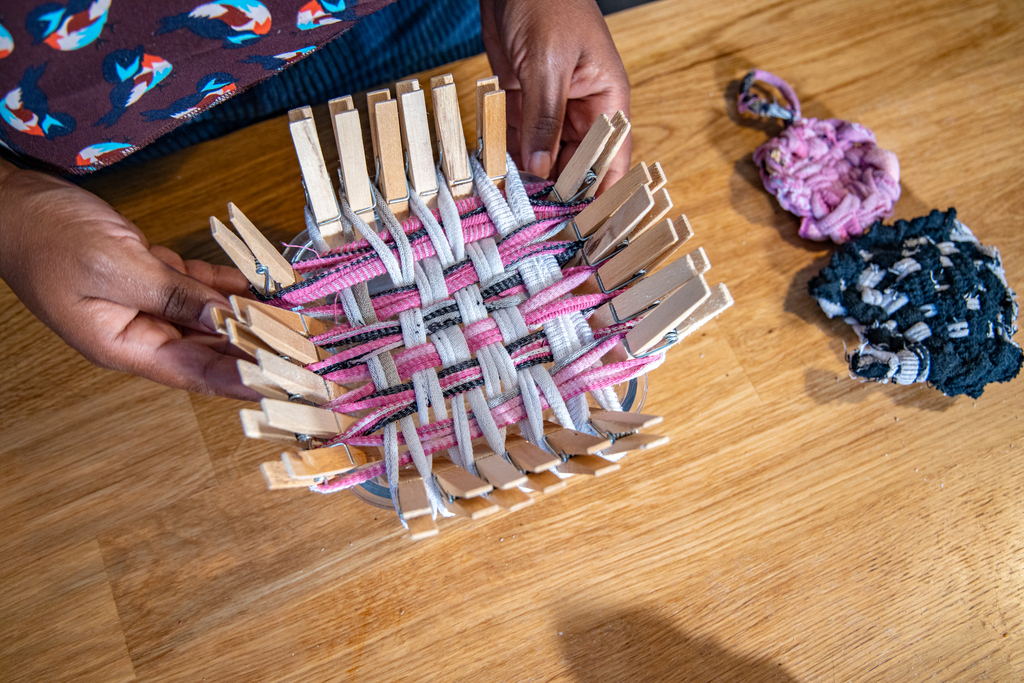
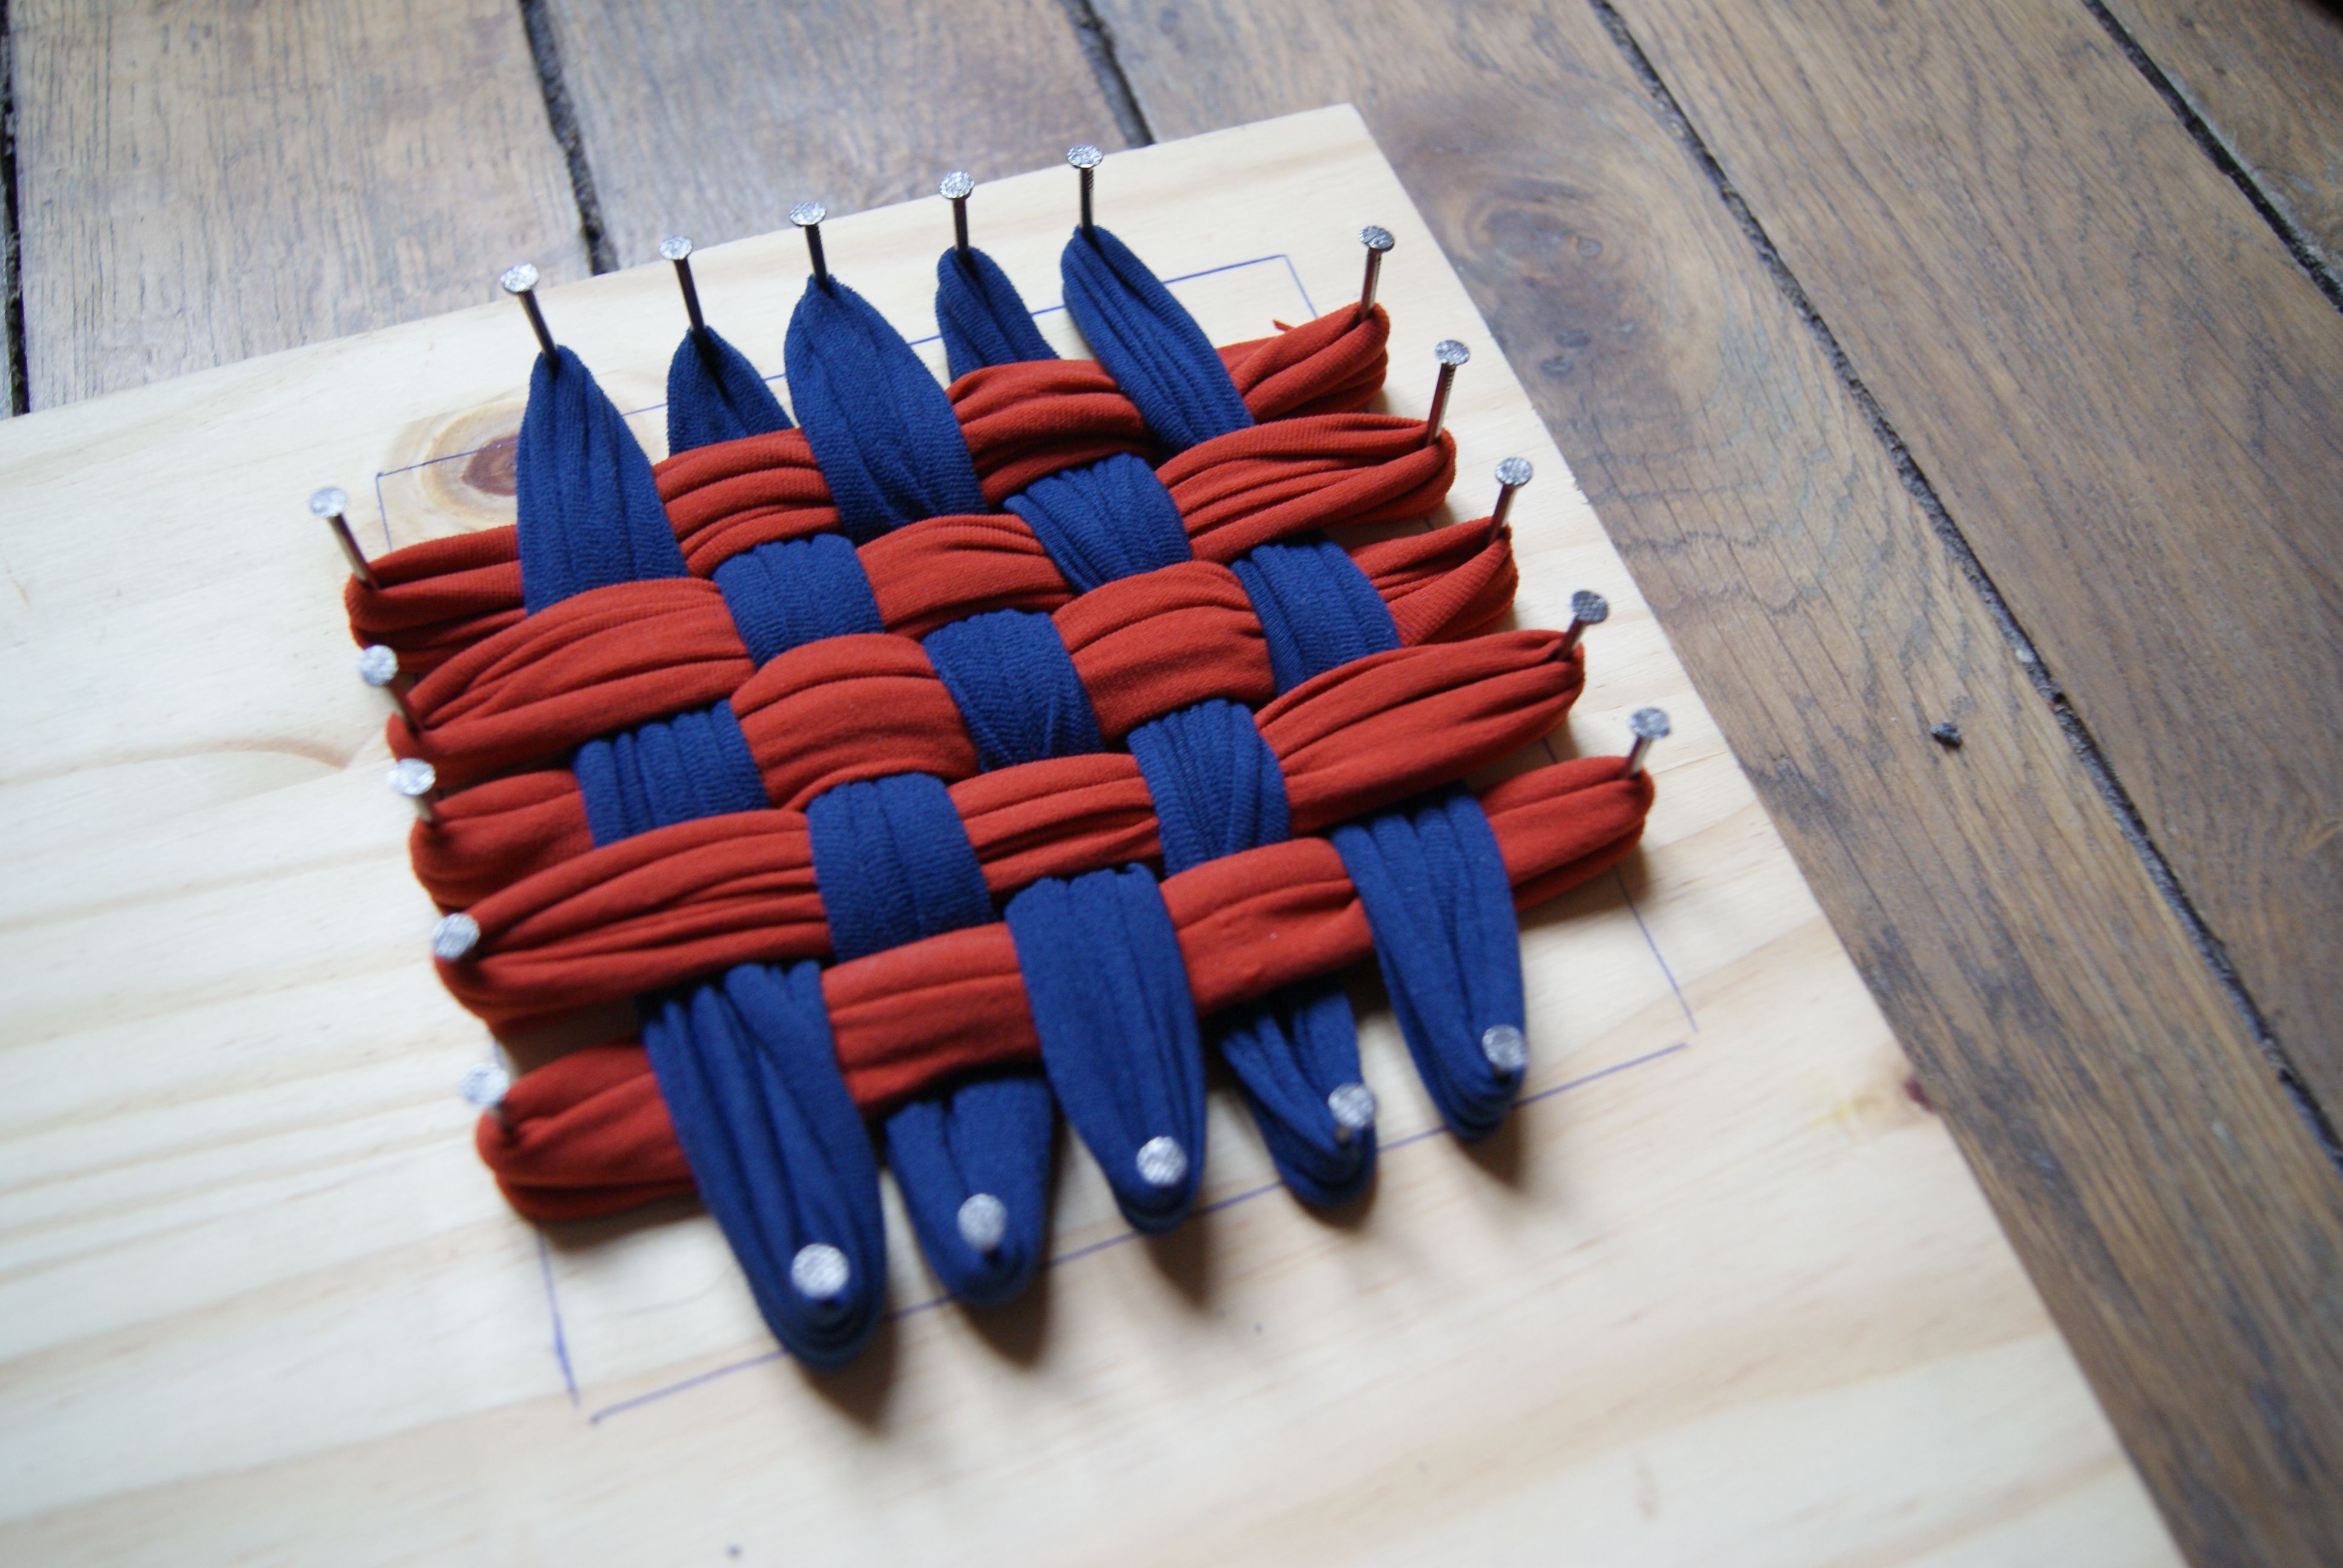
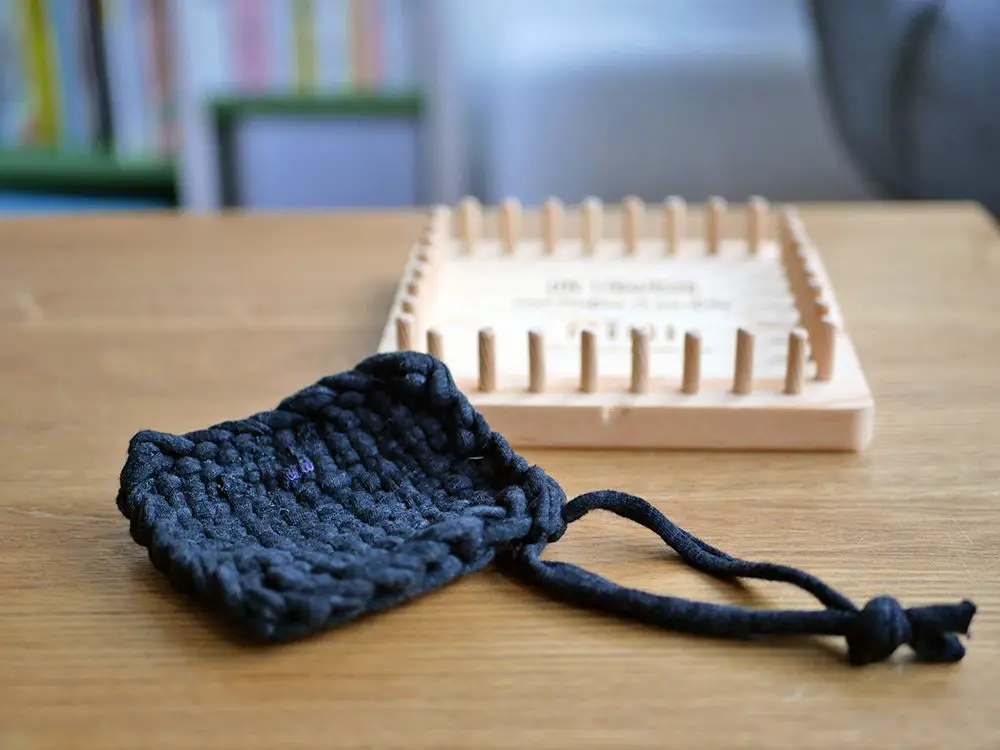
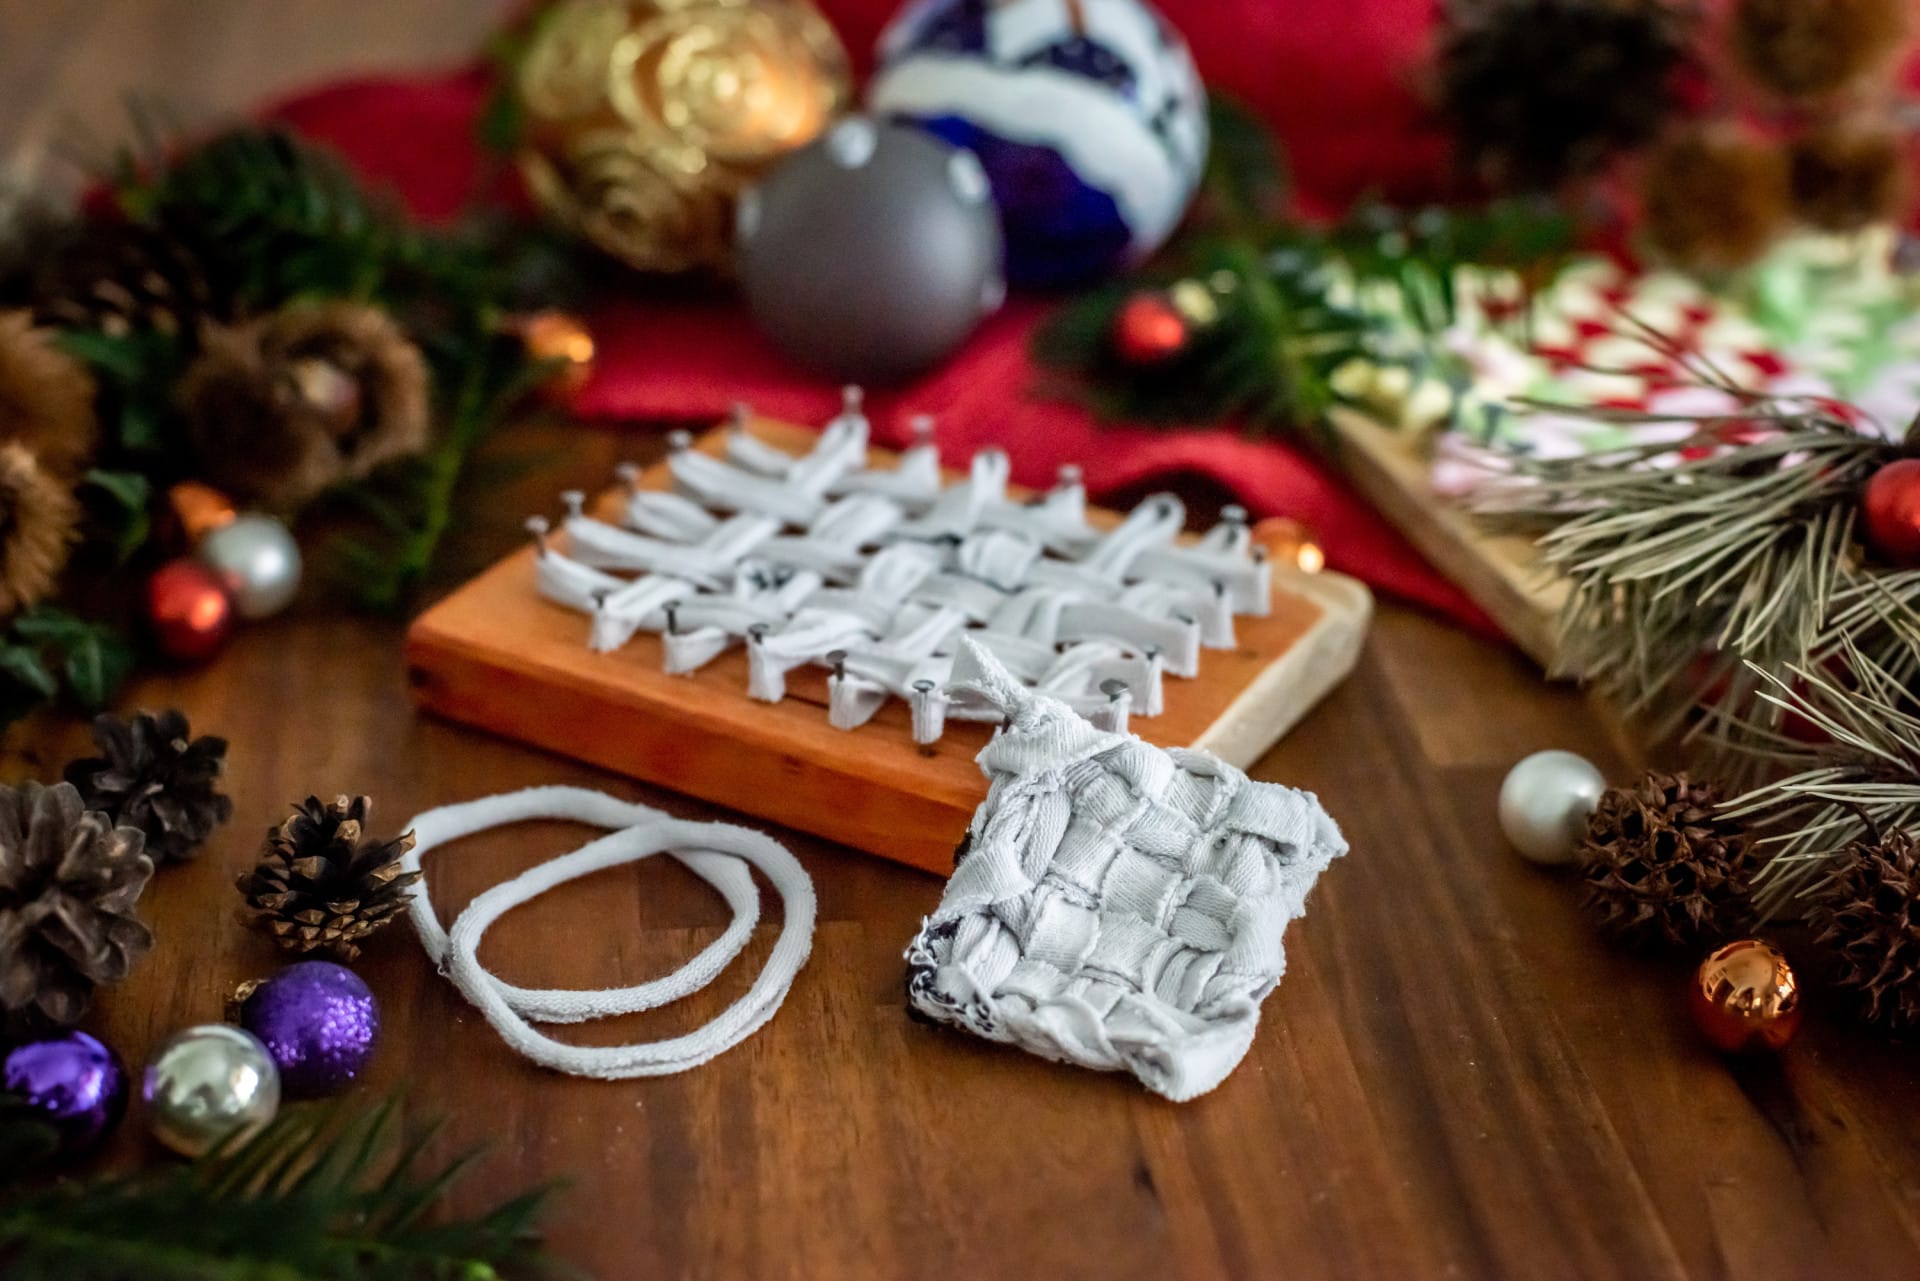
- Form the Base: Take several strips and lay them side-by-side, horizontally. Then, weave other strips vertically over and under the horizontal strips, like you're making a tiny, colourful rug. This is where the pix magic starts happening!
- Secure and Tie: Once you've reached the desired size and thickness (I tend to go for quite thick… more scrubbing power!), carefully gather the loose ends of the strips together. Tie them securely in a knot. Make sure it's a good knot, or your Tawashi will unravel faster than my attempts at making macarons.
- Trim the Excess: Trim any long, straggly bits of tight. This makes your Tawashi look neater and prevents it from shedding tiny bits of fabric into your sink.
Tawashi Tips & Tricks
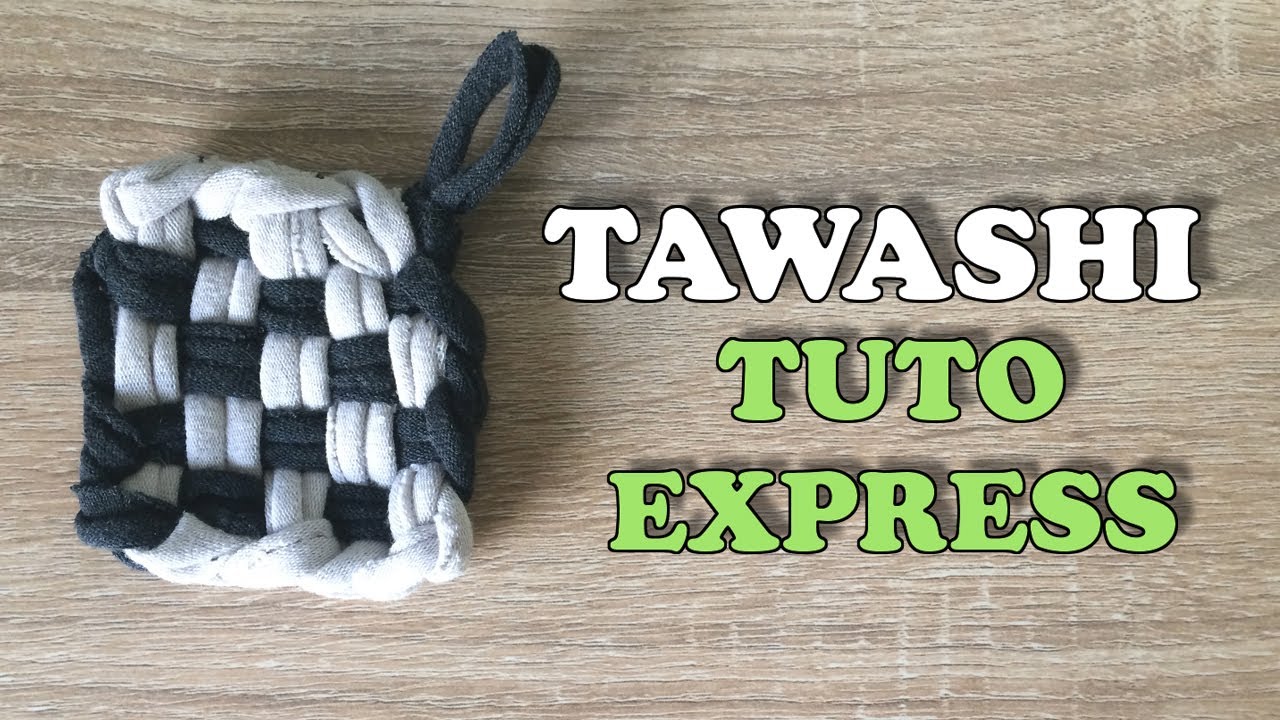
- Mix and Match: Use different coloured tights for a fun, vibrant Tawashi. Go wild!
- Add a Loop: Before tying the knot, create a loop with one of the strips. This allows you to hang your Tawashi up to dry (which is important to prevent it from getting… unpleasant).
- Experiment with Sizes: Make different sized Tawashis for different purposes! A small one for delicate dishes, a larger one for scrubbing pots and pans.
Et voilà! You've made your own Tawashi from old tights! Go forth and conquer those dirty dishes, knowing you've done a little something for the planet (and your overflowing tight drawer). Who knew old tights could be so useful?


![Comment fabriquer une éponge tawashi ? [DIY] - YouTube](https://i.ytimg.com/vi/JkhjI7srH_8/maxresdefault.jpg)