
Okay, so picture this: me, armed with a box of vaguely terrifying hair dye and a dream. The dream? Effortless, sun-kissed highlights. The reality? More like a sun-scorched disaster waiting to happen. I remember wrestling with foil, ending up looking like a tin foil alien, and praying I wouldn't burn my scalp off in the process. Ah, the memories... shudders. Anyone else been there?
That's when I started seriously investigating alternative methods. And that, my friends, is where the humble, yet surprisingly effective, bonnet à mèches (or highlighting cap) comes in. Forget the foil-induced panic; this little gem might just be your ticket to highlight heaven.
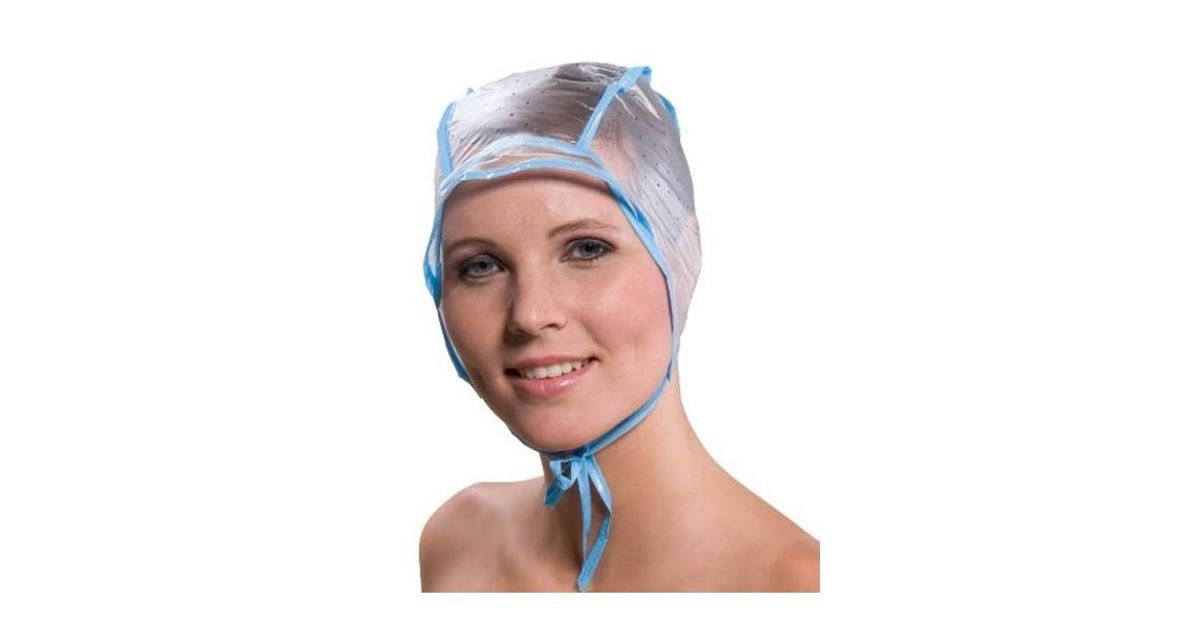
What Is a Bonnet à Mèches, Anyway?
Simply put, it's a tight-fitting cap, usually made of silicone or rubber, riddled with tiny holes. You pull strands of hair through these holes using a hook, then apply your chosen bleach or dye to the exposed sections. Think of it as a DIY highlighting cheat code. Seriously.
Why is it so appealing? Let's break it down:
- Precision (sort of): It allows for relatively even highlight distribution, minimizing the risk of patchy or uneven results. I said "relatively," don't expect salon-level perfection on your first try!
- Cost-effective: Way cheaper than regular salon visits. We're talking about saving some serious euros here.
- Controlled Damage: By only treating small, targeted sections of hair, you potentially reduce overall damage compared to full-head coloring. (Potentially being the operative word – always do a strand test!)
- DIY-Friendly(ish): While there's a learning curve, it's generally considered easier to use than foil, especially for solo highlighting adventures. (Remember my tin foil alien phase? Yeah, bonnet à mèches is much better.)
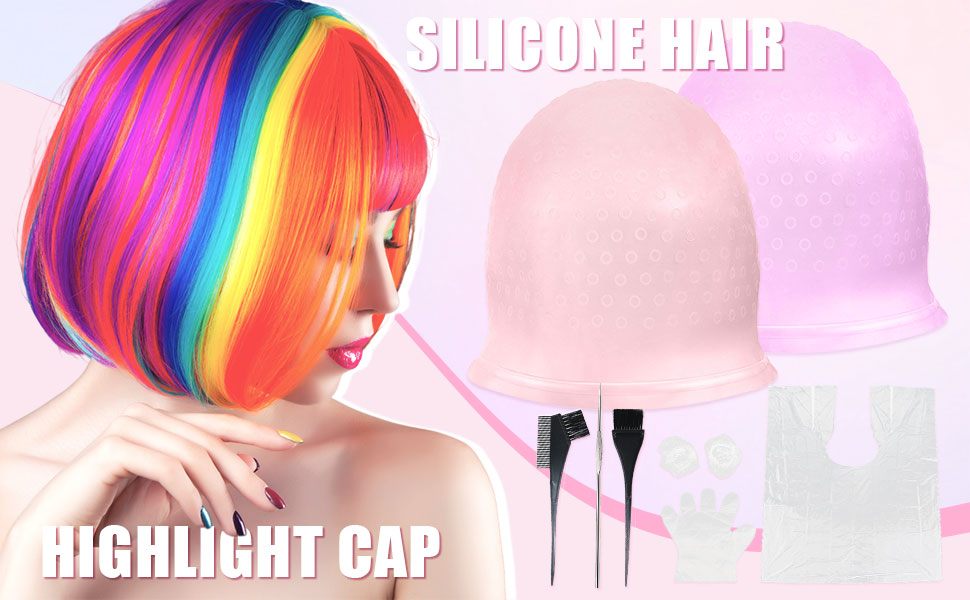
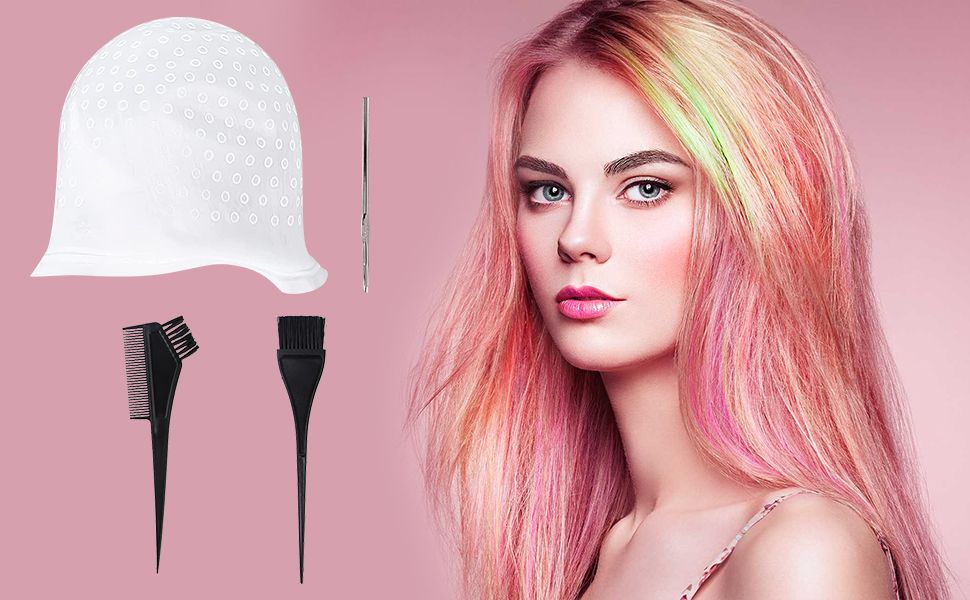
Choosing the Right Bonnet
Not all bonnets are created equal, my dears. Here's what to look for:

- Material: Silicone bonnets are generally considered more durable and comfortable than rubber ones. They're also easier to clean.
- Hole Size: Consider the thickness of your hair. Finer hair will benefit from smaller holes, while thicker hair might require larger ones. (Otherwise, you'll be there all day!)
- Hole Density: The closer the holes, the more highlights you'll get. Think subtle vs. statement.
- Fit: It should be snug but not uncomfortably tight. You don't want it slipping and sliding around. Measure your head circumference if you're unsure. (Seriously, measure – nobody wants a headache along with their highlights!)
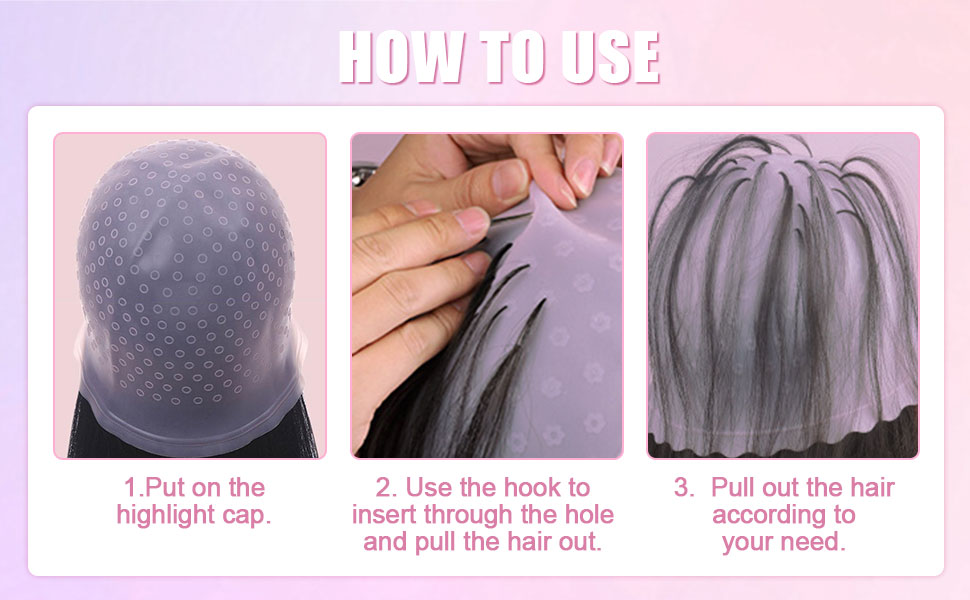
The Highlighting Process: A Step-by-Step Guide
Alright, let's get down to business. Here's a general overview of the process. Remember to always follow the instructions on your chosen dye or bleach! This is just a guideline.
- Prep is Key: Start with clean, dry hair. Detangle thoroughly. Trust me, pulling knotted hair through those tiny holes is not fun.
- Don the Bonnet: Carefully place the bonnet on your head, ensuring all your hair is tucked underneath.
- The Pull-Through: Using the provided hook (or a crochet hook, if you're feeling resourceful), gently pull strands of hair through the desired holes. Patience is your best friend here. Don't try to force it!
- Mix Your Dye: Prepare your chosen hair dye or bleach according to the manufacturer's instructions. Wear gloves! (Unless you want Smurf-colored hands.)
- Application Time: Carefully apply the dye to the exposed strands of hair, ensuring even coverage.
- Process & Monitor: Leave the dye on for the recommended time, checking regularly to ensure you're achieving the desired level of lightness.
- Rinse & Repeat: Rinse your hair thoroughly with cool water until the water runs clear.
- Condition: Apply a deep conditioner to replenish moisture and minimize damage.
- Remove the Bonnet: Gently remove the bonnet, being careful not to snag any hairs.
- Style & Admire: Style your hair as usual and admire your handiwork!
Tips & Tricks for Highlighting Cap Success
Here are a few extra nuggets of wisdom I've gleaned from my highlighting cap adventures:
- Practice Makes Perfect: Don't expect perfect results on your first try. Practice pulling hair through the holes on a wig or mannequin head first to get the hang of it.
- Go Slow: Rushing will only lead to mistakes. Take your time and be gentle.
- Vary the Hole Pattern: For a more natural look, don't pull hair through every hole. Vary the pattern and density.
- Use a Good Hook: A flimsy hook will make the process ten times harder. Invest in a sturdy, comfortable hook.
- Strand Test, Strand Test, Strand Test!: I can't stress this enough. Always do a strand test before applying dye to your entire head to ensure you're happy with the color and that you're not allergic to the product. (Seriously, don't skip this step!)
- Deep Condition Regularly: Highlighted hair is more prone to dryness and damage. Deep condition your hair regularly to keep it healthy and hydrated.
- Toner is Your Friend: If your highlights turn out brassy or yellow, a toner can help neutralize the unwanted tones and achieve a more desirable color.
The Drawbacks (Because Nothing's Perfect)
Okay, let's be real. The bonnet à mèches isn't a miracle worker. Here are a few potential downsides to consider:
- Uneven Application: It can be tricky to ensure even application of dye, especially in the back of your head. (Enlist a friend for help if possible!)
- Damage: Even though it targets specific sections, bleach is still bleach. Over-processing can lead to damage and breakage.
- Time-Consuming: Pulling hair through all those tiny holes can take a while. Be prepared to dedicate a few hours to the process.
- Limited to Certain Styles: The bonnet is best suited for highlighting the top layers of your hair. It's not ideal for creating intricate or balayage-style highlights.
Final Thoughts: Is It Worth It?
So, is the bonnet à mèches worth the hype? For me, the answer is a resounding oui! It's a relatively affordable and convenient way to achieve highlights at home. Sure, it's not perfect, and there's a learning curve involved, but with a little patience and practice, you can achieve surprisingly good results.
Ultimately, the decision is yours. But if you're looking for a budget-friendly and DIY-friendly way to brighten up your hair, the humble bonnet à mèches might just be your new best friend. Just remember to do your research, follow the instructions carefully, and always do a strand test! Good luck, and happy highlighting!


.jpg)


